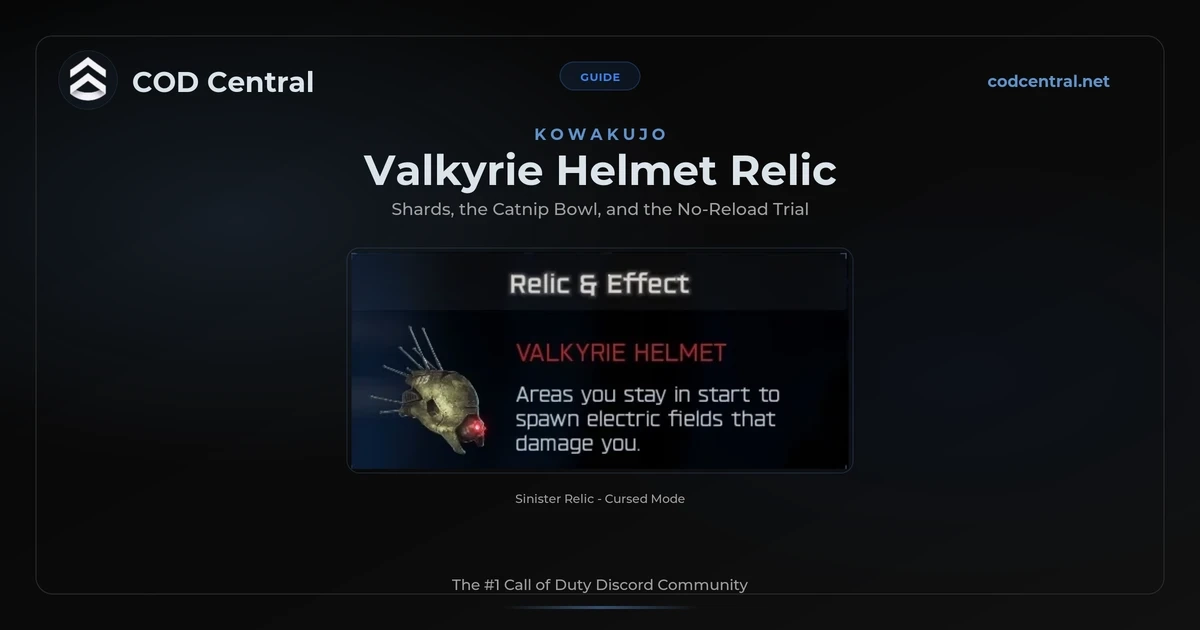
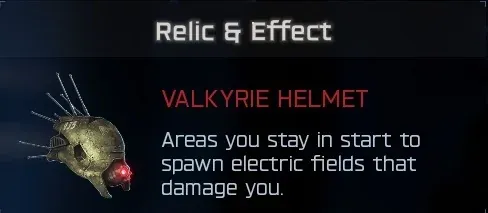
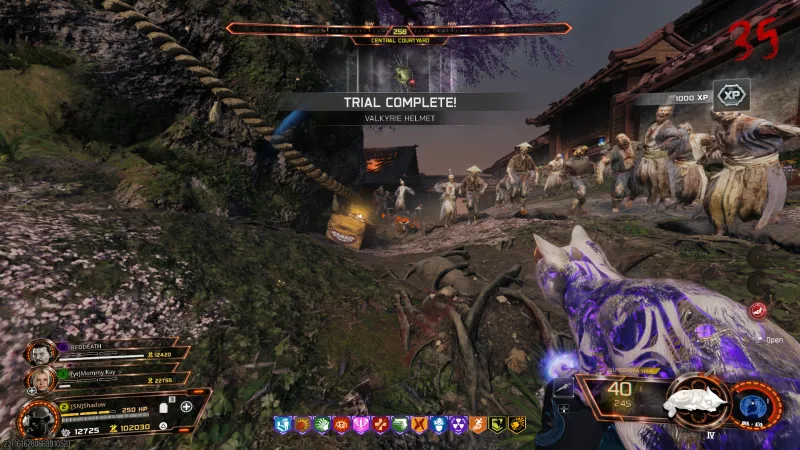
The Valkyrie Helmet relic is a Sinister tier relic on Kowakujo with a nasty anti-camping effect: areas you stay in start to spawn electric fields that damage you. The unlock is the longest checklist of any relic on the map. You build the upgraded Maneki-Neko, farm shards with the wonder weapon, rebuild a cat bowl, steal catnip from the cat cafe, feed the bowl souls during an assault phase, and finish with a trial where reloading blows you up. None of it is hard, but two mistakes can kill the whole quest, so read the warnings first.
- Map: Kowakujo, Cursed mode, main Easter egg done once. Every step works at any round before 40
- Build the upgraded Maneki-Neko first: matches and coal in the kitchen, powder from the castle ghost trap, then craft at the Workshop
- Farm 4 shards: charged Nekomancer kills inside the upgraded Maneki-Neko bubble
- Reassemble the shards at the kitchen fireplace with a molotov, then get catnip from the cat cafe side Easter egg
- Bowl on the flat rock by the big tree, then around 50 Nekomancer kills during an assault phase there
- Portal opens in the Training Area. Trial: reloading makes you explode (about 40 HP per reload)
- Never save and quit mid-quest, and never open the cat cafe before you have the bowl
This one was solved by the ZoneX relic-hunting community. Mmult cracked it, with Pork figuring out the bowl step, Rantsycancy the catnip, and siimwa keeping the whole effort documented. We then ran the full unlock ourselves, and every step below held up in-game.
Two ways to kill this quest. Opening the cat cafe side Easter egg before you have the bowl softlocks the relic, and the run is dead. Saving and quitting mid-quest bugs out the steps. Do everything in order and finish in one sitting.
What the Valkyrie Helmet Relic Does
With Valkyrie Helmet equipped, staying in one area starts spawning electric fields under your feet that damage you. The longer you hold a spot, the more the ground punishes you for it. It is the game’s answer to camping strats: train in one circle or hold one corner and the relic slowly makes that position unlivable.
Stand still and the floor starts shocking you. It forces constant rotation, which changes how you play the map more than most relics.
Requirements
The quest itself has no skill check at the high end, but it does have a deadline: every step needs to happen before round 40. You also need the map’s wonder weapon setup.
| Requirement | Details |
|---|---|
| Map | Kowakujo |
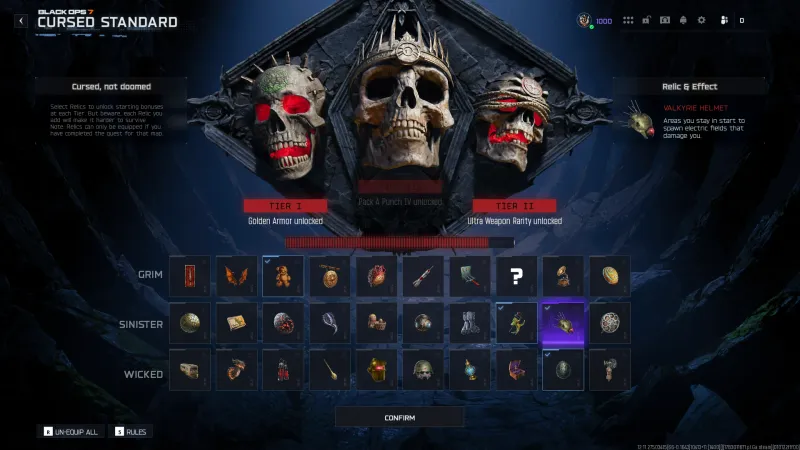
| Relic Tier | Sinister (middle tier) |
| Round | Every step can be done at any round before 40 |
| Gear | Nekomancer wonder weapon plus the upgraded Maneki-Neko tactical |
| Main Easter Egg | Must have completed the Kowakujo main Easter egg at least once. This applies to every relic on the map |

Step 1: Build the Upgraded Maneki-Neko
Every part of this quest runs on the upgraded Maneki-Neko, so build it before you touch anything else. The base Maneki-Neko is the map’s tactical. Upgrading it takes three parts and a trip to the crafting table.
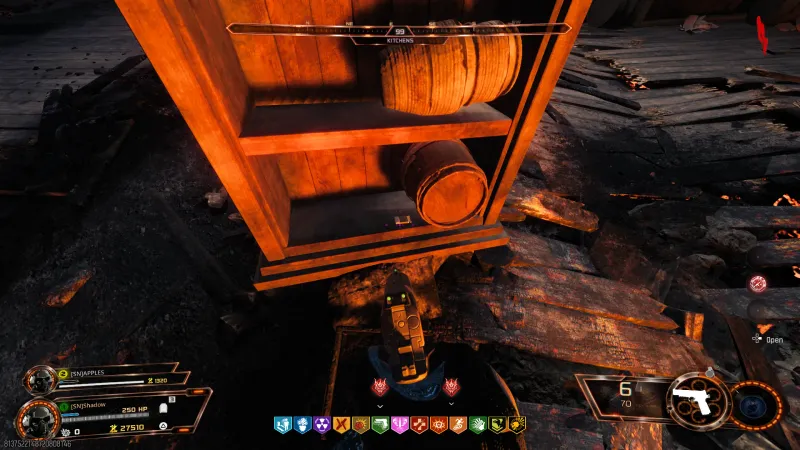
The two easy parts are in the kitchen. The matches sit on a shelf next to Double Tap, and the piece of coal is in the stove on the left side of the room.
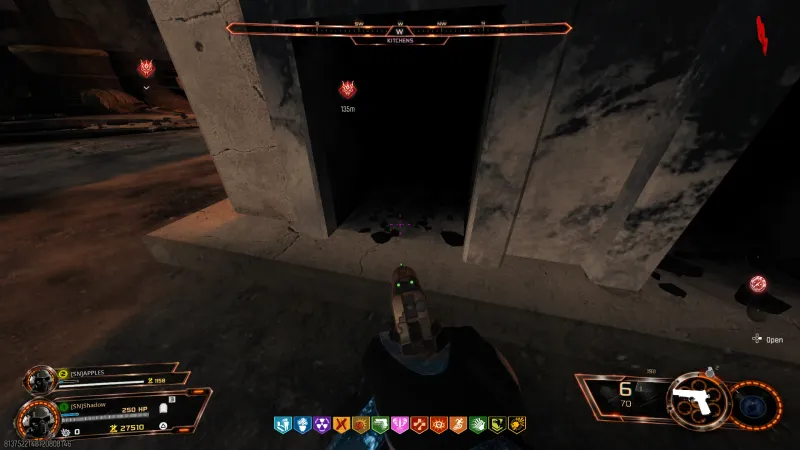
The third part is the powder. Activate the trap by the castle, then stand behind the gap on the far right and reload your weapon in front of the ghost. The powder drops at your feet. You do not need to fully upgrade the trap for this, just trigger it once.
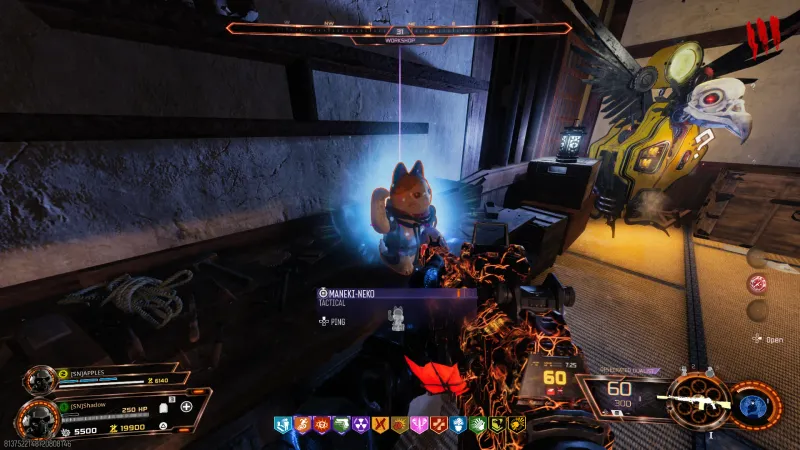
With all three parts, head to the crafting table in the Workshop and upgrade the Maneki-Neko. Once it is upgraded it puts down a bubble, and kills inside that bubble are what drop the shards in the next step.
In co-op, split the jobs: one player gathers the Maneki parts and farms shards while a teammate starts the cat cafe hunt. Just make sure nobody opens the cat cafe before the bowl exists.
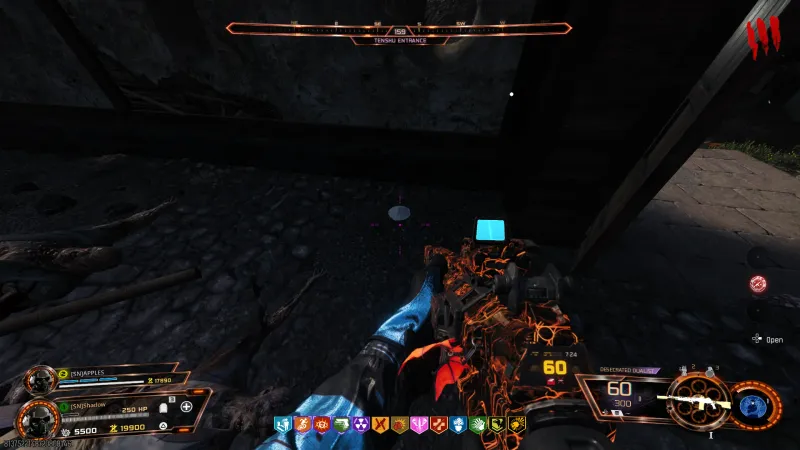
Step 2: Farm the 4 Shards
The quest starts with 4 broken shard pieces. You earn them by getting kills with the charged Nekomancer shot while standing inside the bubble of the upgraded Maneki-Neko. The kills have to come from the charged shot, and a shard drops where the Maneki was placed or right next to it. They glow a faint orange, they are tiny, and they are very easy to walk past, so check the ground around the Maneki after every farming session.
In our run a shard landed roughly every 30 kills, and all four were done well within 250 kills total. If a spot refuses to drop anything, redeploy the Maneki-Neko in a different area and keep farming.
Step 3: Rebuild the Bowl at the Fireplace
Take the 4 shard pieces to the fireplace in the kitchen and place them in. Then throw a molotov into the fireplace and the pieces reassemble into a bowl. That bowl is the item the rest of the quest revolves around, and it is also the reason for the biggest warning in this guide: the bowl must exist before you touch the cat cafe.
Step 4: Catnip and the Flat Rock
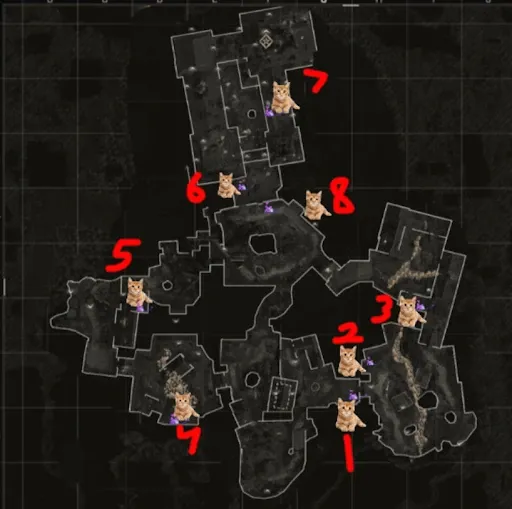
Now open the cat cafe side Easter egg and grab the catnip from one of the cat trees. In our run it sat on the cat tower facing the entrance. The cat cafe quest itself has a few moving parts, and the community wrote a full Kujo Kitty walkthrough document worth keeping open. The map below marks all eight cat spots you will be checking during that hunt.

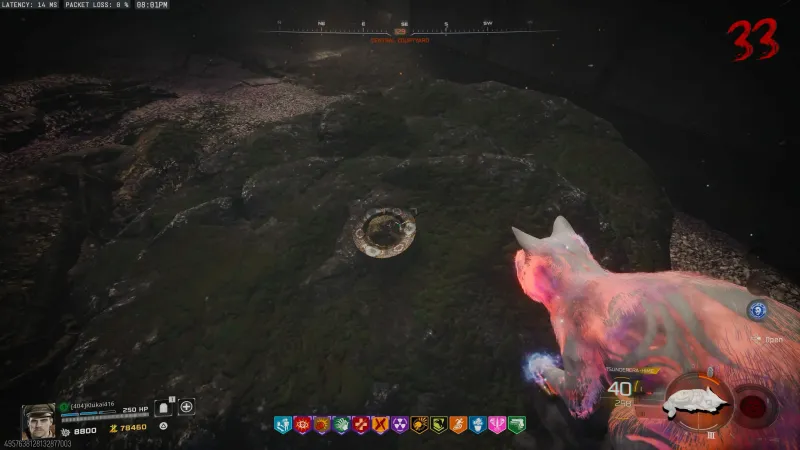
With the catnip in hand, put the bowl on the flat rock next to the big tree. It is the rock right in front of the hole in the wall, so if you are staring at the tree wondering which rock counts, look for that gap.
Step 5: Feed the Bowl During an Assault Phase
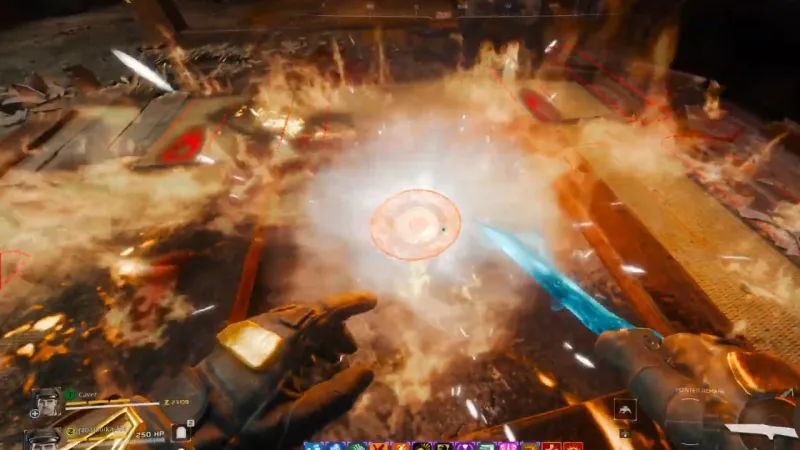
The bowl wants souls, and it only collects them during an assault phase at the big tree area. To get one there, deliberately fail the assault phases at the flower garden and the training area. The next assault phase then comes to you. During that assault, kill around 50 zombies with the Nekomancer anywhere in the big tree area, and you will see the red souls fly into the bowl. The radius covers the whole area, so you do not have to hug the rock.
Two useful details from testing. You can fail the first defense step of the assault on purpose if you need one more minute and more zombies to spawn. And if you want to speed things up, the clock step for the fourth poster of the main Easter egg can force spawn an assault phase, which shaves off some rounds. We skipped the clock trick and it worked fine either way.
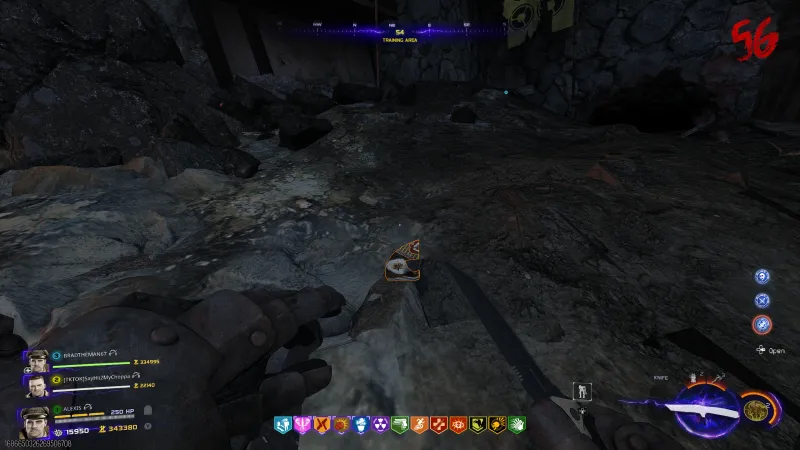
Step 6: Survive the No-Reload Trial
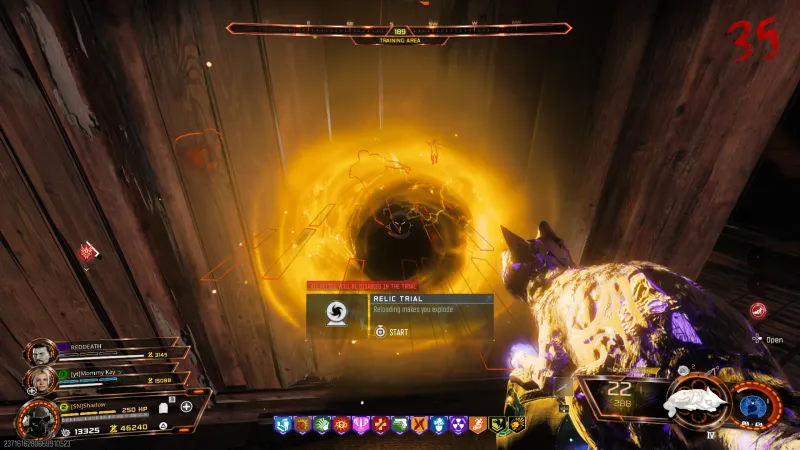
Once the bowl is fed, the portal opens in the Training Area, in the room where you get the ash pouch. All relics are disabled inside, and the rule is printed on the way in: reloading makes you explode, at around 40 HP per reload.
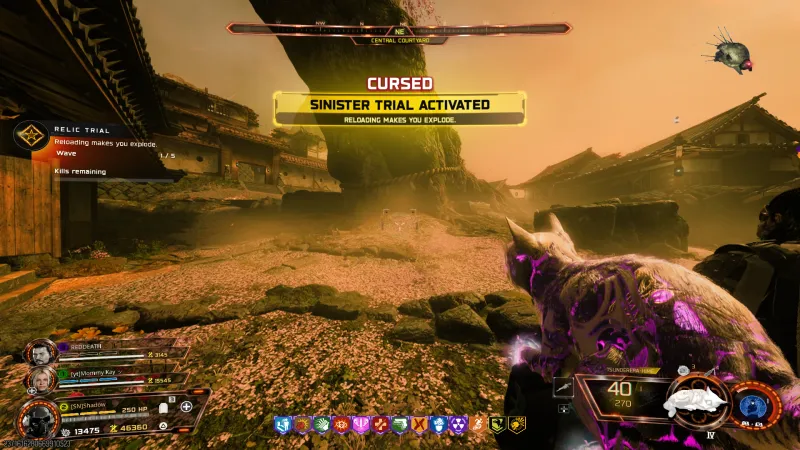
The trial runs five waves of HVTs, and the wave areas move around the map, so expect to fight in more than one spot. The counter to the reload rule is simple: camp with the wonder weapon. The Nekomancer keeps you killing without magazine reloads, so the explosion rule barely touches you. Even if you do reload, 40 HP will not end your run on its own. The waves themselves are on the easier side as relic trials go.
Is It Worth Equipping?
This is one of the more interesting relics on the map, because it adds a genuinely new mechanic instead of a flat stat penalty. Staying in one place to grind high rounds is the default way to play Zombies, and Valkyrie Helmet directly attacks that habit. If you want a run where positioning actually matters from round one, this delivers.
There is also a concrete reward for running it. A Dark Ops challenge asks you to reach round 50 with both Valkyrie Helmet and Mannequin Turret equipped, which is a brutal combo of no camping and gold-armor-only. And as a Sinister relic it counts toward the relic-completion camo, the same as its siblings.
All Kowakujo Relics
Kowakujo has six Cursed mode relics across the three relic tiers. Here is the full set with their effects. We are building a guide for each one and will link them here as they go live.
| Relic | Tier | Effect | Guide |
|---|---|---|---|
| Gramophone | Grim | Bullets deal more damage but each shot uses 2 bullets | Read guide |
| Druid Stone | Grim | No bleedout bar, and self-revive instantly revives you | Read guide |
| Valkyrie Helmet | Sinister | Areas you linger in spawn electric fields that damage you | This guide |
| Film Reel | Sinister | You can only carry one Pack-a-Punch weapon | Read guide |
| Mannequin Turret | Wicked | No starting armor, only gold armor from the wall buy | Read guide |
| Dragon Egg | Wicked | Normal-round elites and specials spawn at random | Read guide |
Tips
- Do the steps in order and never open the cat cafe before the bowl exists. That mistake softlocks the relic for the run.
- Never save and quit mid-quest. It bugs out the steps.
- Start early. Every step works at any round before 40, and low rounds make the shard farming painless.
- Shards are tiny and faint orange. Sweep the ground around the Maneki-Neko after every charged-shot session.
- In co-op, split the jobs: one player farms shards and upgrade parts, the other runs the cat cafe hunt.
- For the trial, camp with the Nekomancer and you barely have to reload. A stray reload only costs about 40 HP.
- New to relic hunting? Start with our Cursed mode explainer and a strong BO7 Zombies loadout.
Frequently Asked Questions
What does the Valkyrie Helmet relic do in BO7 Zombies?
With the Valkyrie Helmet relic equipped, areas you stay in start to spawn electric fields that damage you. It is an anti-camping modifier: hold one spot too long and the ground starts hurting you, so you have to keep rotating instead of sitting in a corner.
How do you unlock the Valkyrie Helmet relic on Kowakujo?
Build the upgraded Maneki-Neko first (matches and coal in the kitchen, powder from the castle ghost trap, then craft at the Workshop). Farm 4 broken shards by getting charged Nekomancer kills inside the upgraded Maneki-Neko bubble, reassemble them into a bowl at the kitchen fireplace with a molotov, grab catnip from the cat cafe side Easter egg, place the bowl on the flat rock by the big tree, then feed it around 50 Nekomancer kills during an assault phase. A portal opens in the Training Area for the trial.
What tier is the Valkyrie Helmet relic in BO7?
Valkyrie Helmet is a Sinister tier relic, the middle of the three relic tiers on Kowakujo. The unlock has a lot of steps, but every single one can be done at any round before 40, so it is more of a checklist than a skill check.
What is the Valkyrie Helmet relic trial?
The trial rule is that reloading makes you explode, costing around 40 HP per reload. You fight five waves of HVTs. Camping with the wonder weapon works well since it keeps you shooting without reloads, and the waves themselves are on the easier side.
Can you get softlocked out of the Valkyrie Helmet relic?
Yes. If you open the cat cafe side Easter egg before you have the bowl, the relic quest softlocks and the run is dead. Saving and quitting mid-quest also bugs out the steps. Do the steps in order and finish the quest in one sitting.
Do you need to finish the Kowakujo Easter egg to get the Valkyrie Helmet relic?
You need the main Easter egg completed once ever, since that unlocks Cursed mode and relics. Inside the run you do not progress the main quest, but you do need the Nekomancer wonder weapon and the upgraded Maneki-Neko for the shard step.
Is the Valkyrie Helmet relic worth equipping in BO7?
It is one of the more interesting relics because it forces a genuinely different playstyle: no more holding one corner for 30 rounds. There is also a Dark Ops challenge for reaching round 50 with both Valkyrie Helmet and Mannequin Turret equipped, so this relic is half of that unlock.
Big thanks to the ZoneX relic-hunting community, who solved this one and shared the method: Mmult cracked the relic, Pork worked out the bowl step, Rantsycancy found the catnip, and siimwa kept the info organized. Creators including AC OMEGA, Doughnuts, and Lazarus Rising have video walkthroughs that match the steps above.
Hunting the rest of the Kowakujo relics or need a squad that knows the softlocks? Join 50,000+ players in the COD Central Discord. Our Zombies channels run relic trials daily and the team that wrote this guide is in there to help.
