Dynamic Ops in MW4 DMZ are chains of objectives you start from the deploy menu or from a Dynamic Op phone on Hajin, and every completed op pays cash straight into your bank. The menu promises $10,000 to $20,000 per op. Our after-action reports showed $6,800 to $10,500 per op, plus thousands of XP. What surprised us is that the same op moves around, with new locations and a new keypad code every match. We have seen twelve Dynamic Ops during the first days of DMZ early access on October 20 and 21, 2026, finished eight of them start to finish, and this hub covers all twelve.
- Start a Dynamic Op from the Dynamic Operations deploy mode or by activating a Dynamic Op phone in the field.
- Each op is a chain of steps. Finished steps paid +250 XP and +$300 in our runs.
- The same op uses different locations and codes every match. Viral Reckoning gave us code 8531 in one run and 8349 in the next.
- The menu says $10,000 to $20,000 per op. Our reports showed $6,800 to $10,500 per op, and $20,400 for two ops in one deployment.
- Full walkthroughs below for Viral Reckoning, Ghost Shipment, Chemical Denial, Toxic Intercept, Dead Man’s Cache, Signal Breaker, Broken Resupply and Special Delivery, plus notes on four more.
- One match showed 12 op markers on the tac map at the same time.
How Dynamic Ops Work in MW4 DMZ
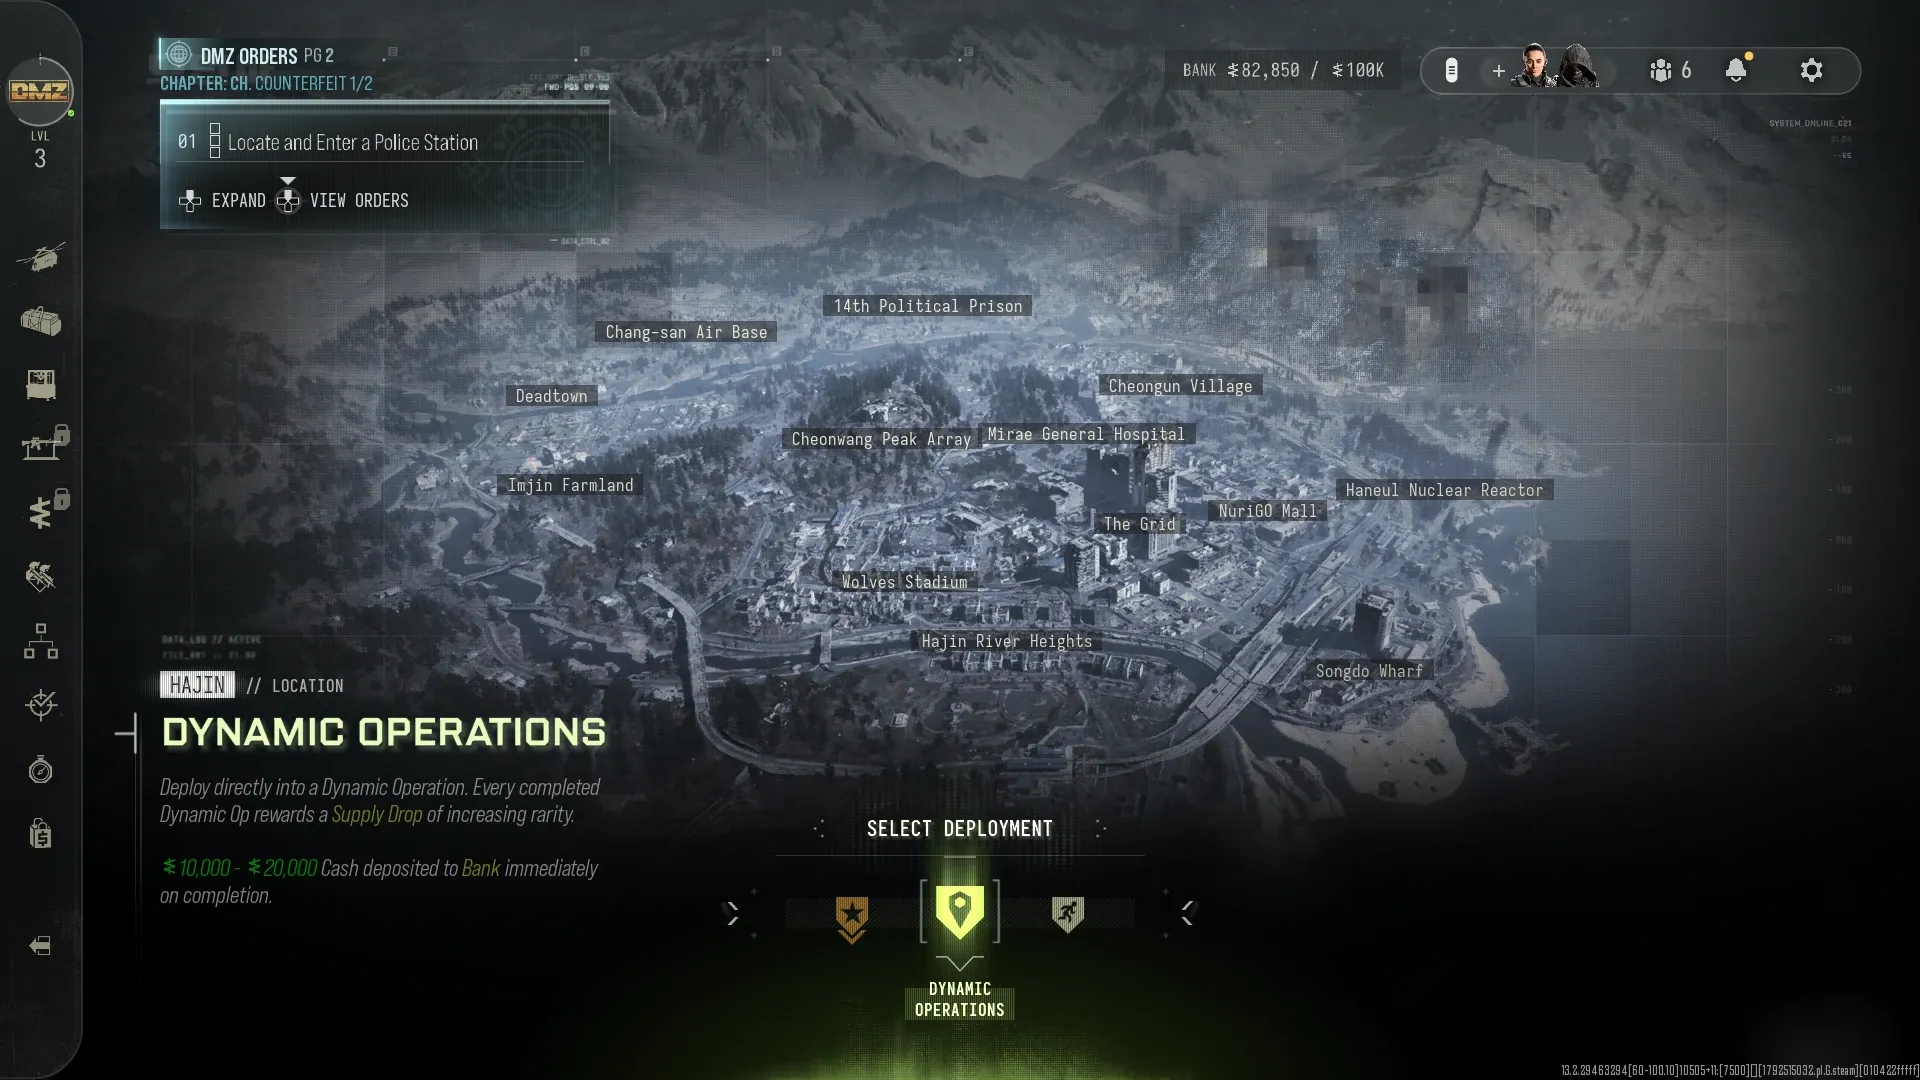
The Select Deployment screen has three modes, Story Missions, Dynamic Operations and Free Roam. Pick Dynamic Operations and you deploy directly into an op. The card says every completed Dynamic Op rewards a Supply Drop of increasing rarity, and that $10,000 to $20,000 cash goes to your bank immediately on completion. Story missions like Operation Critical Extraction are a separate mode.
You can also pick up an op in the field. Dynamic Op phones sit around Hajin, and walking up to one gives you a prompt with the op name and ACTIVATE. Our second Viral Reckoning started from a phone on an office desk in the South Korean Border Zone.
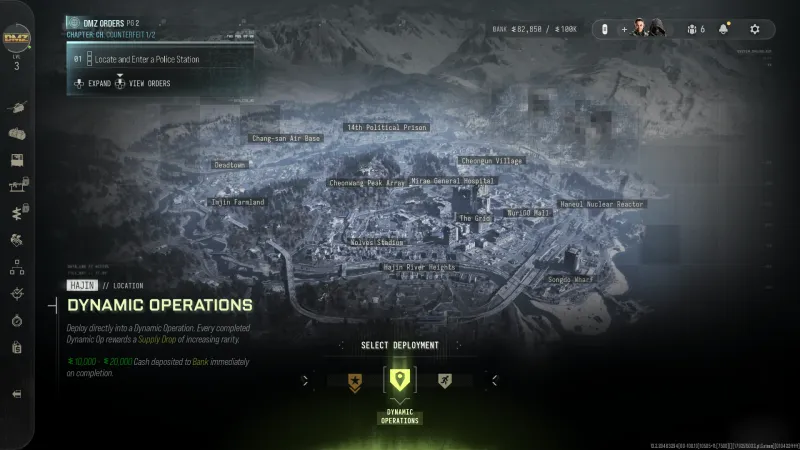 Click to enlarge The deploy menu promises $10,000 to $20,000 per completed op.
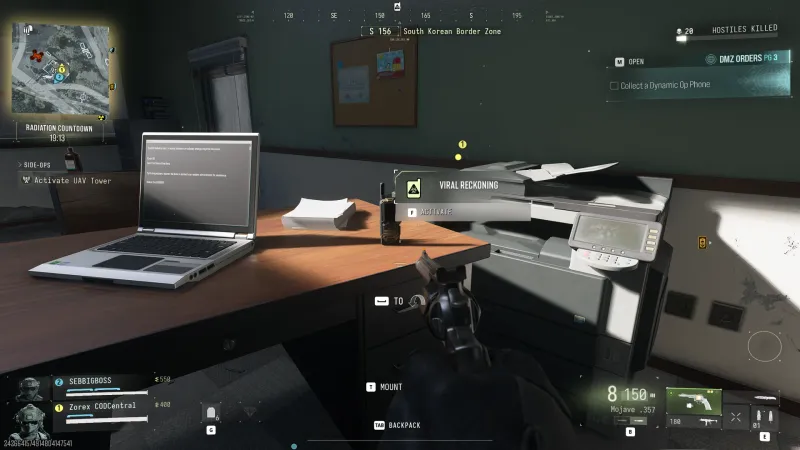 Click to enlarge A Dynamic Op phone in the field. Press Activate and the op starts.
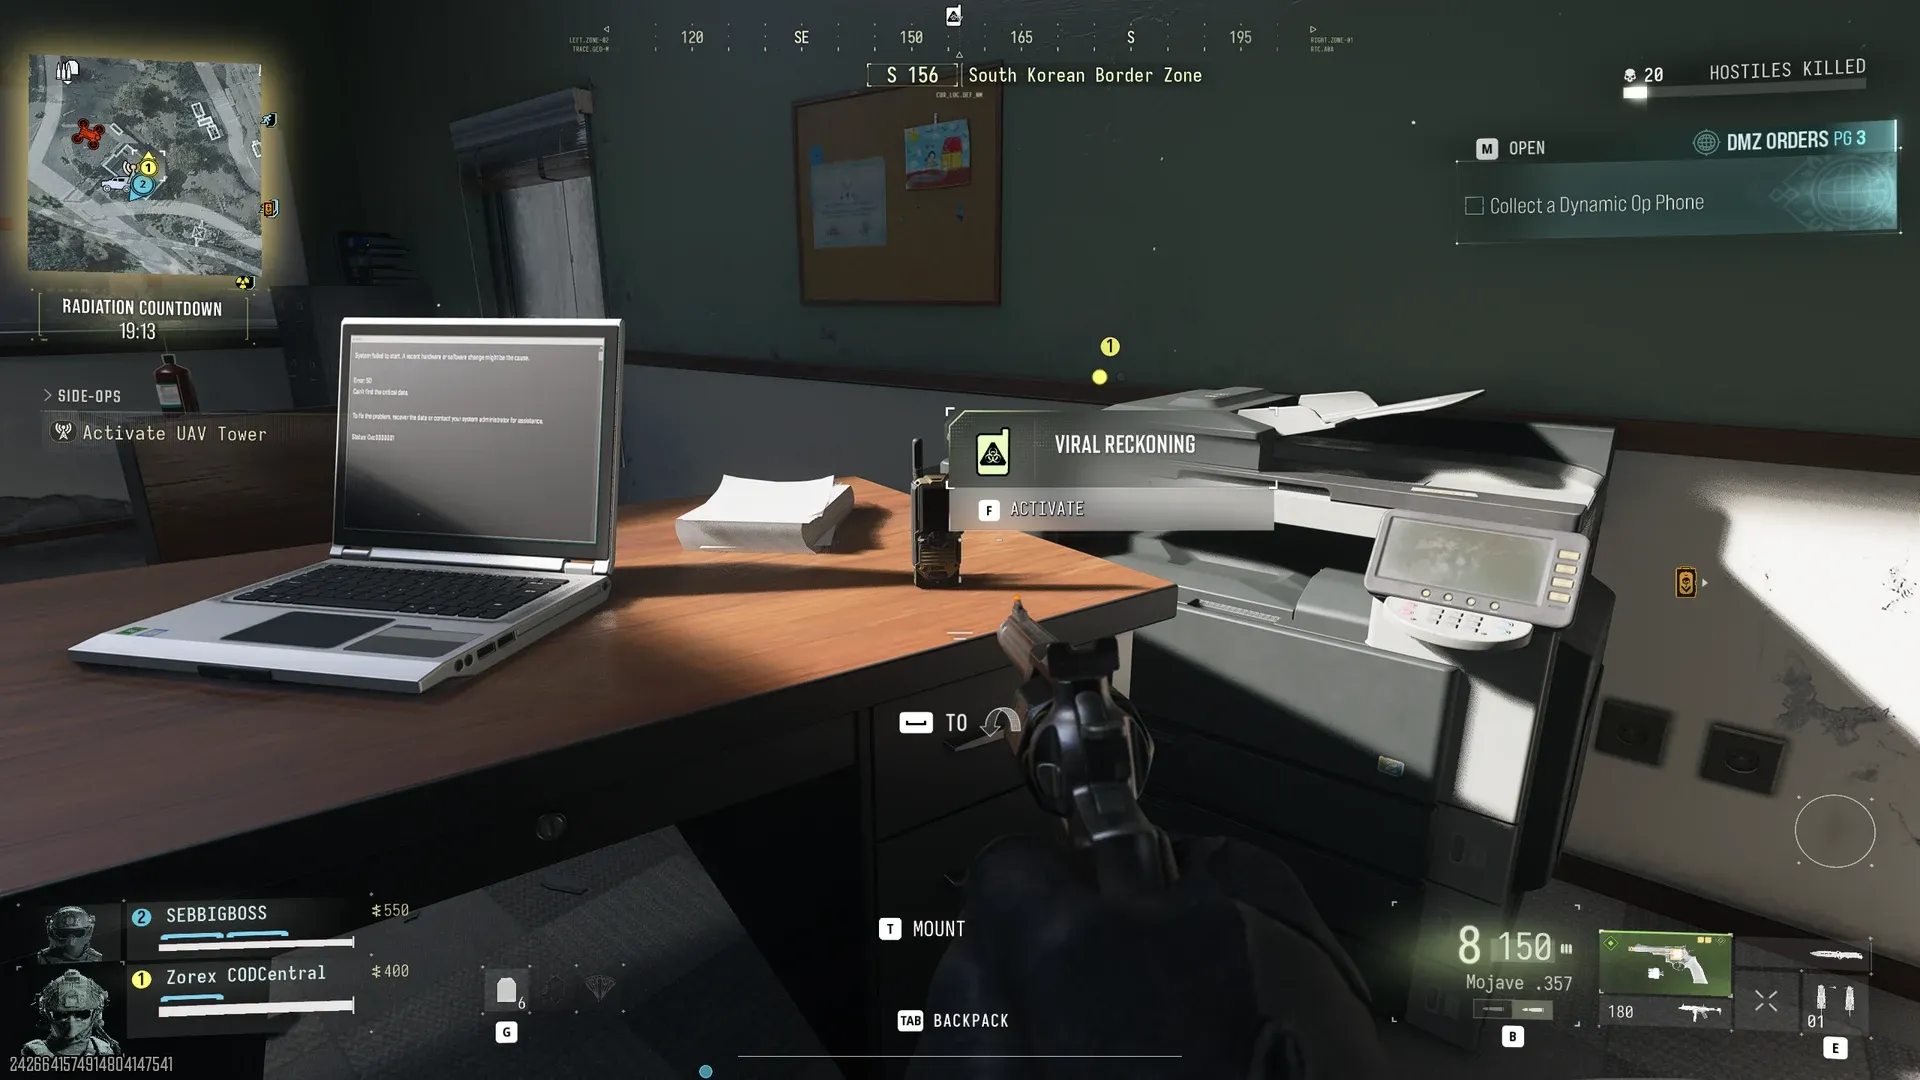
Once an op is running, your objective panel shows one step at a time. Finish it and a STEP COMPLETE banner fires, followed by a NEXT STEP banner with the new objective and a fresh waypoint. In our runs a finished step paid +250 XP and, a moment later, +$300, both as small popups on the op panel. A few steps run on a timer, like defending a landing zone until the exfil chopper arrives.
If your squad wants out, the tac map shows VOTE TO CANCEL OP (B on PC) while an op is active. Lieutenants can show up mid-op too.
Same Op, Different Match: Locations and Codes Change
We ran Viral Reckoning twice. The steps were identical both times. Every location was different, and so was the keypad code.
| Step | Run 1 | Run 2 |
|---|---|---|
| Op start | Activate prompt in a locker at the 14th Political Prison | Dynamic Op phone in the South Korean Border Zone |
| HVT with the radio | 14th Political Prison yard | Next to a truck in the South Korean Border Zone |
| Scientist | Behind a keypad door at Cheongun Outskirts | DBN Headquarters in The Grid, threat EXTREME |
| Keypad code | 8531 | 8349 |
| Landing zone | Cheongun Village, by the river | NuriGO West |
| Bomb | Hidden cache under Goyohan Dock | Safe in a tent at Compound Delta |
| Biological WMD | Garage at the 14th Political Prison | Snow Station in Cheongun Village |
| Completion reward | +$7,500 | +$7,500 and +4,230 XP |
A third Viral Reckoning we saw from another player had code 3628, on a keypad in Deadtown. Three runs, three codes, three different scientist buildings.
Dynamic Op codes are random per match. Any code you find in a video or a guide, ours included, only worked in that one match. The code you need is printed in the step name on your objective panel, for example Use Code 8349 to Unlock Keypad.
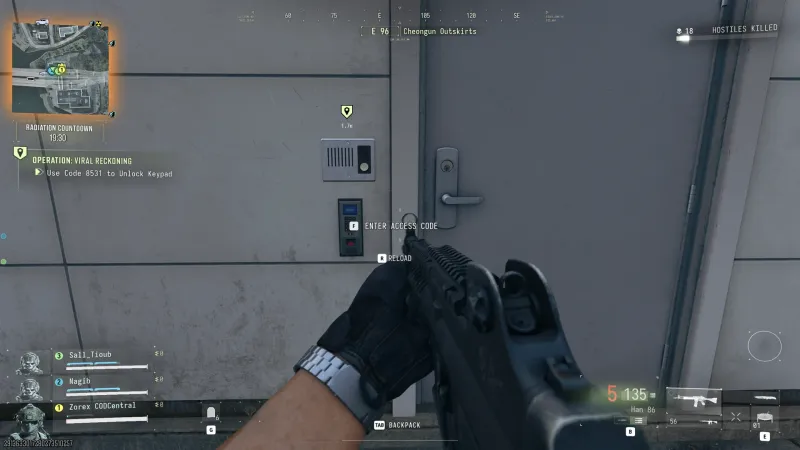 Click to enlarge Run 1, code 8531 at Cheongun Outskirts.
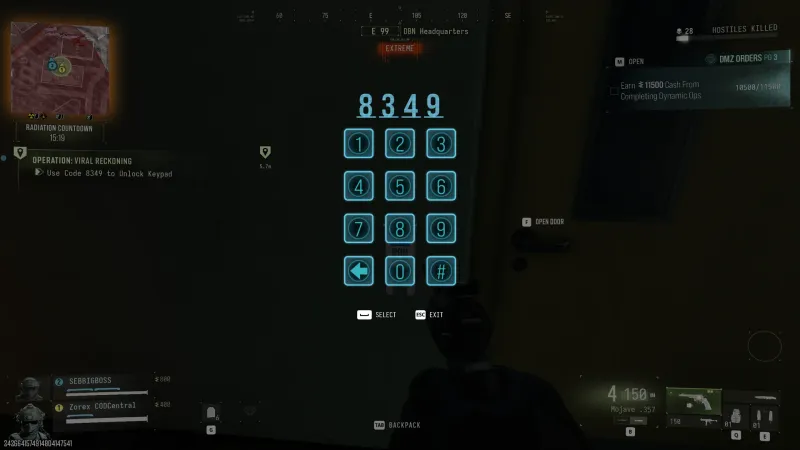 Click to enlarge Run 2, code 8349 in DBN Headquarters.
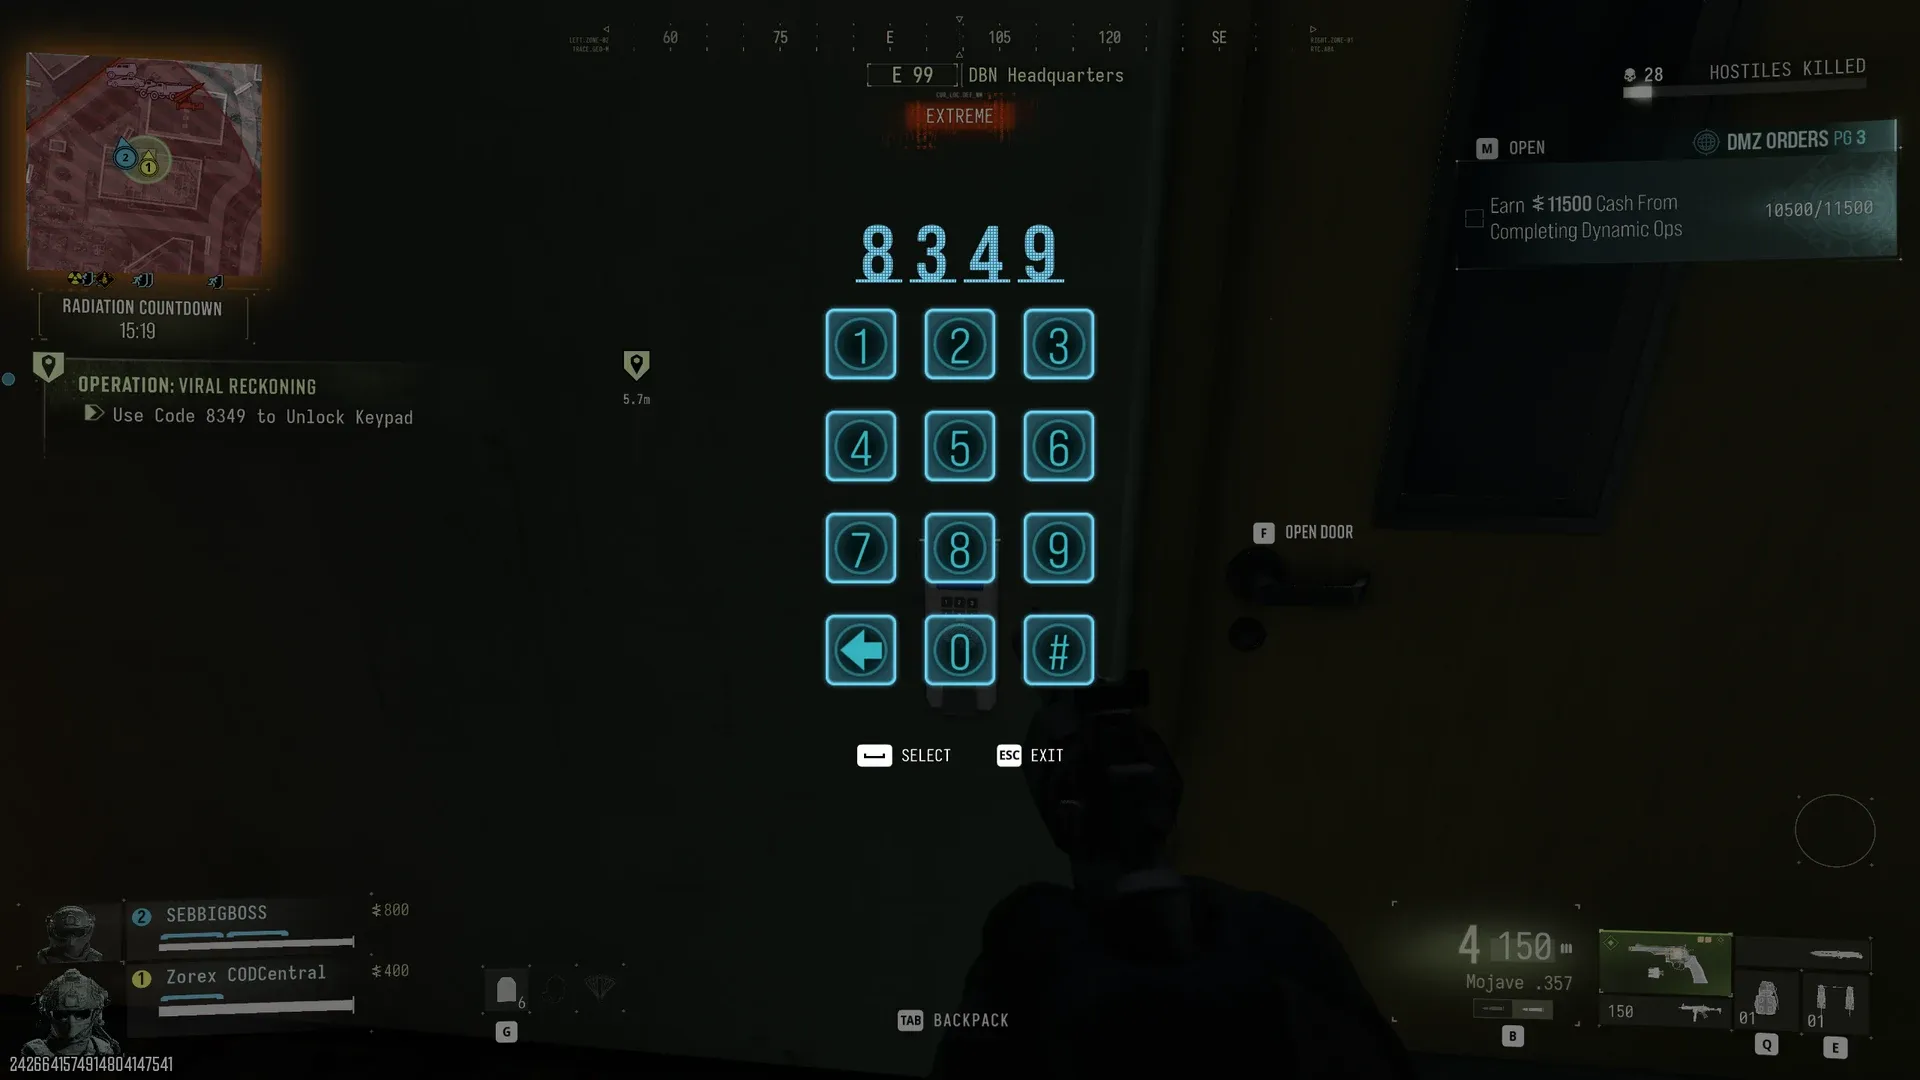
So the walkthroughs below describe the steps and where things were in our runs. Treat our locations as examples and follow your own waypoints. Our Hajin map guide helps you place the names.
Dynamic Ops Rewards: Cash, XP and Supply Drops
Every completed op gave us an OPERATION COMPLETE banner with an XP popup. The op panel sometimes showed a different XP number a second later.
| Operation | Our result | Complete popup | Op panel reward |
|---|---|---|---|
| Viral Reckoning (run 1) | Completed | Not captured | +$7,500 |
| Viral Reckoning (run 2) | Completed | 4,950 XP | +4,230 XP, +$7,500 |
| Ghost Shipment | Completed | 5,032 XP | Not captured |
| Toxic Intercept | Completed | 4,950 XP | +4,500 XP |
| Chemical Denial | Completed | 3,300 XP | Not captured |
| Dead Man’s Cache | Completed | 5,146 XP | Not captured |
| Signal Breaker | Completed | 6,600 XP | +6,000 XP, +$10,000 |
| Broken Resupply | Completed | 3,496 XP | +2,993 XP, +$5,000 |
| Special Delivery | Completed | 5,048 XP | +4,500 XP, +$7,500 |
| Domino Protocol | Unfinished | None | 1,500 XP on the report |
| Sky Heist | Unfinished | None | 500 XP on the report |
The after-action report adds it all up under Dynamic Ops Payout (cash) and Dynamic Ops Completed (XP). These are the numbers we got.
- One op, cash. $6,800, $9,900 and $10,500 in three deployments.
- Two ops, cash. $17,000, $19,800 and $20,400.
- One op, XP. 4,500, 6,500, 7,000 and 8,000 XP.
- Two ops, XP. 11,250, 13,000 and 13,500 XP.
That puts our cash at $6,800 to $10,500 per op, below the $10,000 to $20,000 on the menu card. We are reporting both numbers as we saw them. Double XP was also active on several of these reports, so expect lower XP outside a Double XP window.
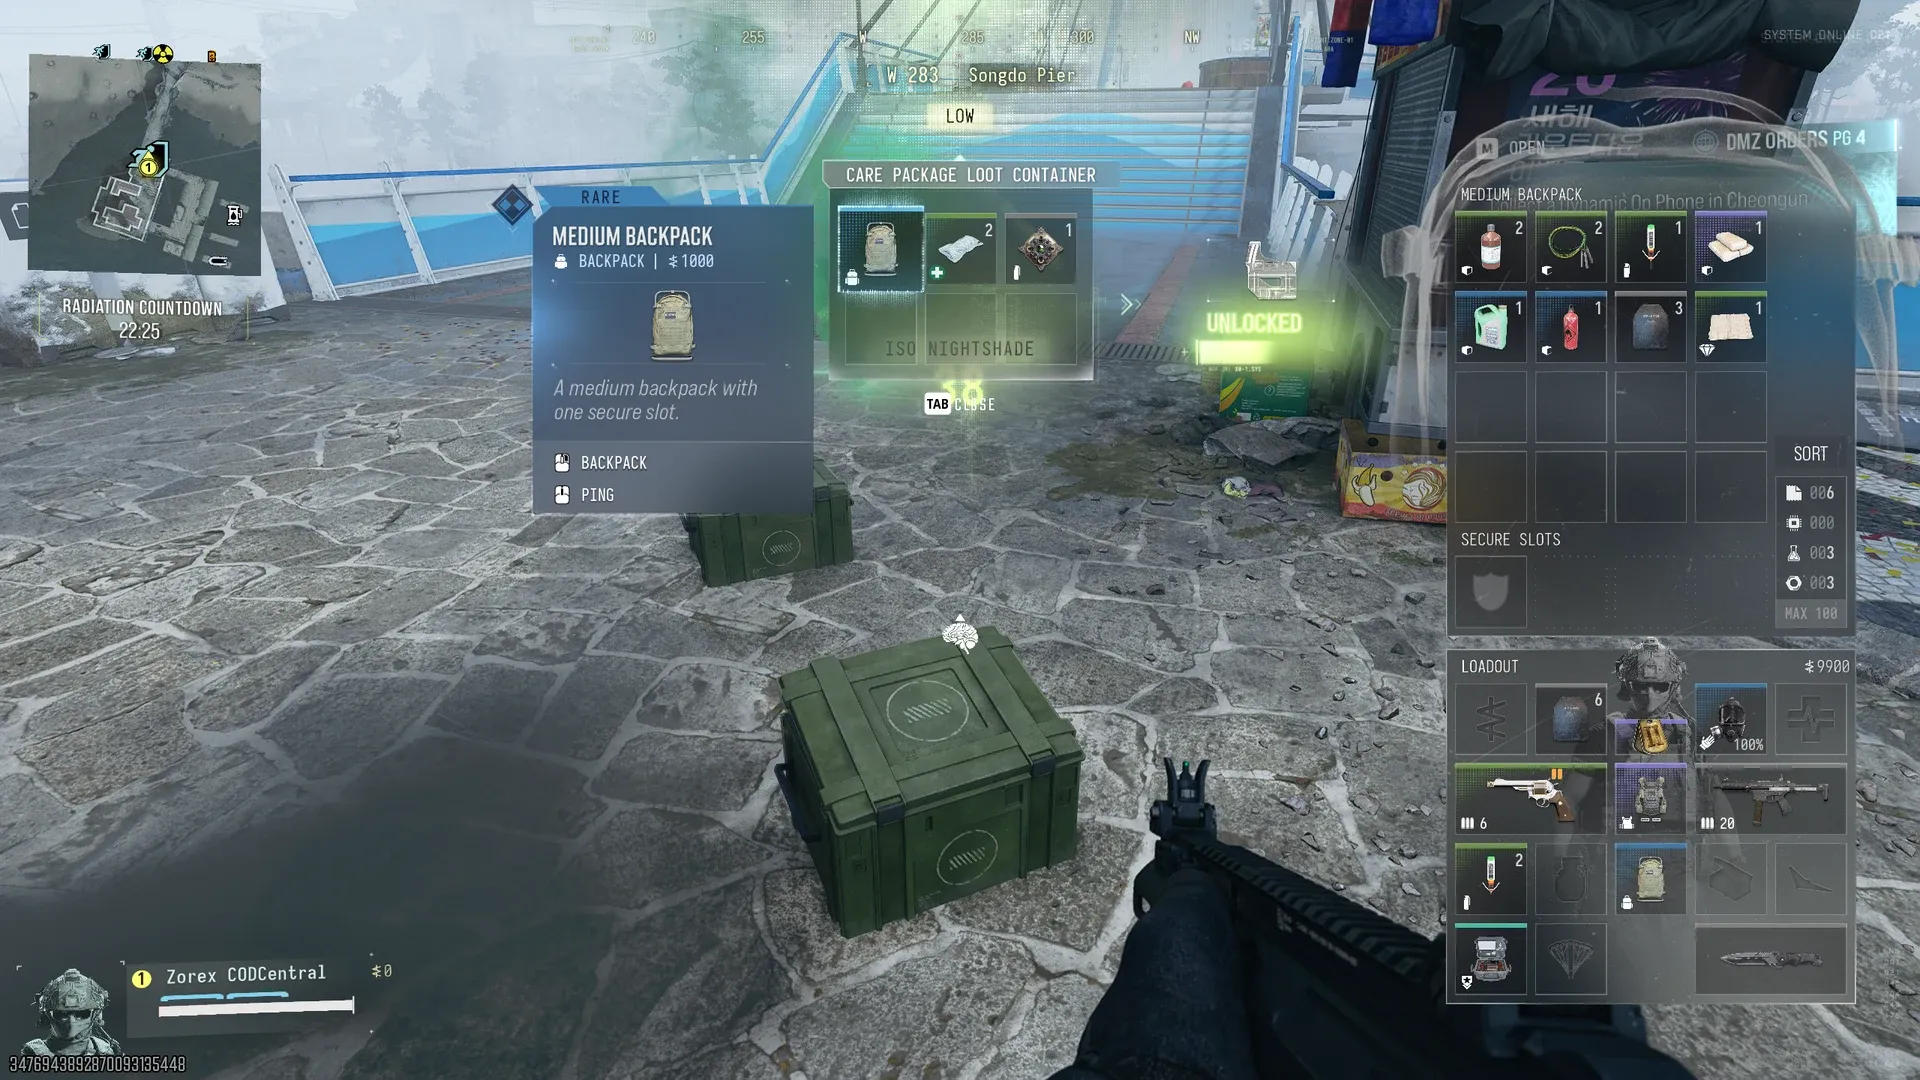
The menu card also promises a Supply Drop of increasing rarity for every completed op. After our Dead Man’s Cache a care package came down next to us. Its Care Package Loot Container held a Rare Medium Backpack among other gear, and looting it ticked the DMZ Order Loot a Dynamic Op Crate, so that care package is the op’s reward crate. Stay close after the OPERATION COMPLETE banner and loot it before you leave.
 Click to enlarge The Dynamic Op crate after Dead Man's Cache, with a Rare Medium Backpack inside.
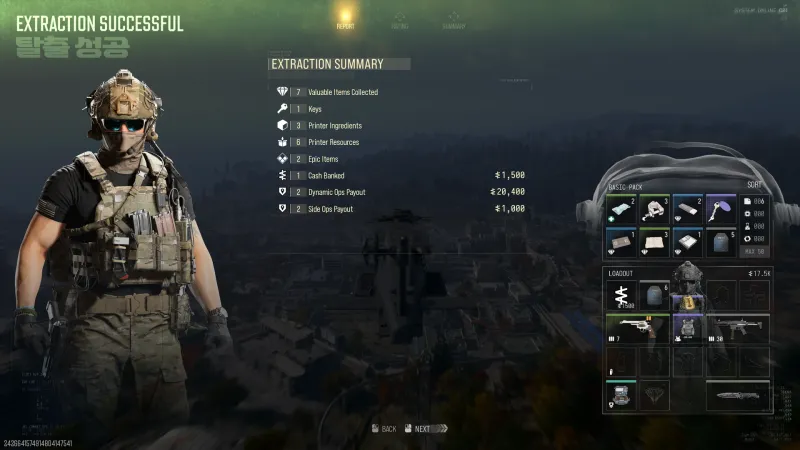 Click to enlarge Two ops in one deployment paid $20,400 on our report.
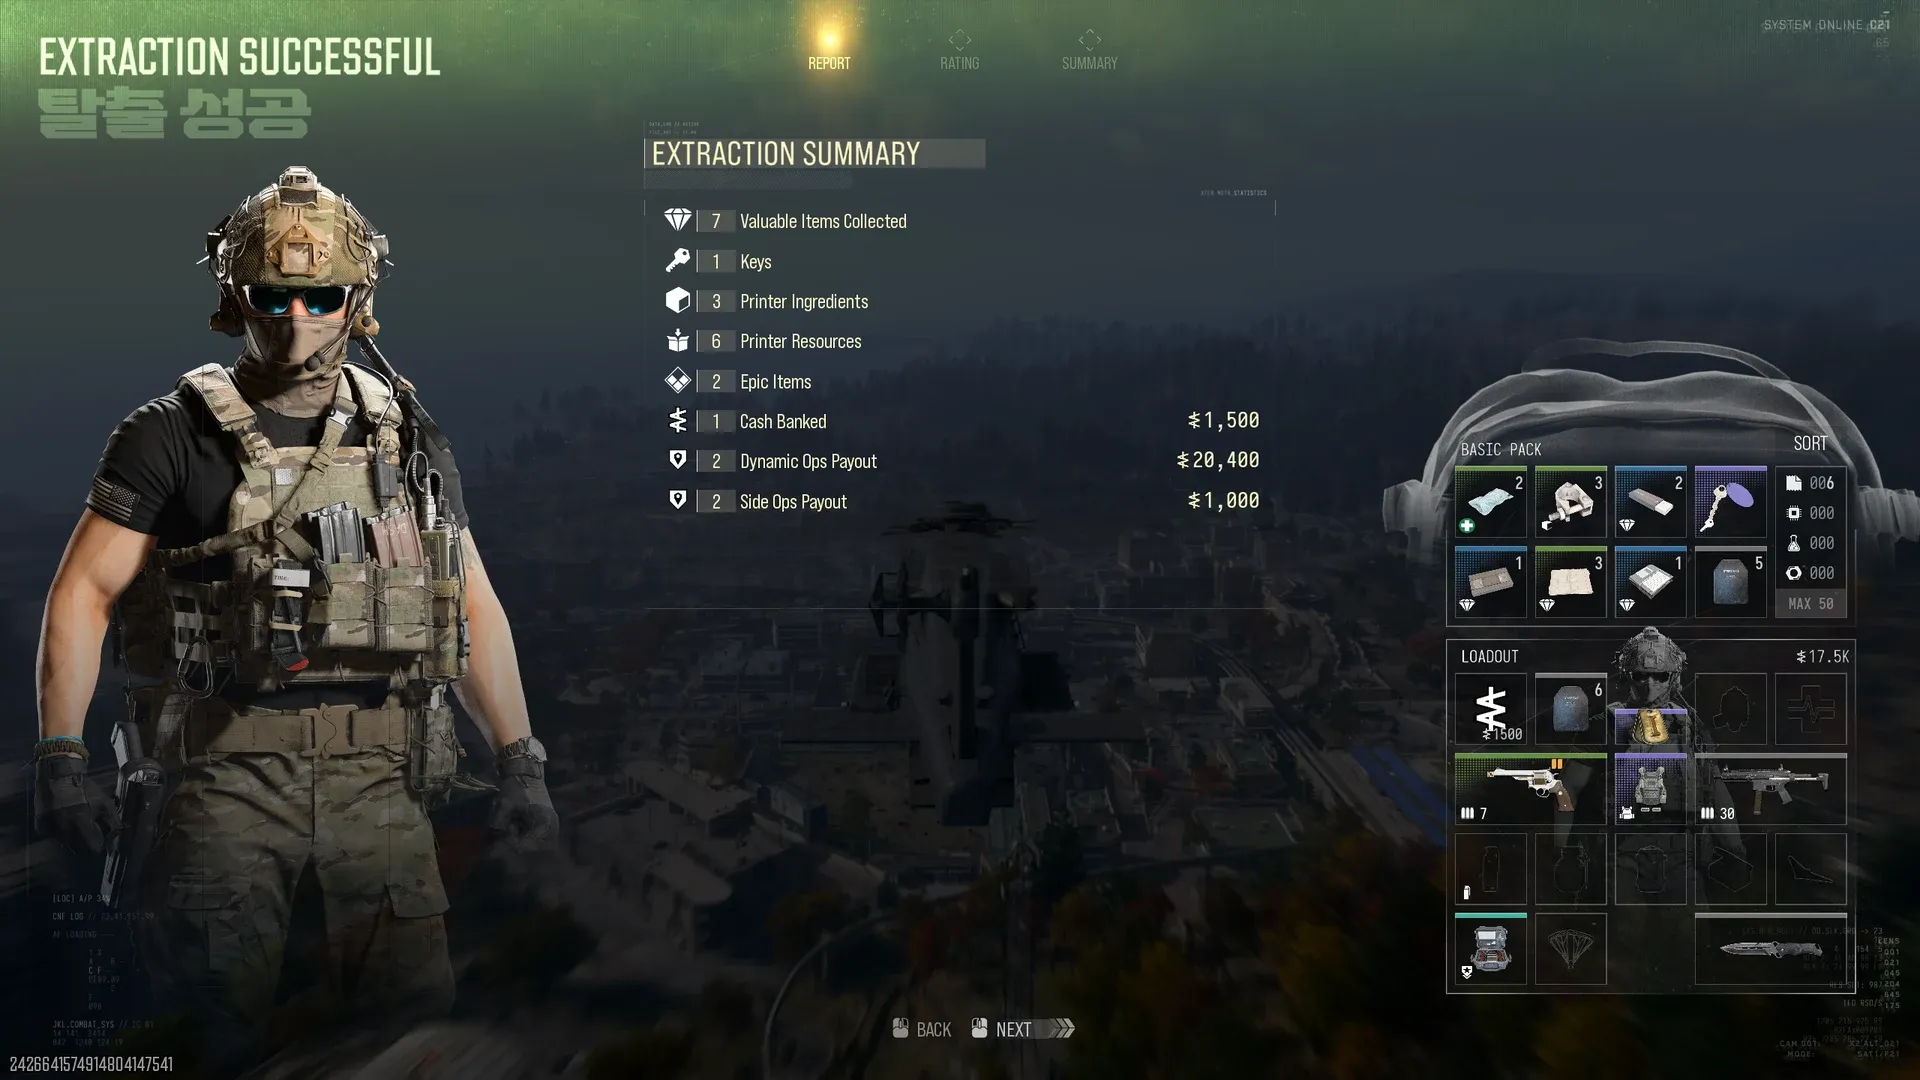
Run two ops per deployment whenever the clock allows it. Our two best cash reports and our two biggest Dynamic Ops XP lines all came from two-op deployments. For how that XP feeds your DMZ level, see our MW4 DMZ level rewards guide.
Every Dynamic Op on the Map in One Match
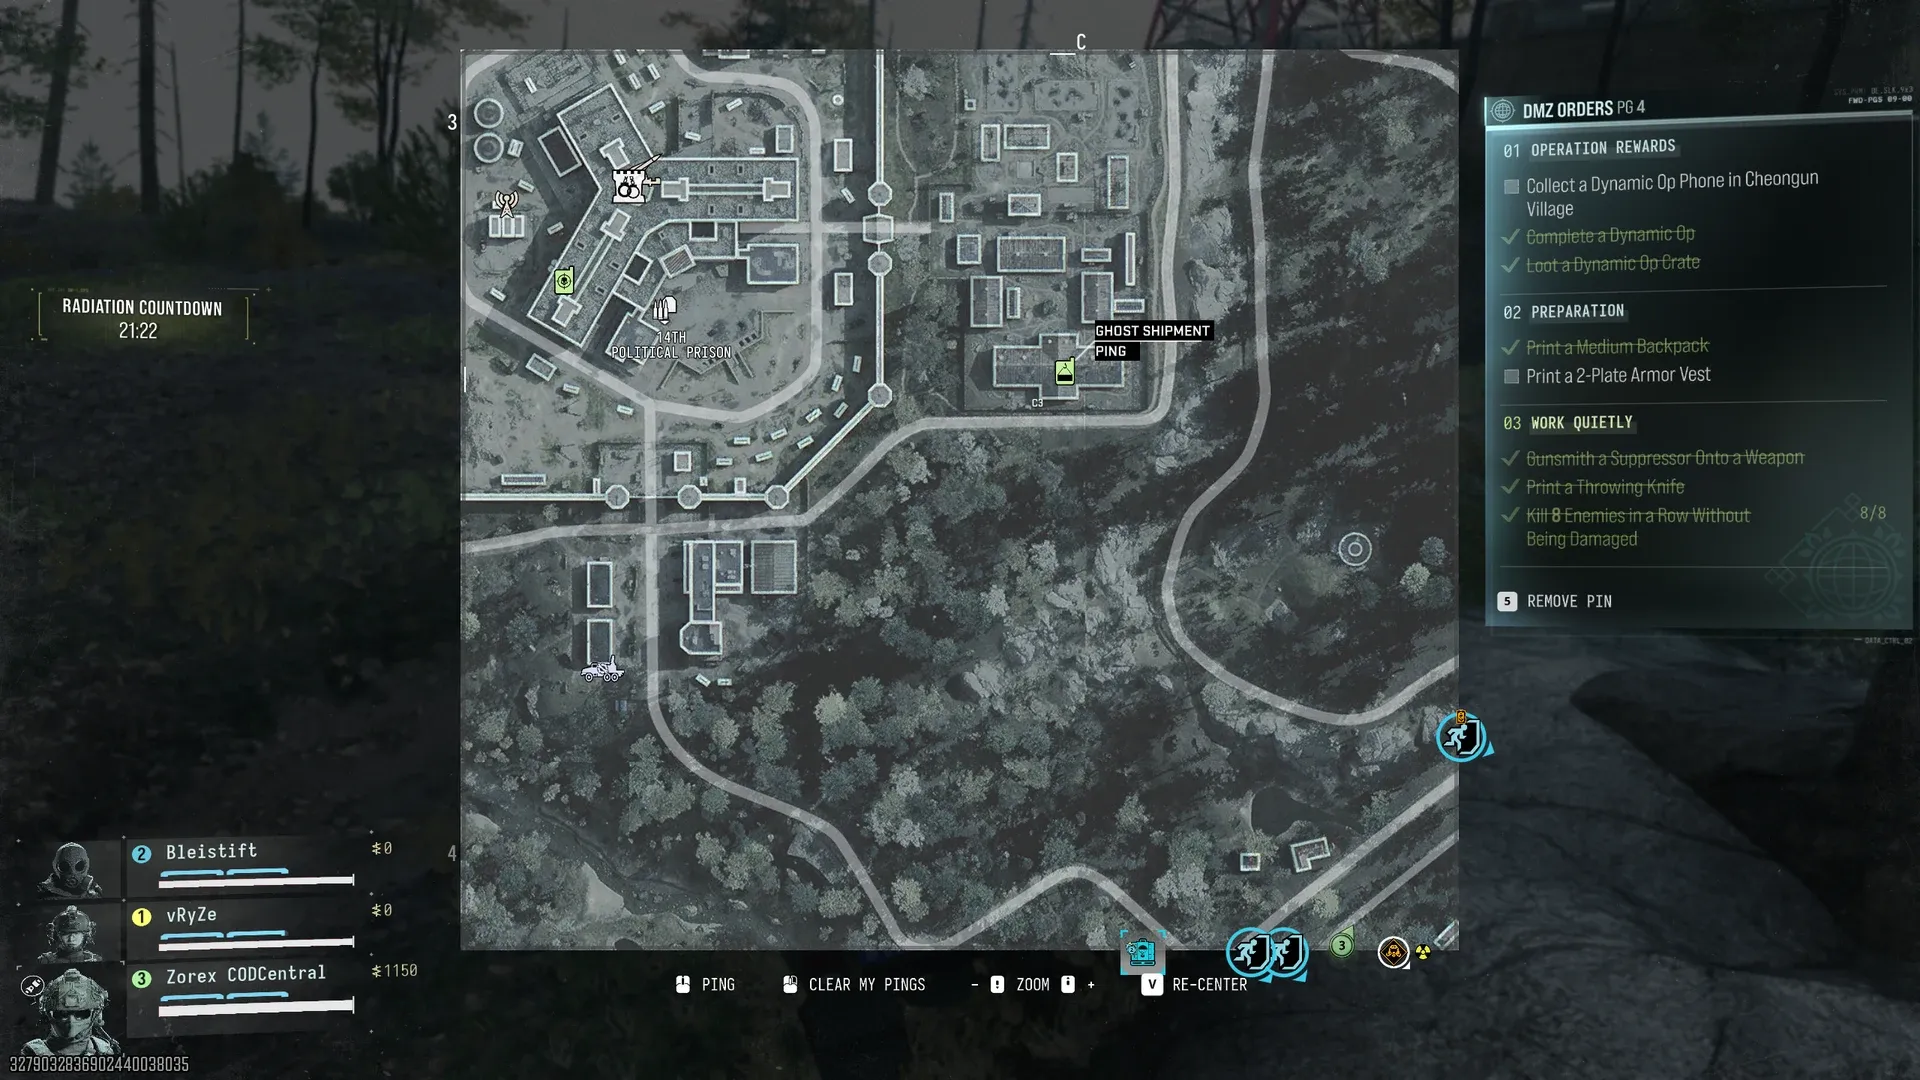
Ops do not wait in a menu. In one of our matches we opened the tac map and pinned every op marker we could find. There were 12 markers for 10 different ops, and two of them showed up twice. The grid squares are the ones the map printed next to each marker in that match, so expect your own match to place them elsewhere.
| Dynamic Op | Grid in that match | Nearby |
|---|---|---|
| Ghost Shipment | C3 | 14th Political Prison |
| Viral Reckoning | E4 | |
| Broken Resupply | E5 and F4 | |
| Domino Protocol | E6 | Cheonwang Peak Array |
| Dead Man’s Cache | G5 | |
| Toxic Intercept | H6 and H7 | NuriGO Mall |
| Chemical Denial | H6 | NuriGO Mall, Bank, Hotel Lucera |
| Sky Heist | C8 | |
| Hunt Operator | B5 | Red high-threat zone |
| Signal Breaker | B5 | Red high-threat zone |
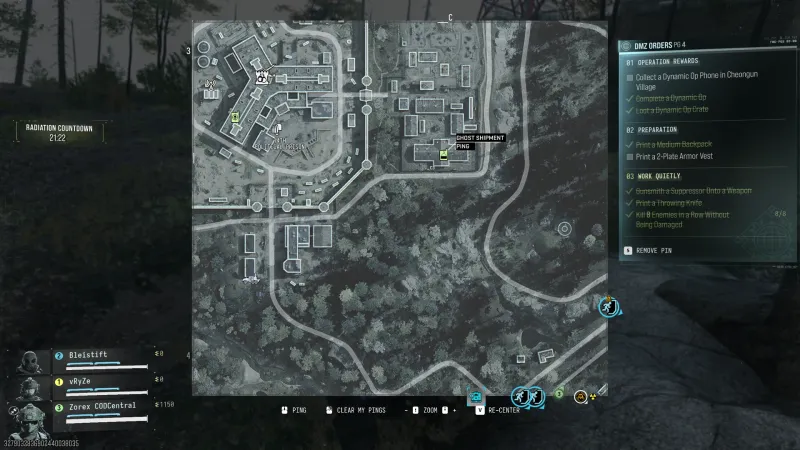 Click to enlarge Ghost Shipment pinned in C3, next to the 14th Political Prison.
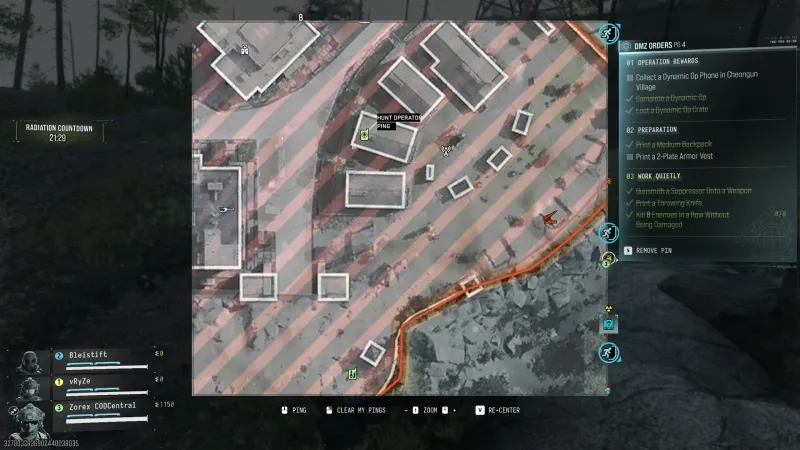 Click to enlarge Hunt Operator in B5, deep in a red high-threat zone.
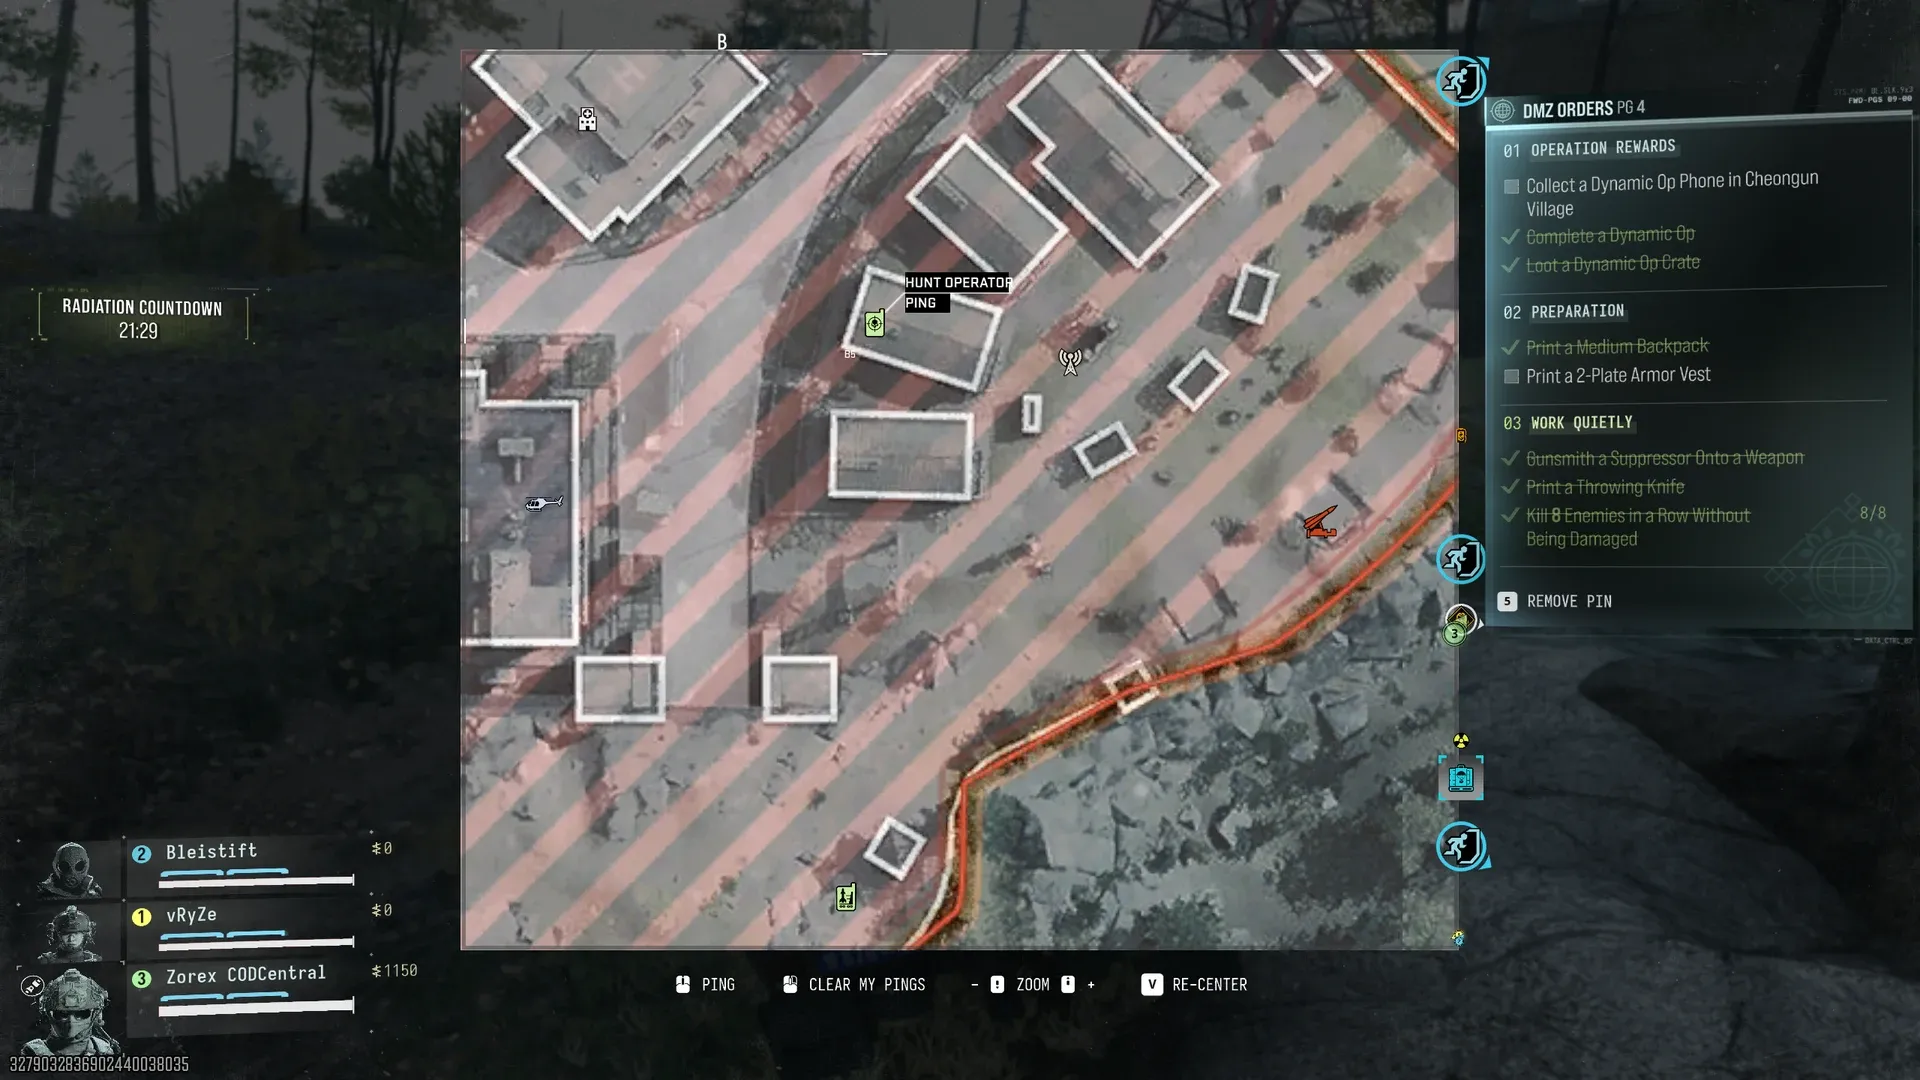
If you want to chain ops in one deployment, open the tac map right after infil and pick the ones closest to each other. That is how our two-op runs happened.
Viral Reckoning Walkthrough
Viral Reckoning has the most steps of any op we have played, with an HVT, a hostage rescue, a landing zone defense and a bomb plant. We completed it twice. The step names below come straight from the objective panel.
- Find HVT With Access To Enemy Comms. Run 1 started in the prison cell block, run 2 in the South Korean Border Zone.
- Eliminate the HVT With the Radio. He drops a Radio mission item.
- Pickup Enemy Radio and Obtain Intel on Scientist’s Location. In run 2 this showed as its own step.
- Reach the Scientist’s Location. Bring a vehicle. The waypoint was about 915m away in run 1 and about 653m in run 2.
- Use Code (your number) to Unlock Keypad. The code is in the step name and changes every match.
- Rescue the Scientist. He waits in the room behind the door. Pick him up and carry him out.
- Proceed to the Exfil Site, then Defend the Landing Zone until Exfil Arrives. The op panel runs a timer here.
- Place the Scientist Down Inside the Exfil Chopper.
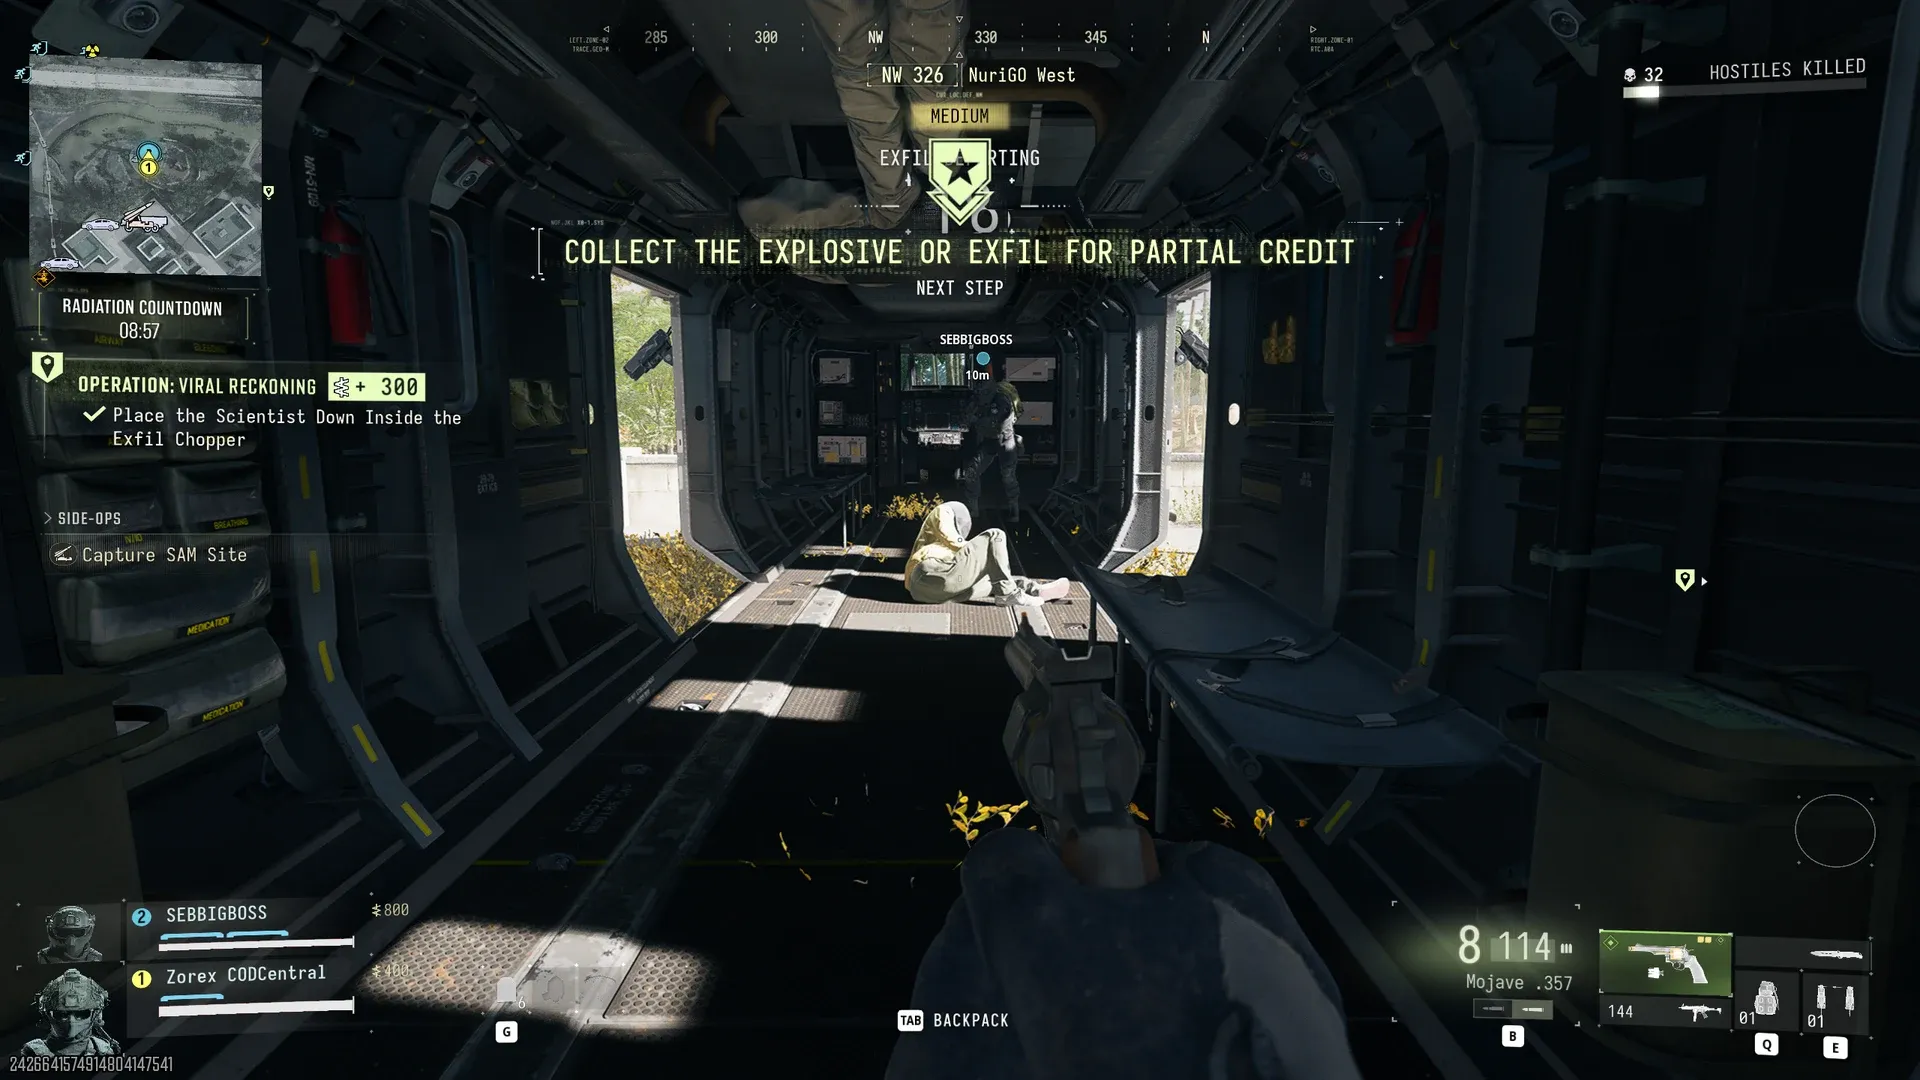
- Collect the Explosive or Exfil for Partial Credit. The Bomb is a mission item in a hidden cache or a safe.
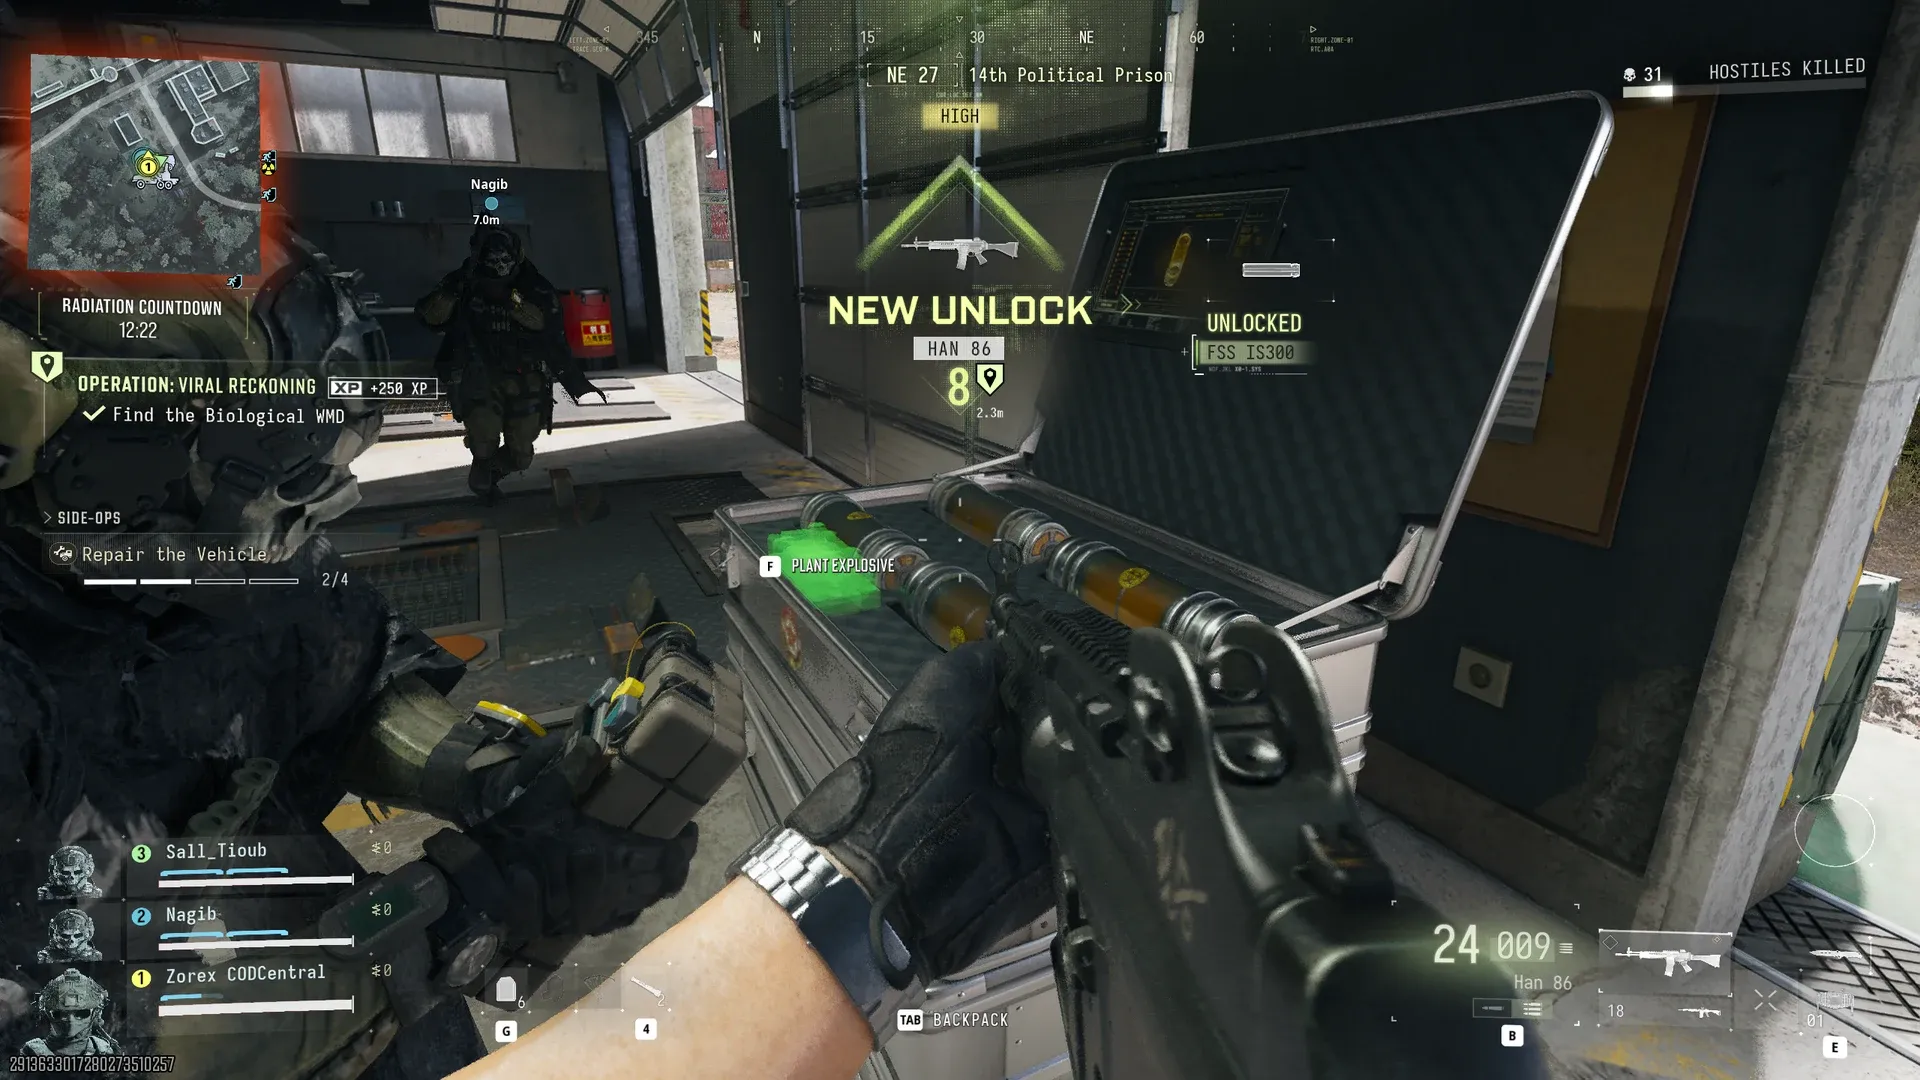
- Find the Biological WMD, then plant the explosive on it. The WMD is a case of canisters.
Step 9 is the fork. The step name offers partial credit if you leave on the chopper instead of going for the bomb. We took the bomb both times and both runs paid the full +$7,500, so we have no partial credit number for you yet.
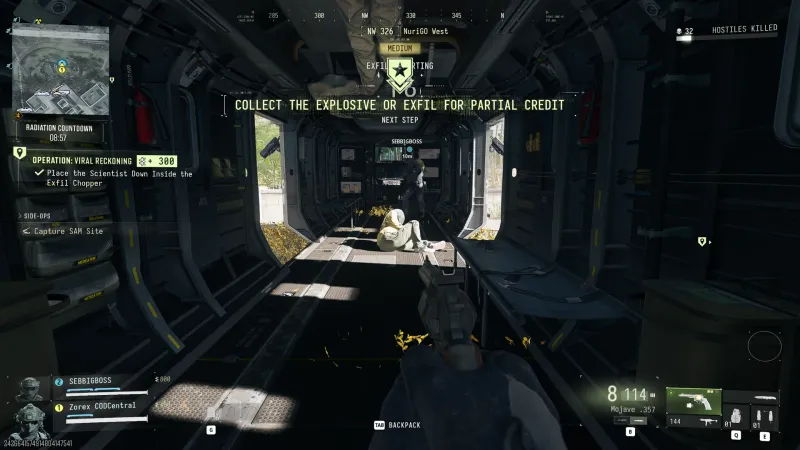 Click to enlarge The fork. Take the bomb or exfil for partial credit.
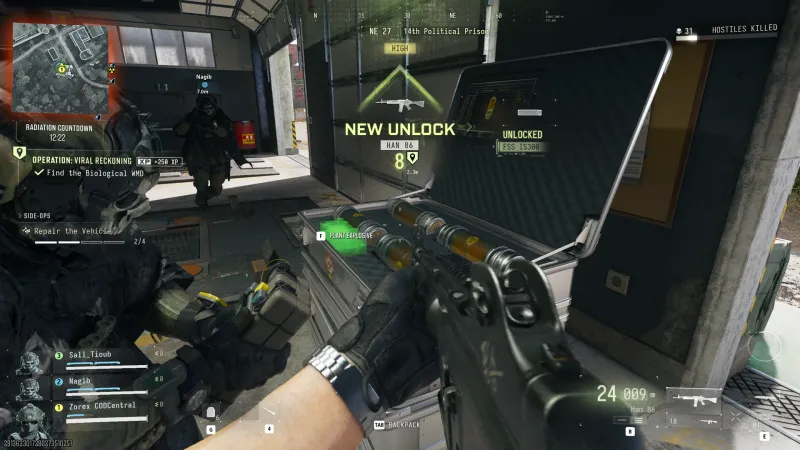 Click to enlarge Planting the explosive on the WMD at the 14th Political Prison.
Ghost Shipment Walkthrough
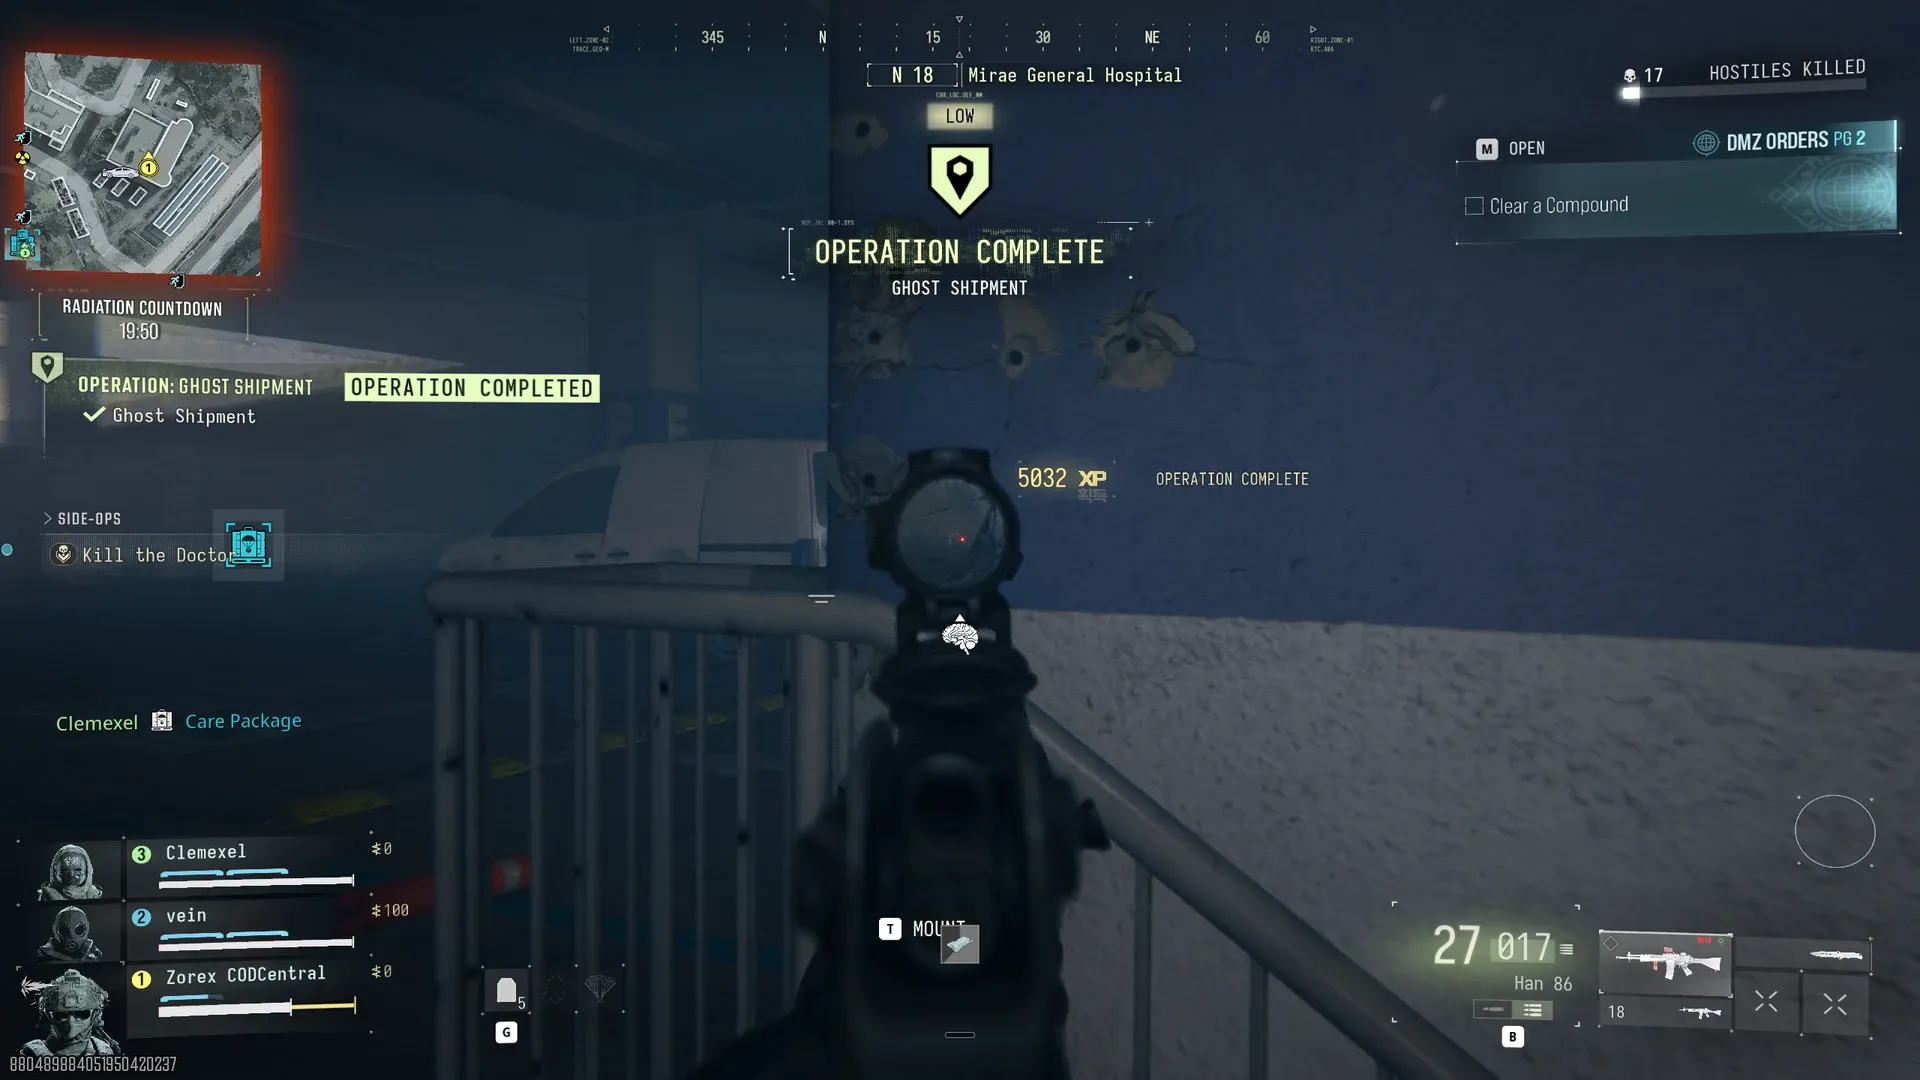
Ghost Shipment runs from an HVT hunt to a SAM site, and it ended with a 5,032 XP completion popup. We deployed in the South Korean Wilderness.
- Find the HVT. Ours was in Deadtown, threat LOW.
- Eliminate the Marked Target. He wore a yellow armband and stood between the shelves of a Deadtown shop.
- Pick Up the Classified Orders in the same shop.
- Approach the Target SAM Site. Ours was a launcher trailer near Deadtown.
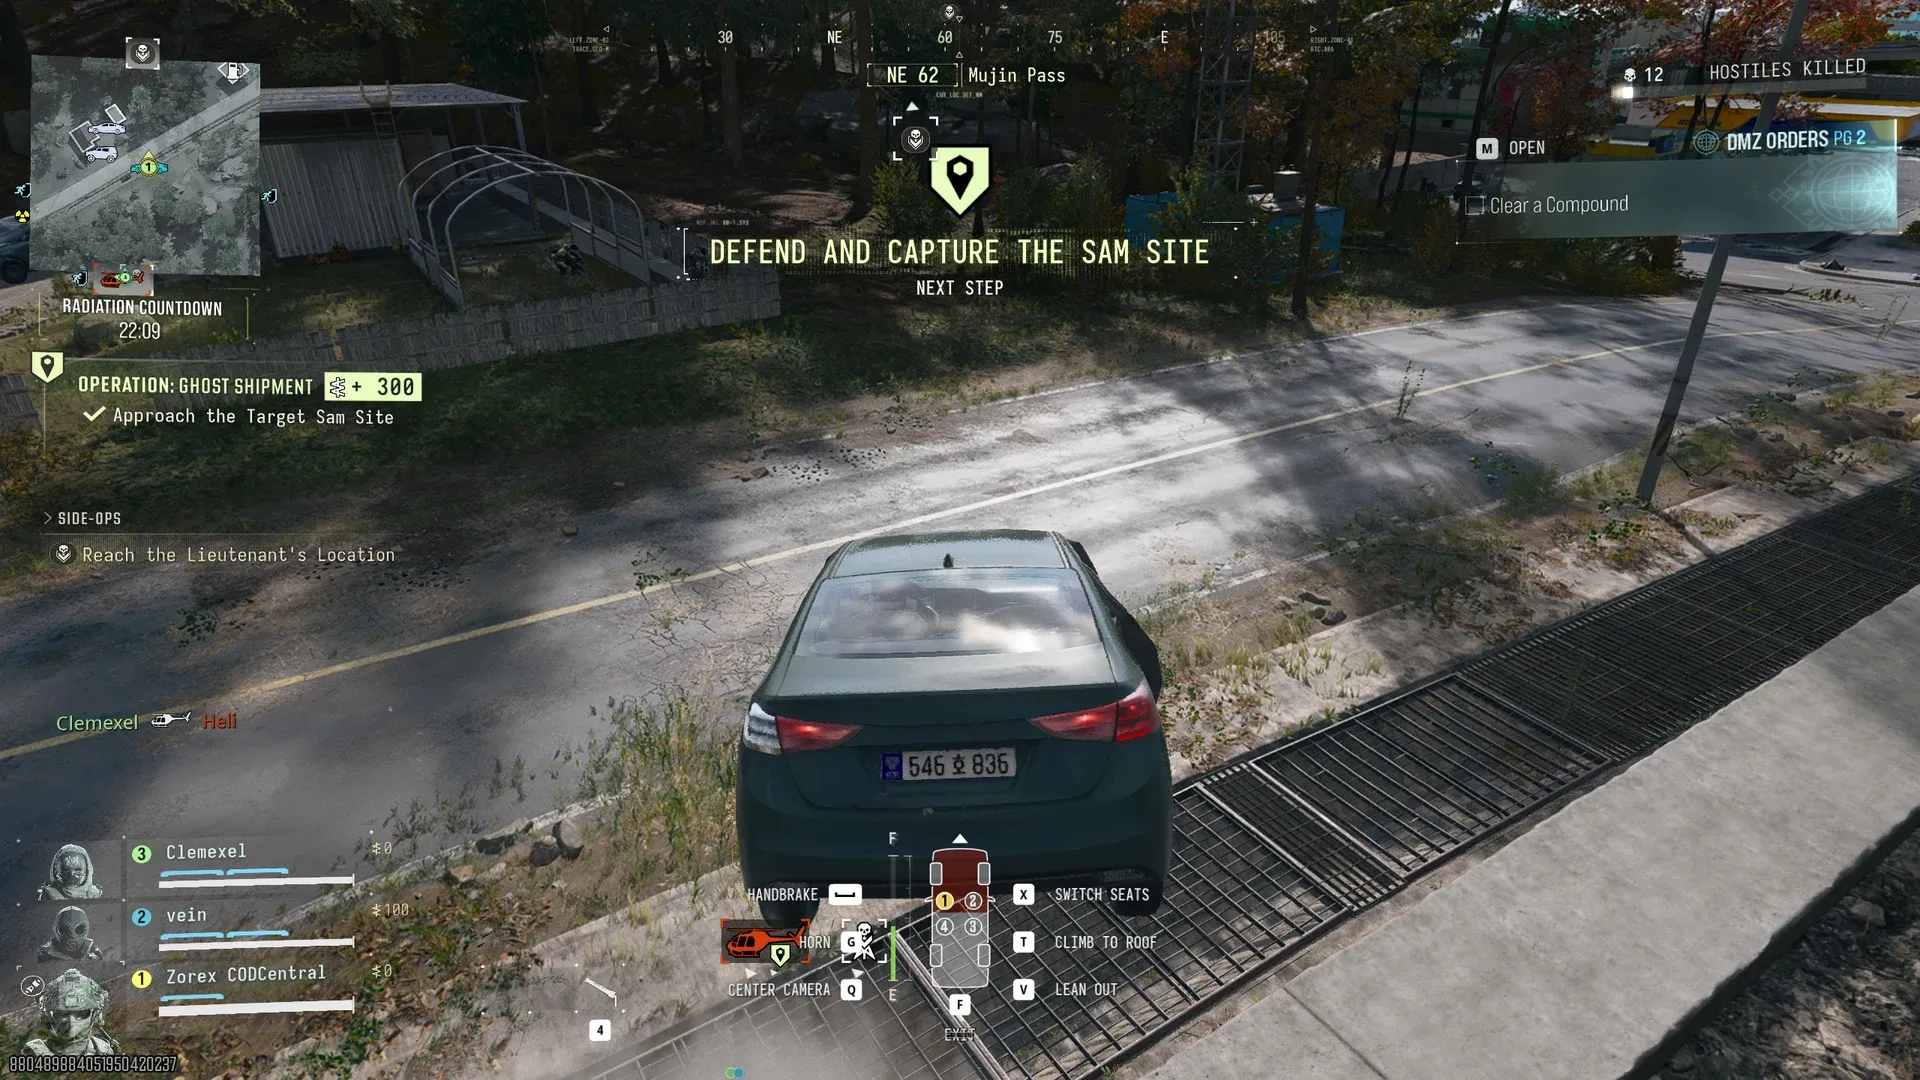
- Defend and Capture the SAM Site. The banner came up as we drove through Mujin Pass.
- Wait for the Helicopter to Be Shot Down. We finished this step at Mirae General Hospital, where Lieutenant The Doctor also showed up with a Kill the Doctor side op. Our Boss Board and Lieutenants guide covers him.
 Click to enlarge Defend and Capture the SAM Site, on the road through Mujin Pass.
 Click to enlarge Ghost Shipment complete, 5,032 XP.
Chemical Denial Walkthrough
Chemical Denial is a scavenger hunt with a crafting step at the end. It paid the smallest completion popup of our four full ops, 3,300 XP.
- Loot the Marked Item from the Trunk. Ours was a sedan in the garage at Jayon Warehouses, holding Classified Documents.
- Collect the Chemical Components (0/3). We found Volatile Glutaraldehyde and Potent Acetic Anhydride in the North Korean Wilderness and Crude Diethyl Ether in Hanrim Village.
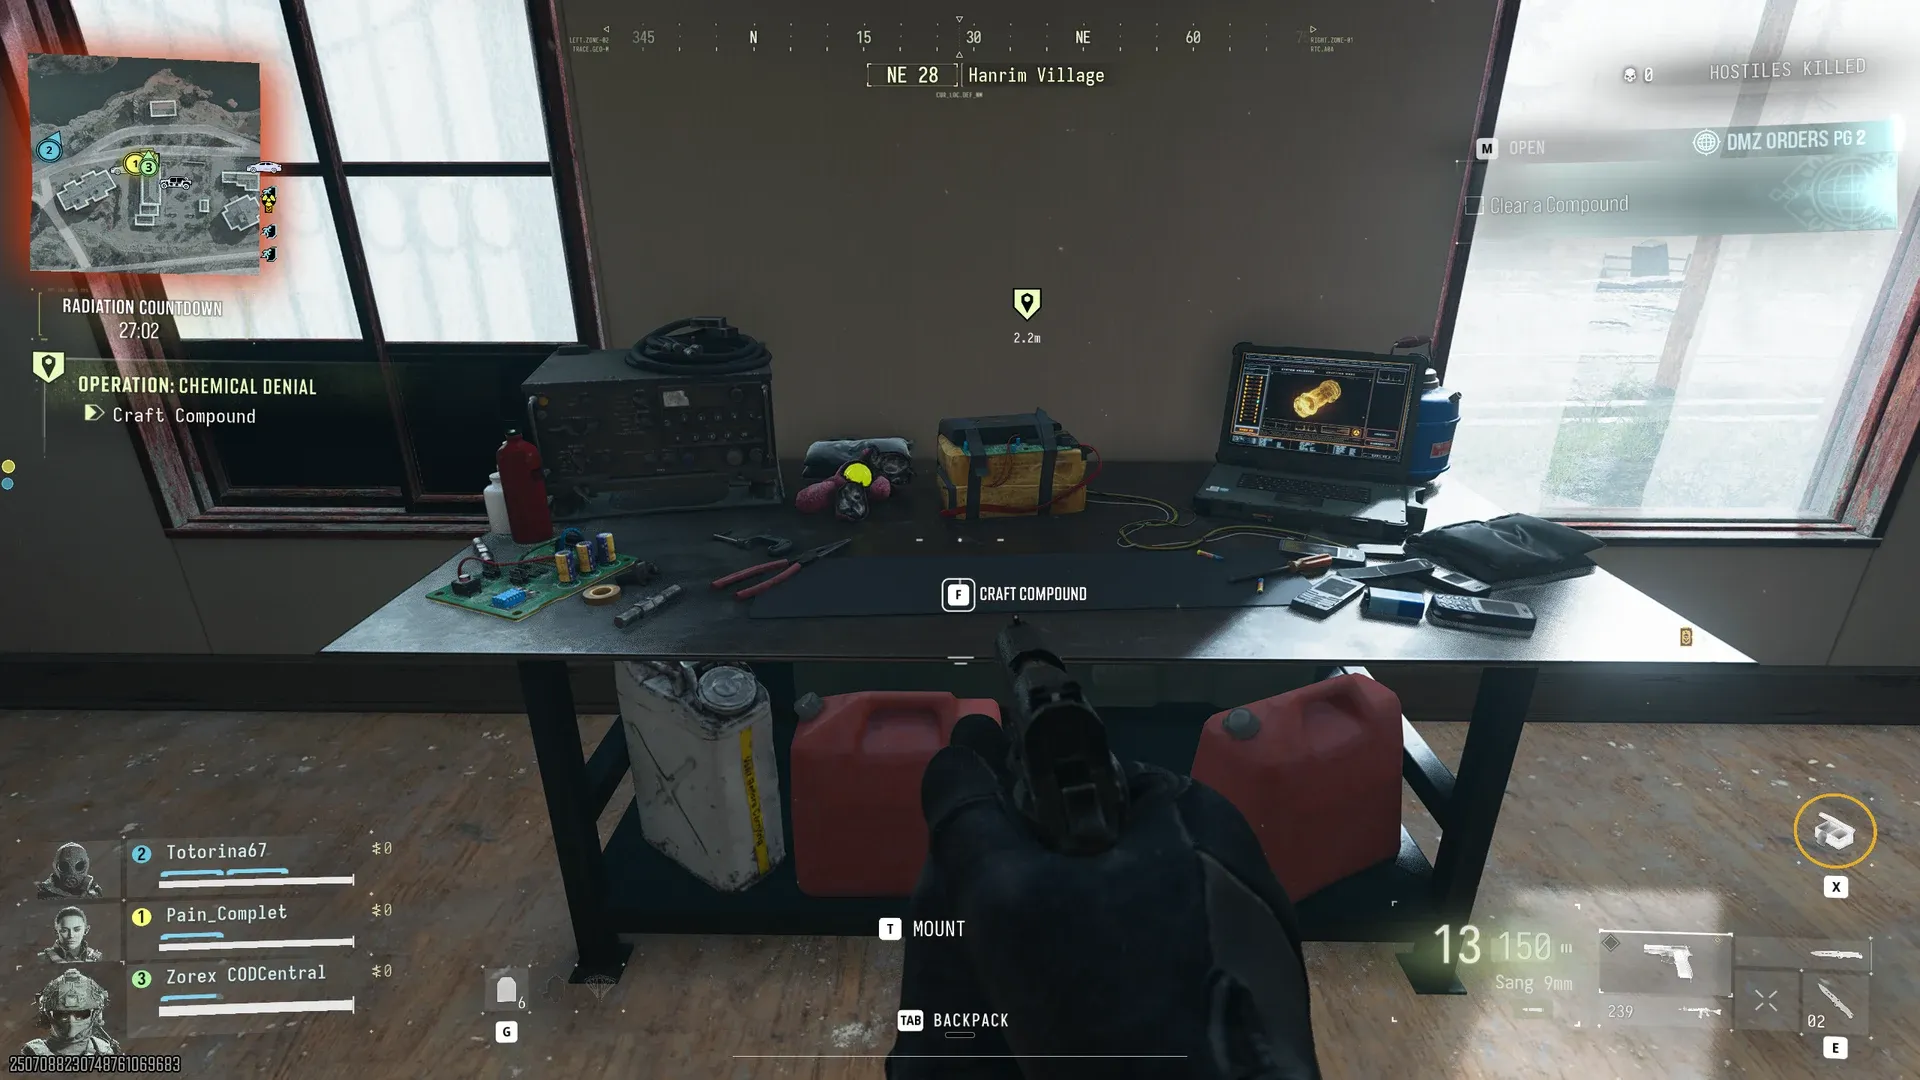
- Craft Compound at a workbench. Ours was in Hanrim Village, and it gave us an Unstable Compound.
- Deposit the Chemicals into a metal case. Ours was about 200m from the workbench.
- The site explodes and the op completes.
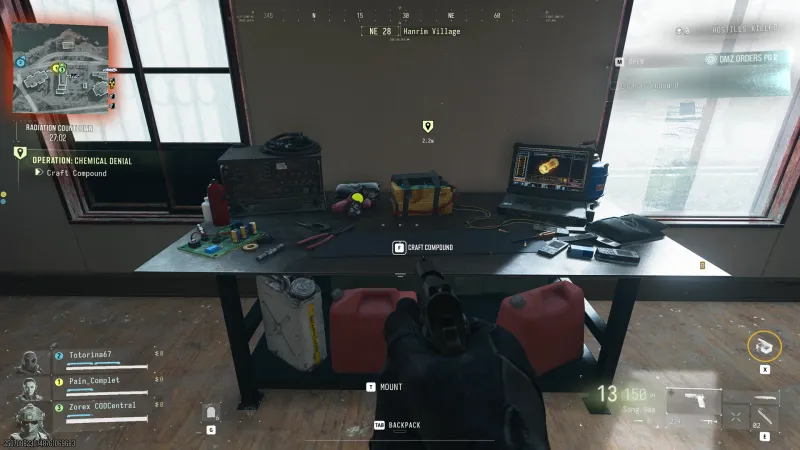 Click to enlarge The Craft Compound workbench in Hanrim Village.
Toxic Intercept Walkthrough
Toxic Intercept starts with a hidden cache and finishes with a truck delivery. We deployed in the South Korean Border Zone.
- Loot the Encrypted Drive from the Hidden Cache. Ours was a round metal hatch under a boardwalk on Oamsik Turtle Island.
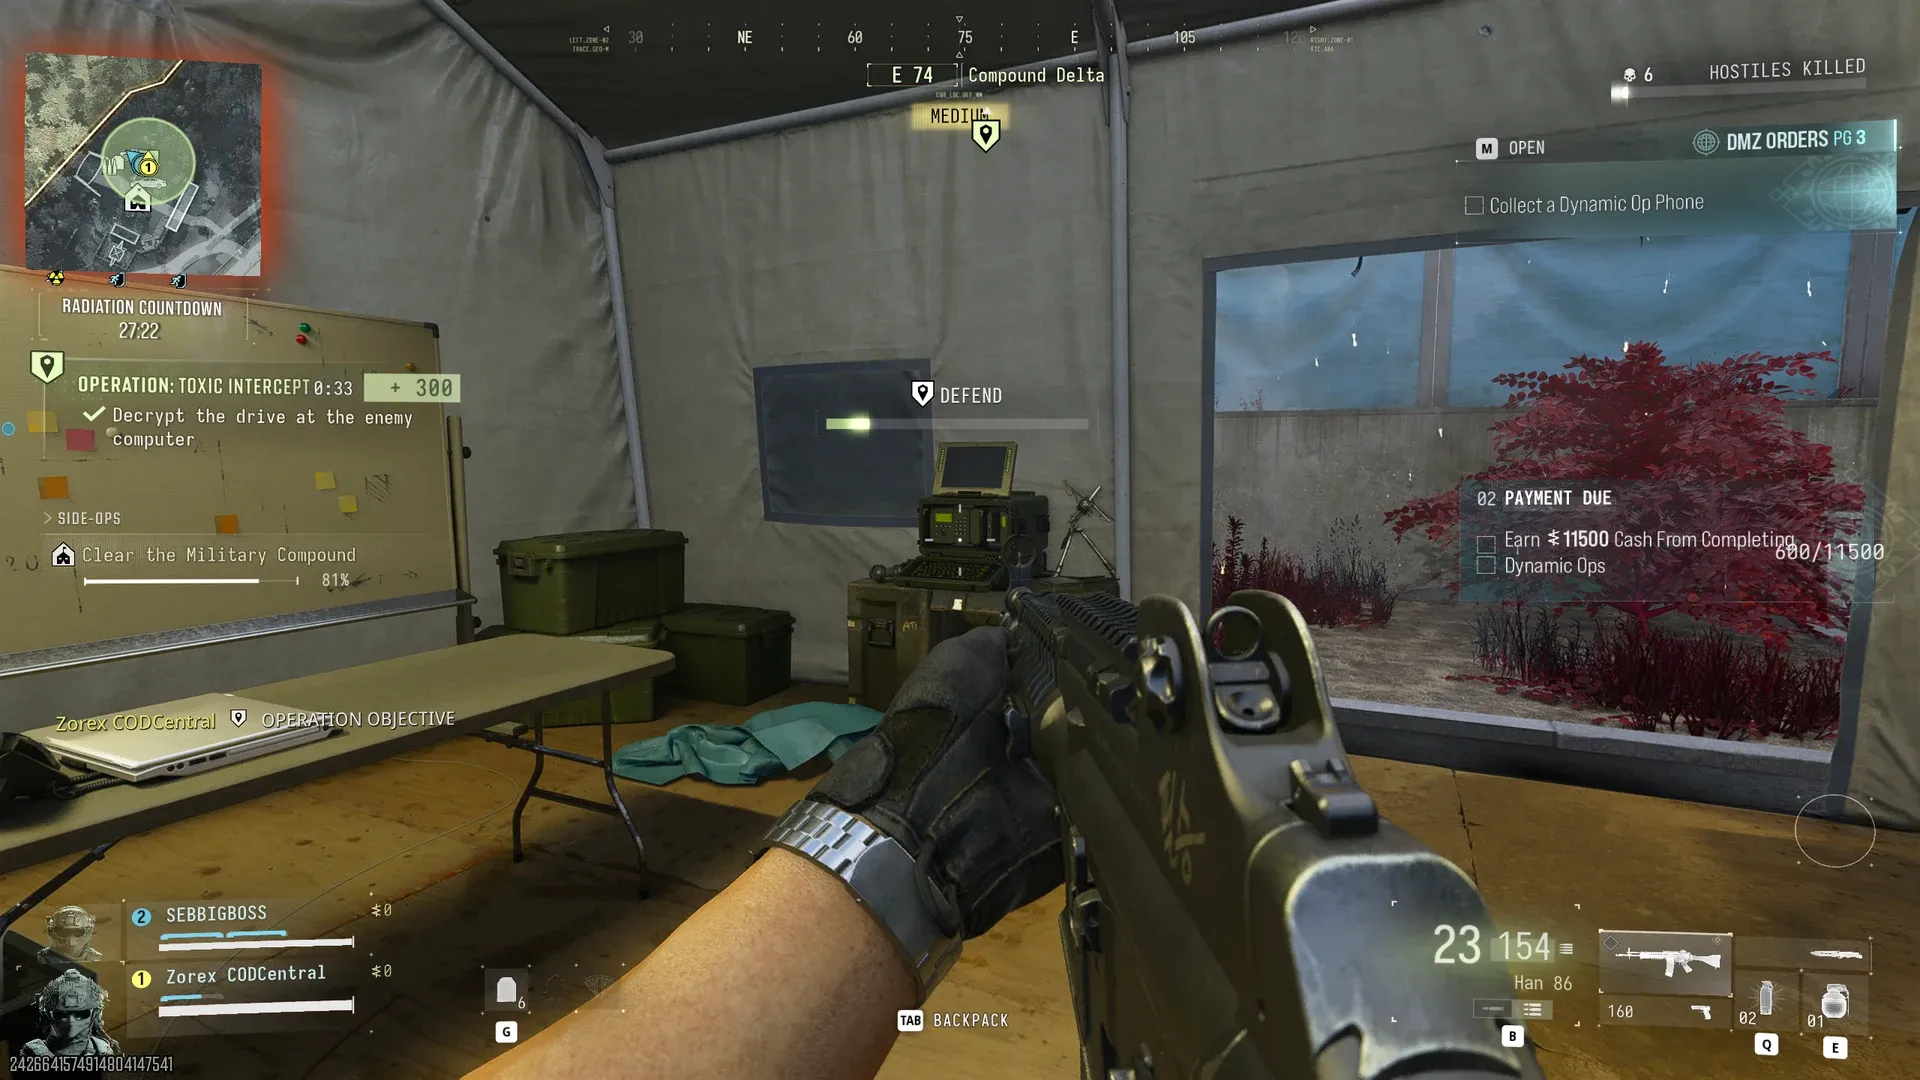
- Decrypt the drive at the enemy computer. Ours was in a tent at Compound Delta.
- Defend as the decryption completes. A DEFEND bar fills while enemies push the tent.
- Request a Fuel Resupply at the UAV Tower. Ours was on a NuriGO West rooftop.
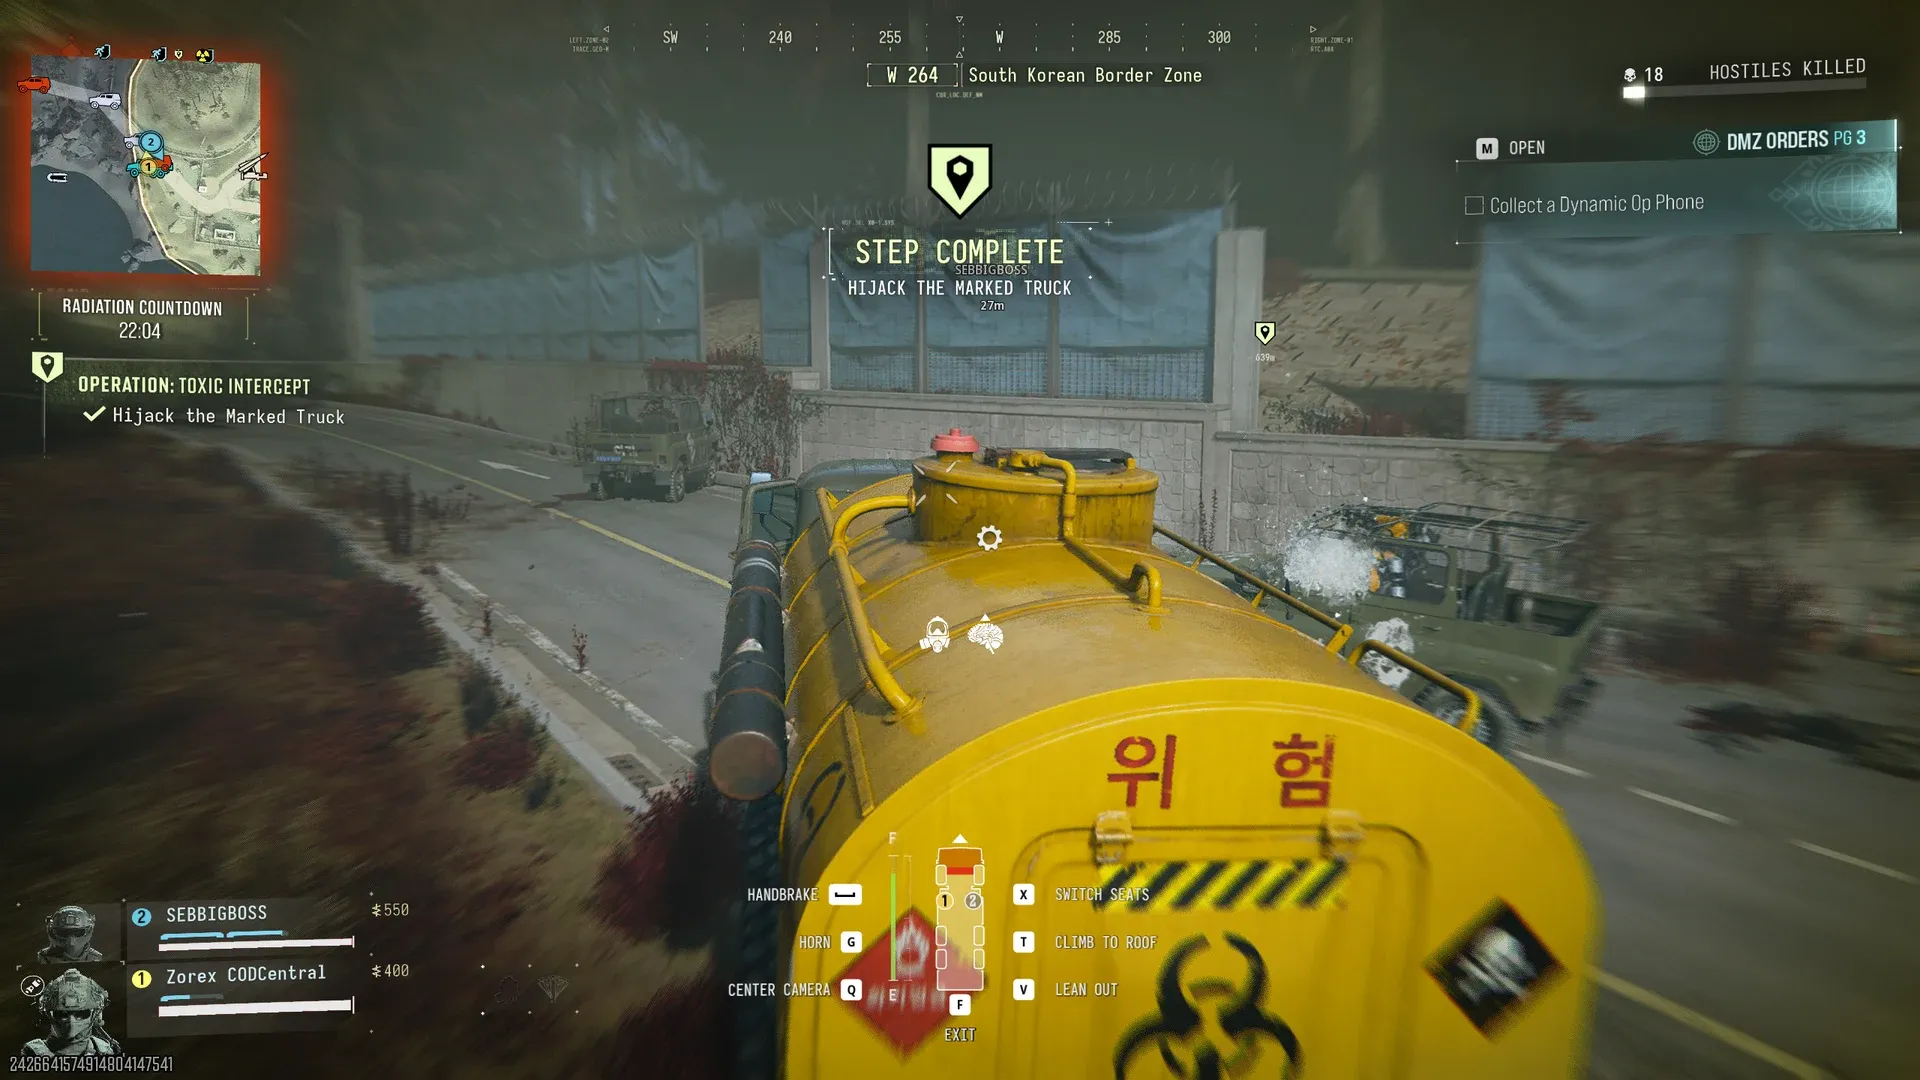
- Hijack the Marked Truck, a yellow fuel tanker marked 위험 (danger).
- Deliver the Vehicle to the Marked Location. A helicopter lifted our tanker away over Expressway No. 1.
On the way to the UAV tower we cracked a safe for a Crack Safe side op. It paid 150 XP plus valuables and cash.
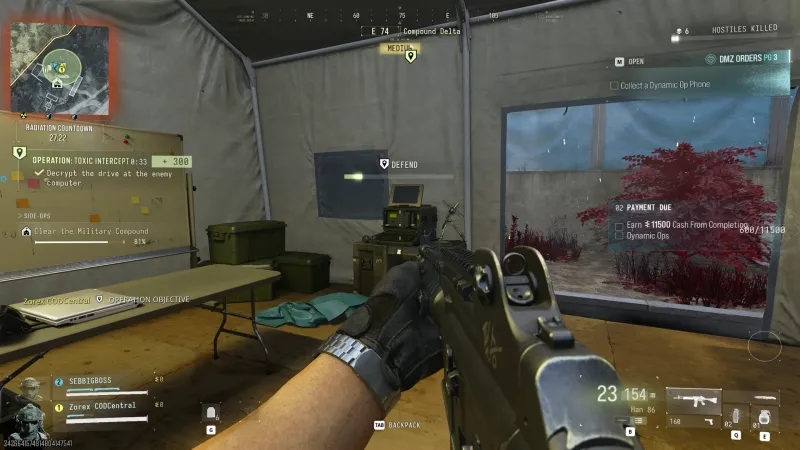 Click to enlarge Decrypting the drive in Compound Delta. Hold the tent until the bar fills.
 Click to enlarge The marked fuel tanker, hijacked and ready to deliver.
Dead Man’s Cache Walkthrough
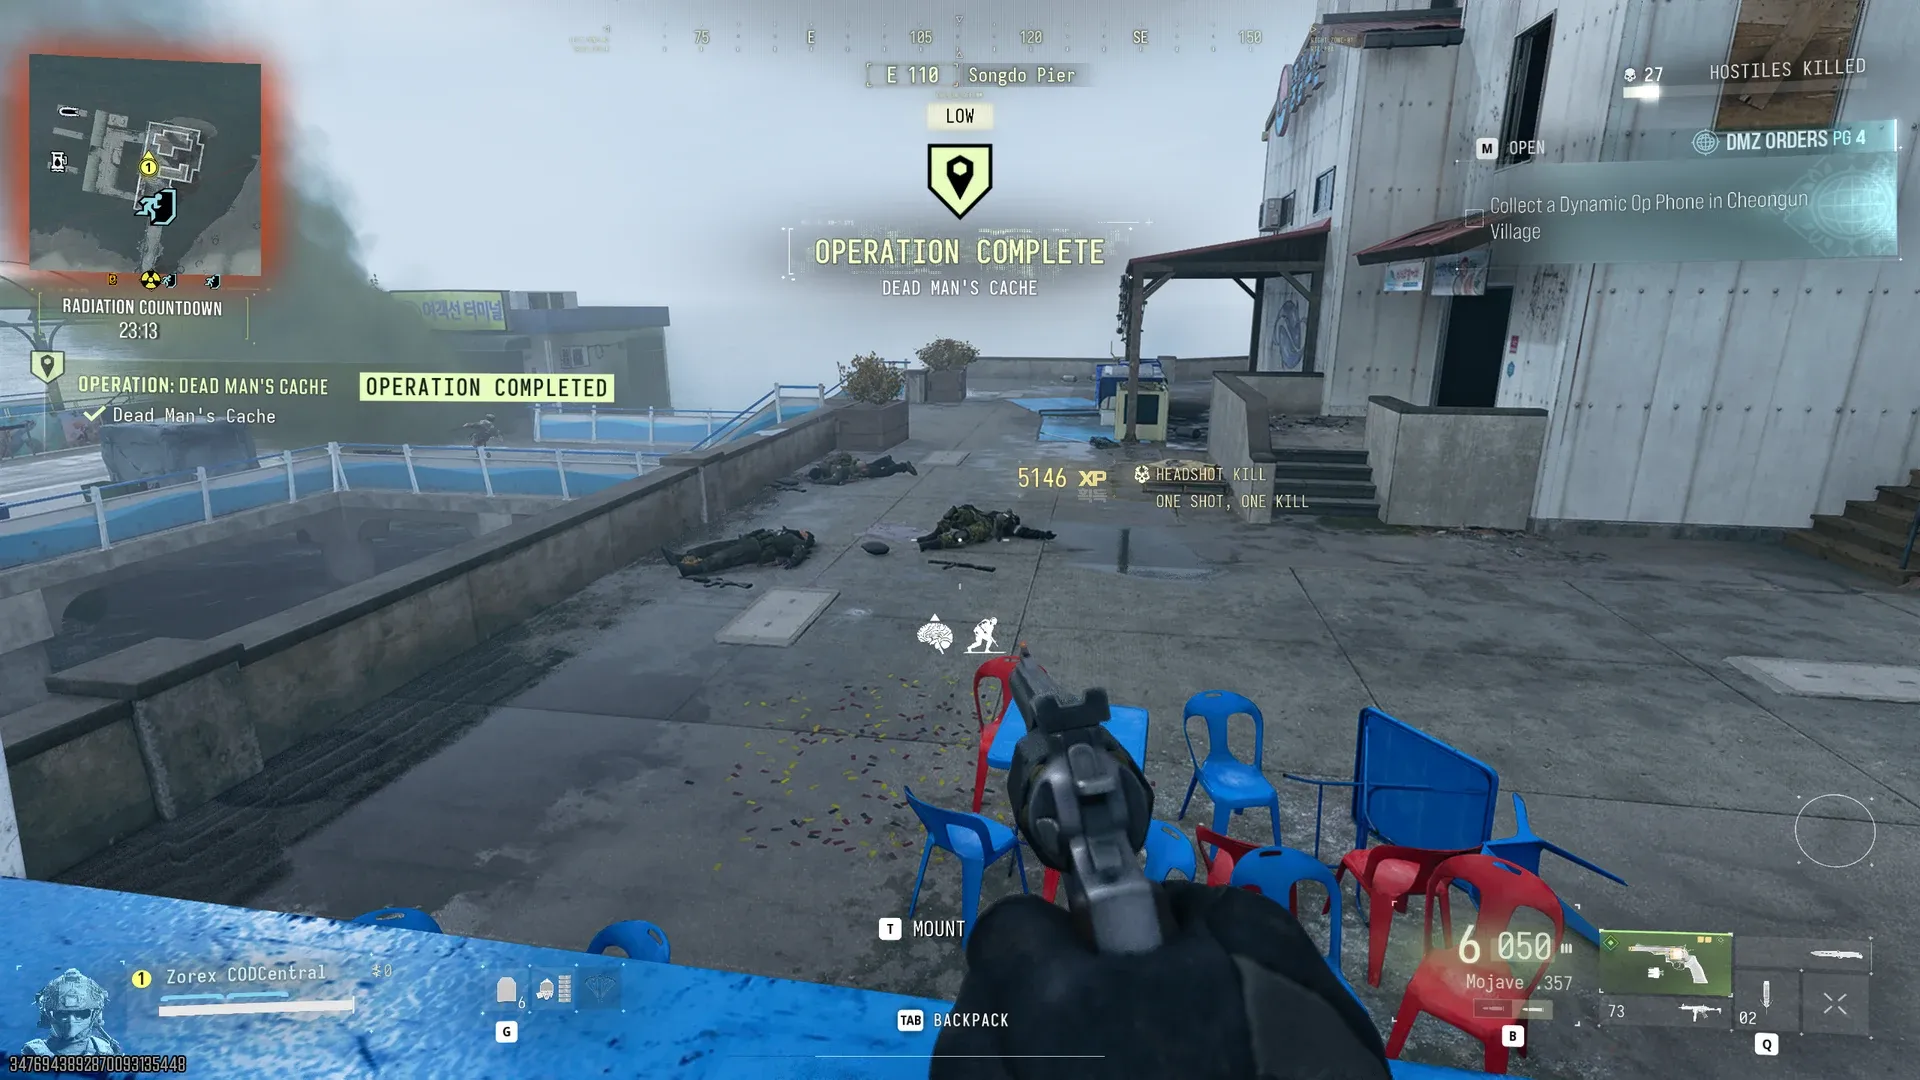
Dead Man’s Cache is a chain of caches that ends with an HVT. It paid a 5,146 XP completion popup, the biggest we have seen so far, and $9,900 on the report. We deployed on the South Korean Shoreline.
- Find the Hidden Cache. Ours was on Oamsik Turtle Island, next to some UXO missile containers. It held the Hard Drive mission item and an Epic Volatile Explosives, a 3D Printer ingredient worth keeping.
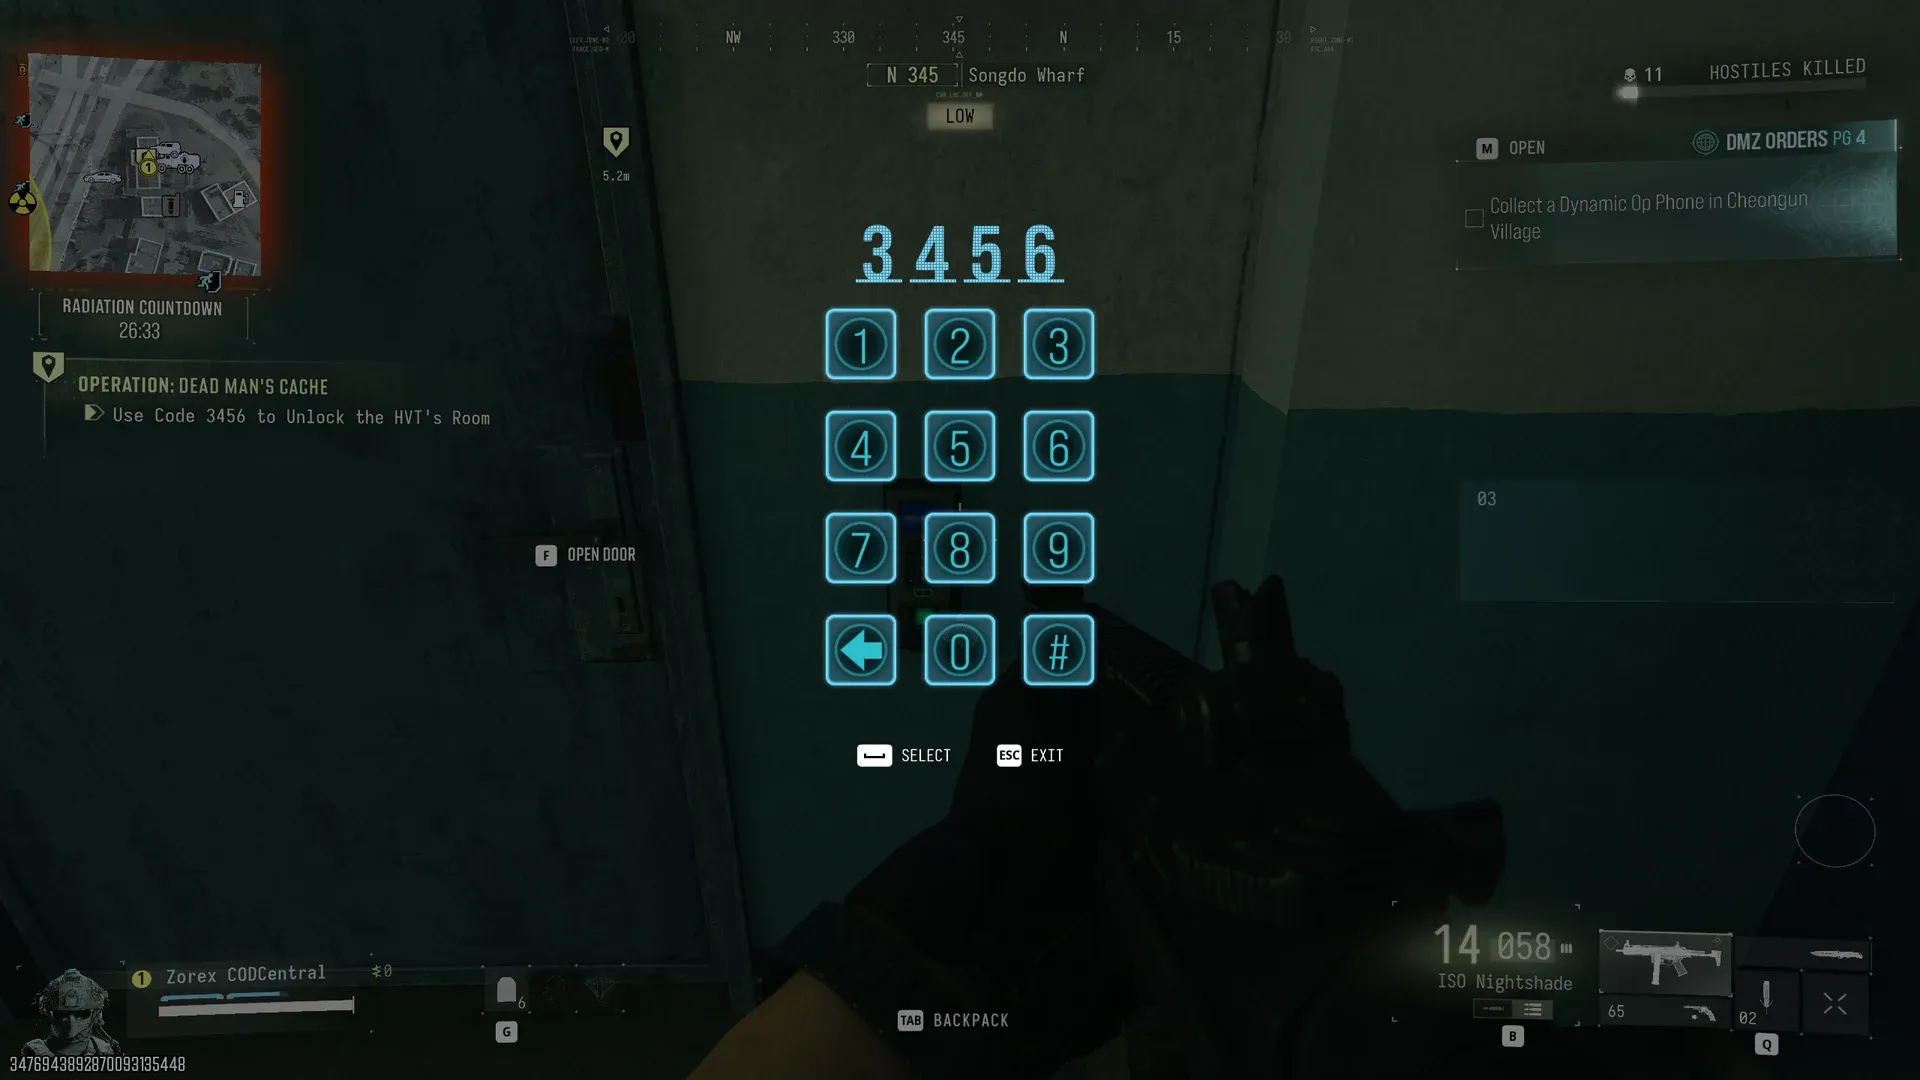
- Use Code (your number) to Unlock the HVT’s Room. Ours was at Songdo Wharf with code 3456. Read your own code from the step name.
- Download HVT Cache Location at the laptop inside the room.
- Get the Bomb from the Dead Drop. Our dead drop was a dumpster at Songdo Wharf.
- Find the Ammo Armor Cache. Ours was under Songdo Pier.
- Destroy the Ammo Armor Cache by planting the explosive on it.
- Kill the HVT in the AO. The op completes as soon as he goes down.
The steps can change too, not only the locations. In another player’s Dead Man’s Cache the first step was Find Access to Enemy Comms Server in the North Korean Wilderness, instead of our hidden cache.
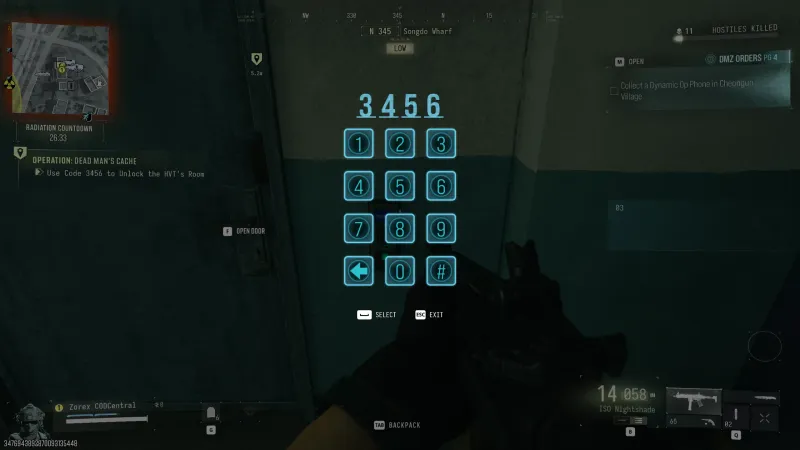 Click to enlarge The HVT's room keypad at Songdo Wharf. Our code was 3456.
 Click to enlarge Dead Man's Cache complete, 5,146 XP.
Signal Breaker Walkthrough
Signal Breaker is a bomb-making op that ends at three radar trucks. It paid the best completion rewards we have seen, a 6,600 XP popup with +6,000 XP and +$10,000 on the op panel, and the panel also flashed a NEW UNLOCK.
- Proceed to the Target Area. We crossed from the South Korean Wilderness into the North Korean Wilderness.
- Collect The Bomb Parts. The counter starts at 0/3. Our Explosives were in a hidden cache in the North Korean Wilderness and our Explosives Wiring in a safe in a Deadtown house, which also held $1,150 in cash.
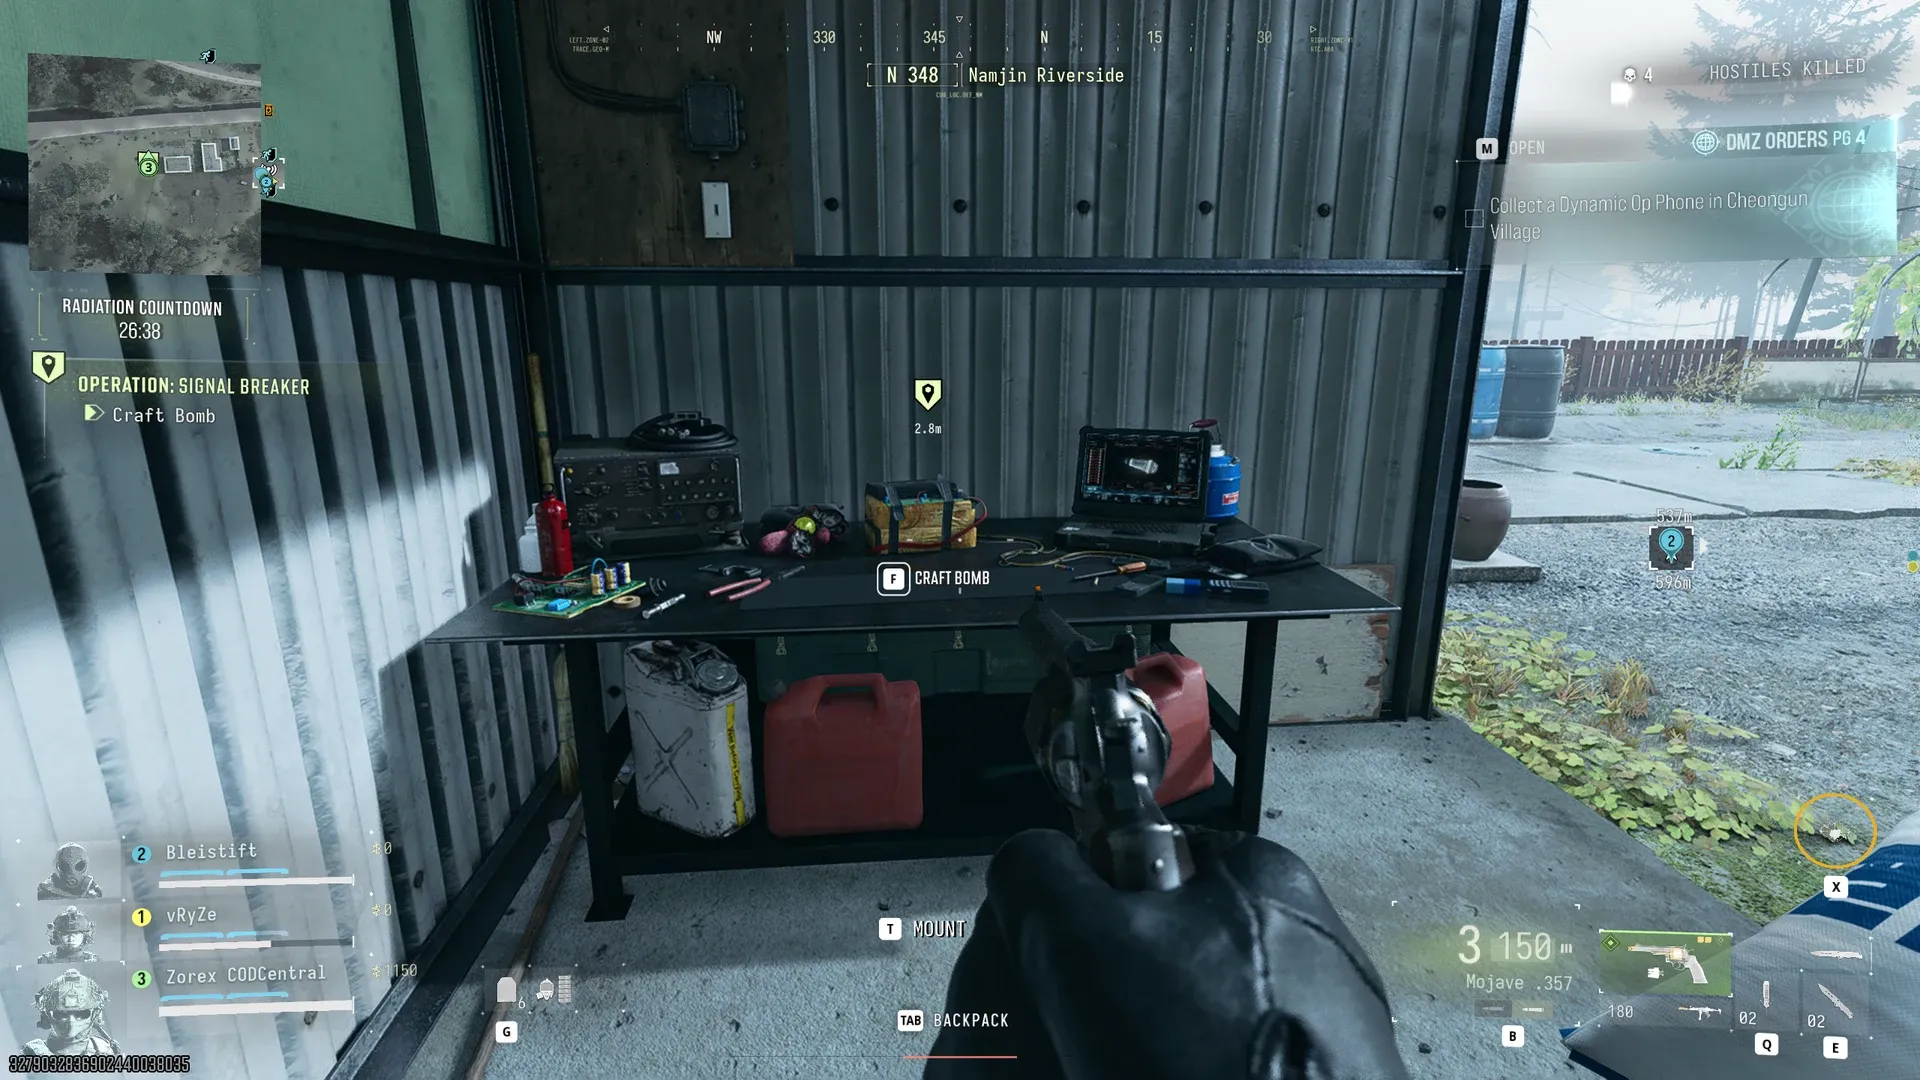
- Craft Bomb at a workbench. Ours was at Namjin Riverside.
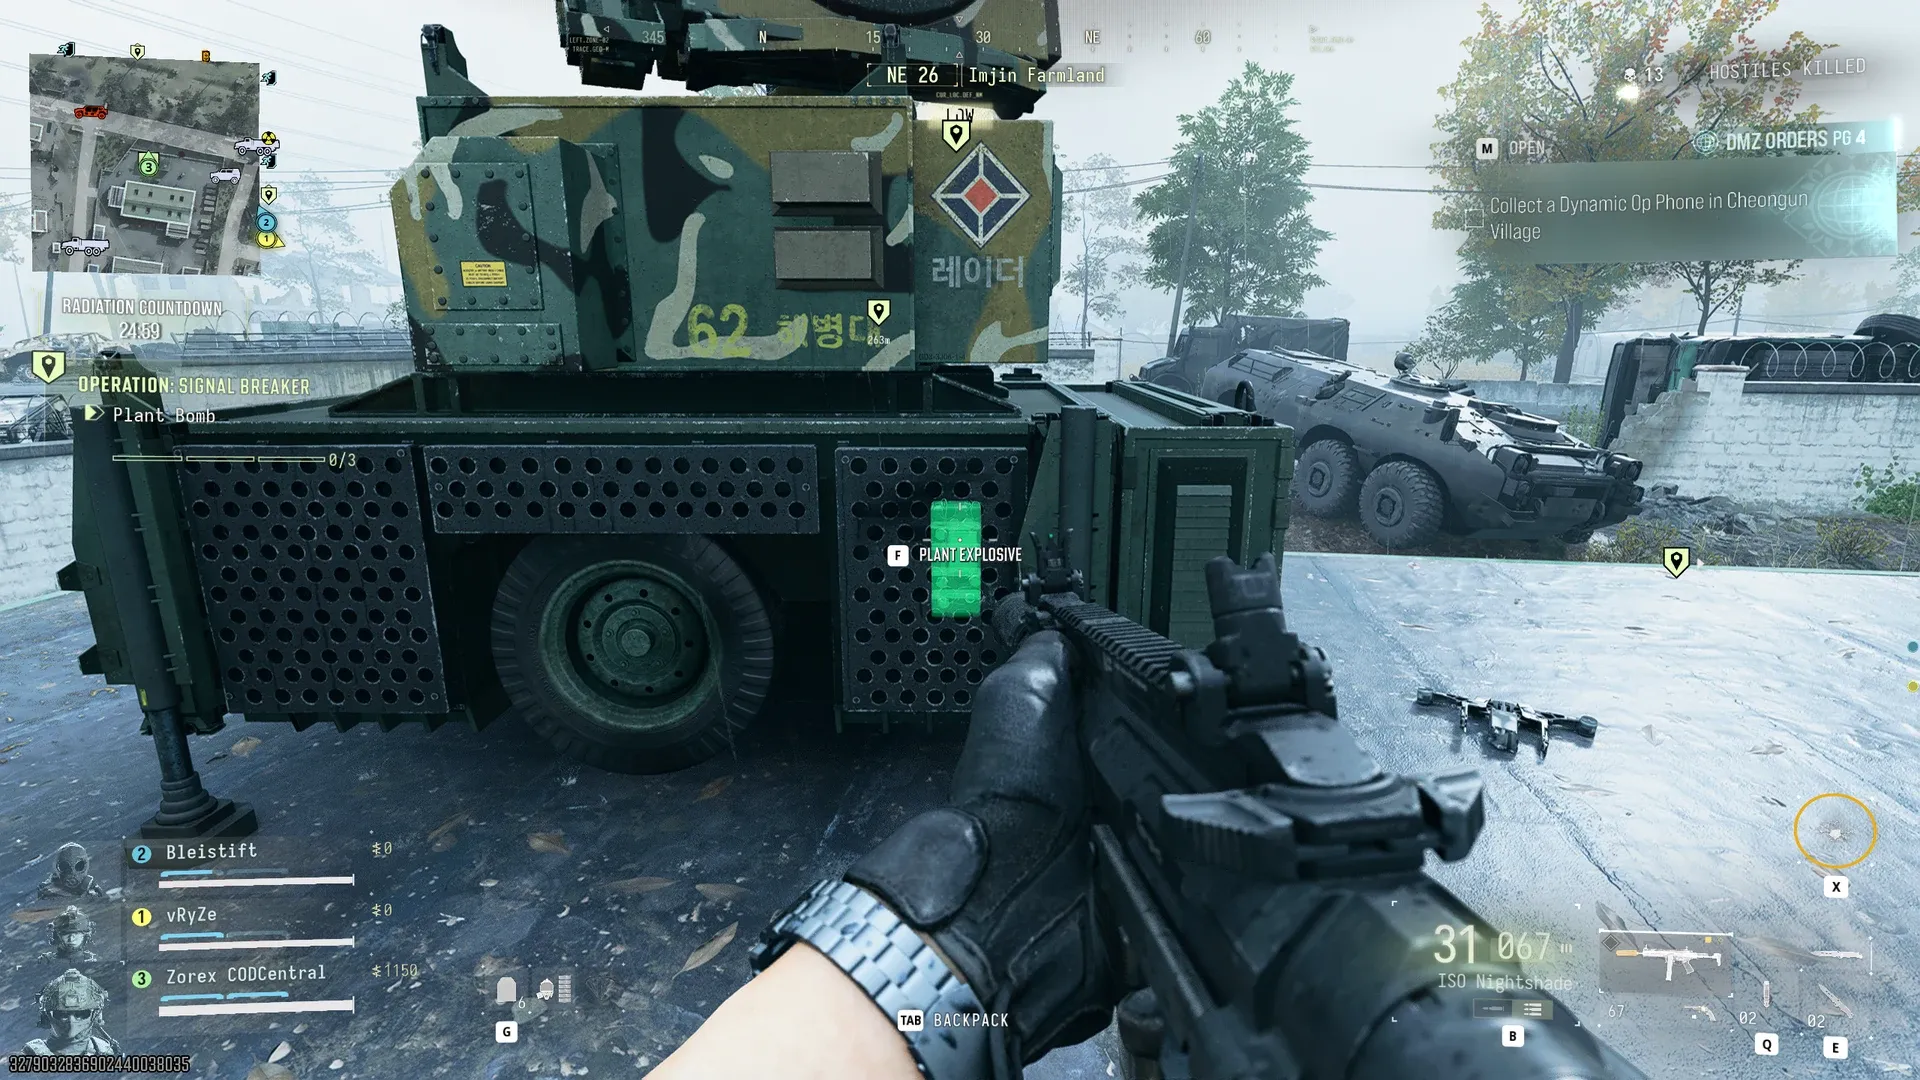
- Plant Bomb 0/3. Plant the explosive on each of the three radar trucks. Ours were parked around Imjin Farmland.
 Click to enlarge The Craft Bomb workbench at Namjin Riverside.
 Click to enlarge The first of three radar trucks at Imjin Farmland.
Domino Protocol (Partial)
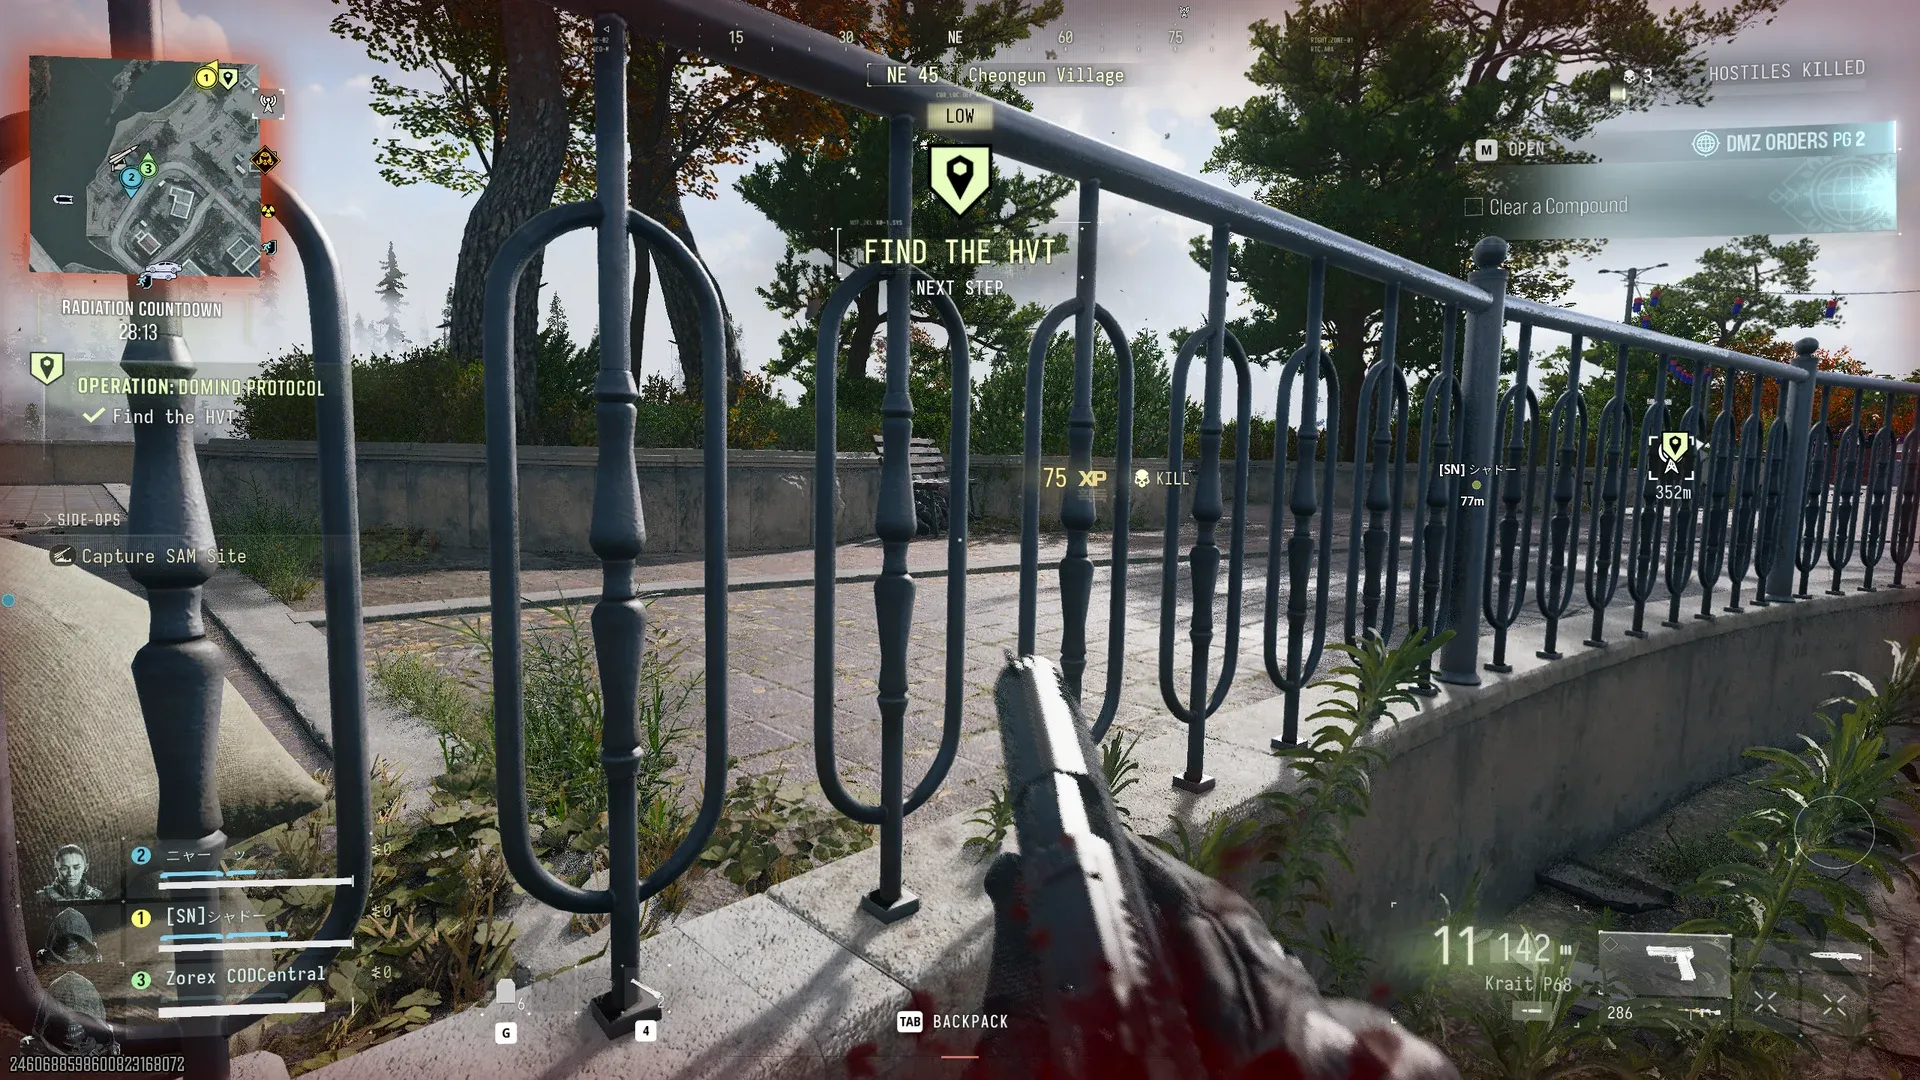
We started Domino Protocol twice and could not finish it either time. The name fits. Each target we took down pointed us at the next one, and in our second run the chain led to a Lieutenant in the hardest part of the map, which is where we had to stop. Plan for a long op with a boss fight at the end.
- Find the HVT. Our tac map put the HVT near a compound by Haneul Nuclear Reactor.
- Eliminate the Marked Target. Ours went down in Cheongun Village and dropped Classified Documents.
- Find the HVT again. A new HVT marker appeared 352m away.
In the second run, started from a phone on a bunk bed at Cheonwang Peak Array, the loop was Find the HVT, Eliminate the Marked Target, Pick Up the Intel (Classified Documents), and then another marked target and another intel drop. Each step paid +250 XP or +$300. Our first, unfinished run still paid 1,500 XP on the report.
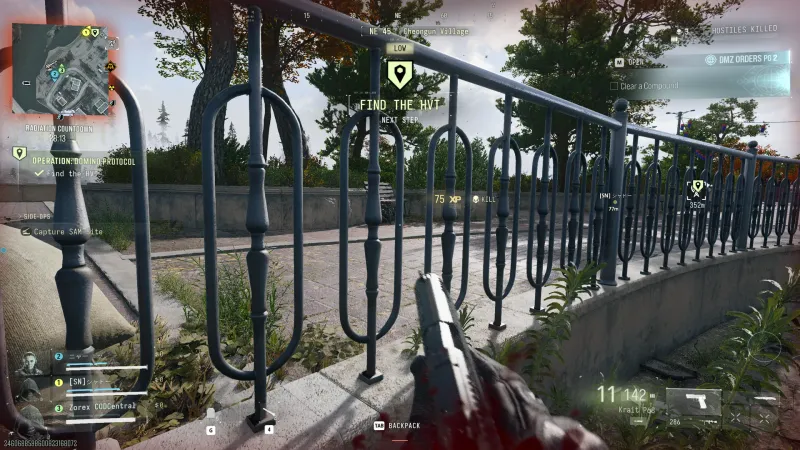 Click to enlarge One HVT down, the next one already marked.
Sky Heist (Partial)
Sky Heist is another op we have only seen part of. It started on a road in the South Korean Wilderness.
- Locate the Intel.
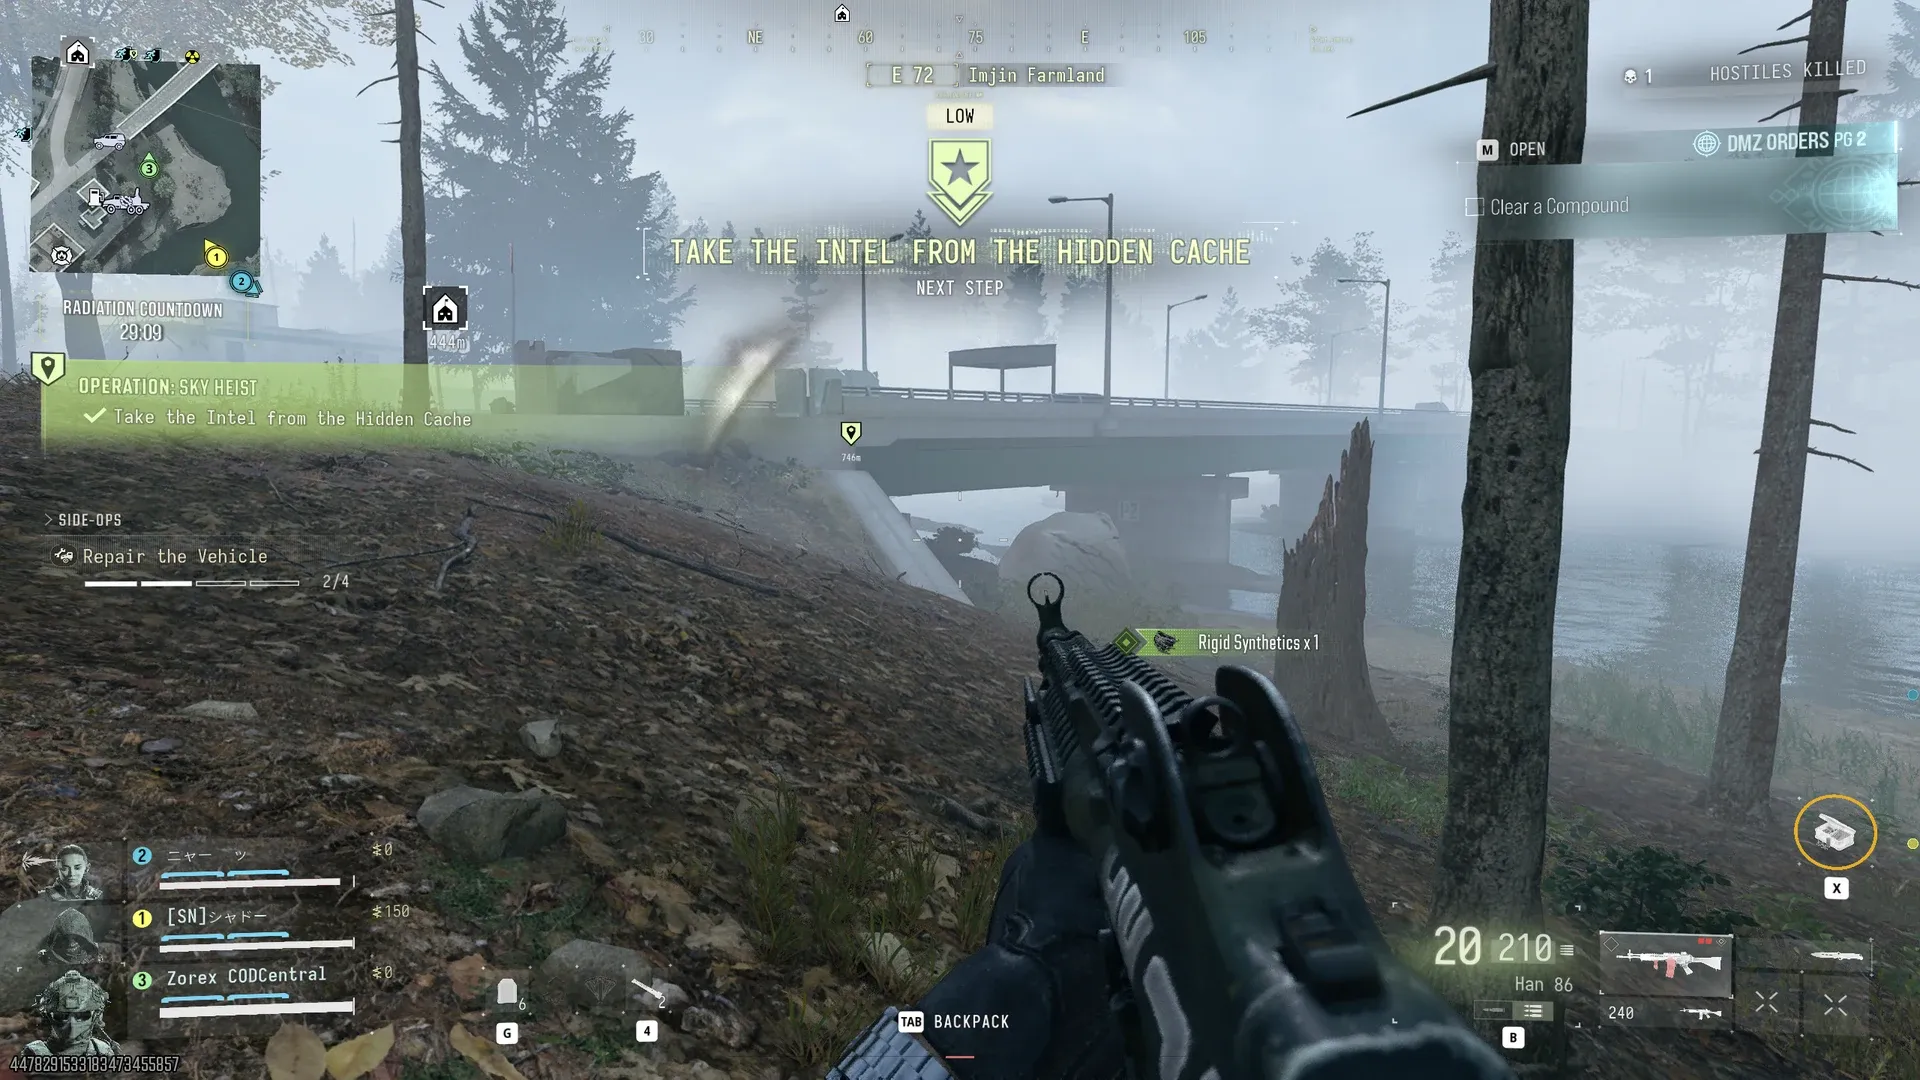
- Take the Intel from the Hidden Cache. Ours was at Imjin Farmland, and the intel was Classified Documents (+250 XP).
- Approach the Target SAM Site. Ours was at Compound Alpha, threat HIGH.
We cleared the military compound side op on the way, which also finished the DMZ Order Clear a Compound. The report showed 0 Dynamic Ops Completed with 500 XP, plus 4 side ops worth $2,000.
 Click to enlarge Intel collected at Imjin Farmland. Next stop, the SAM site.
Broken Resupply Walkthrough
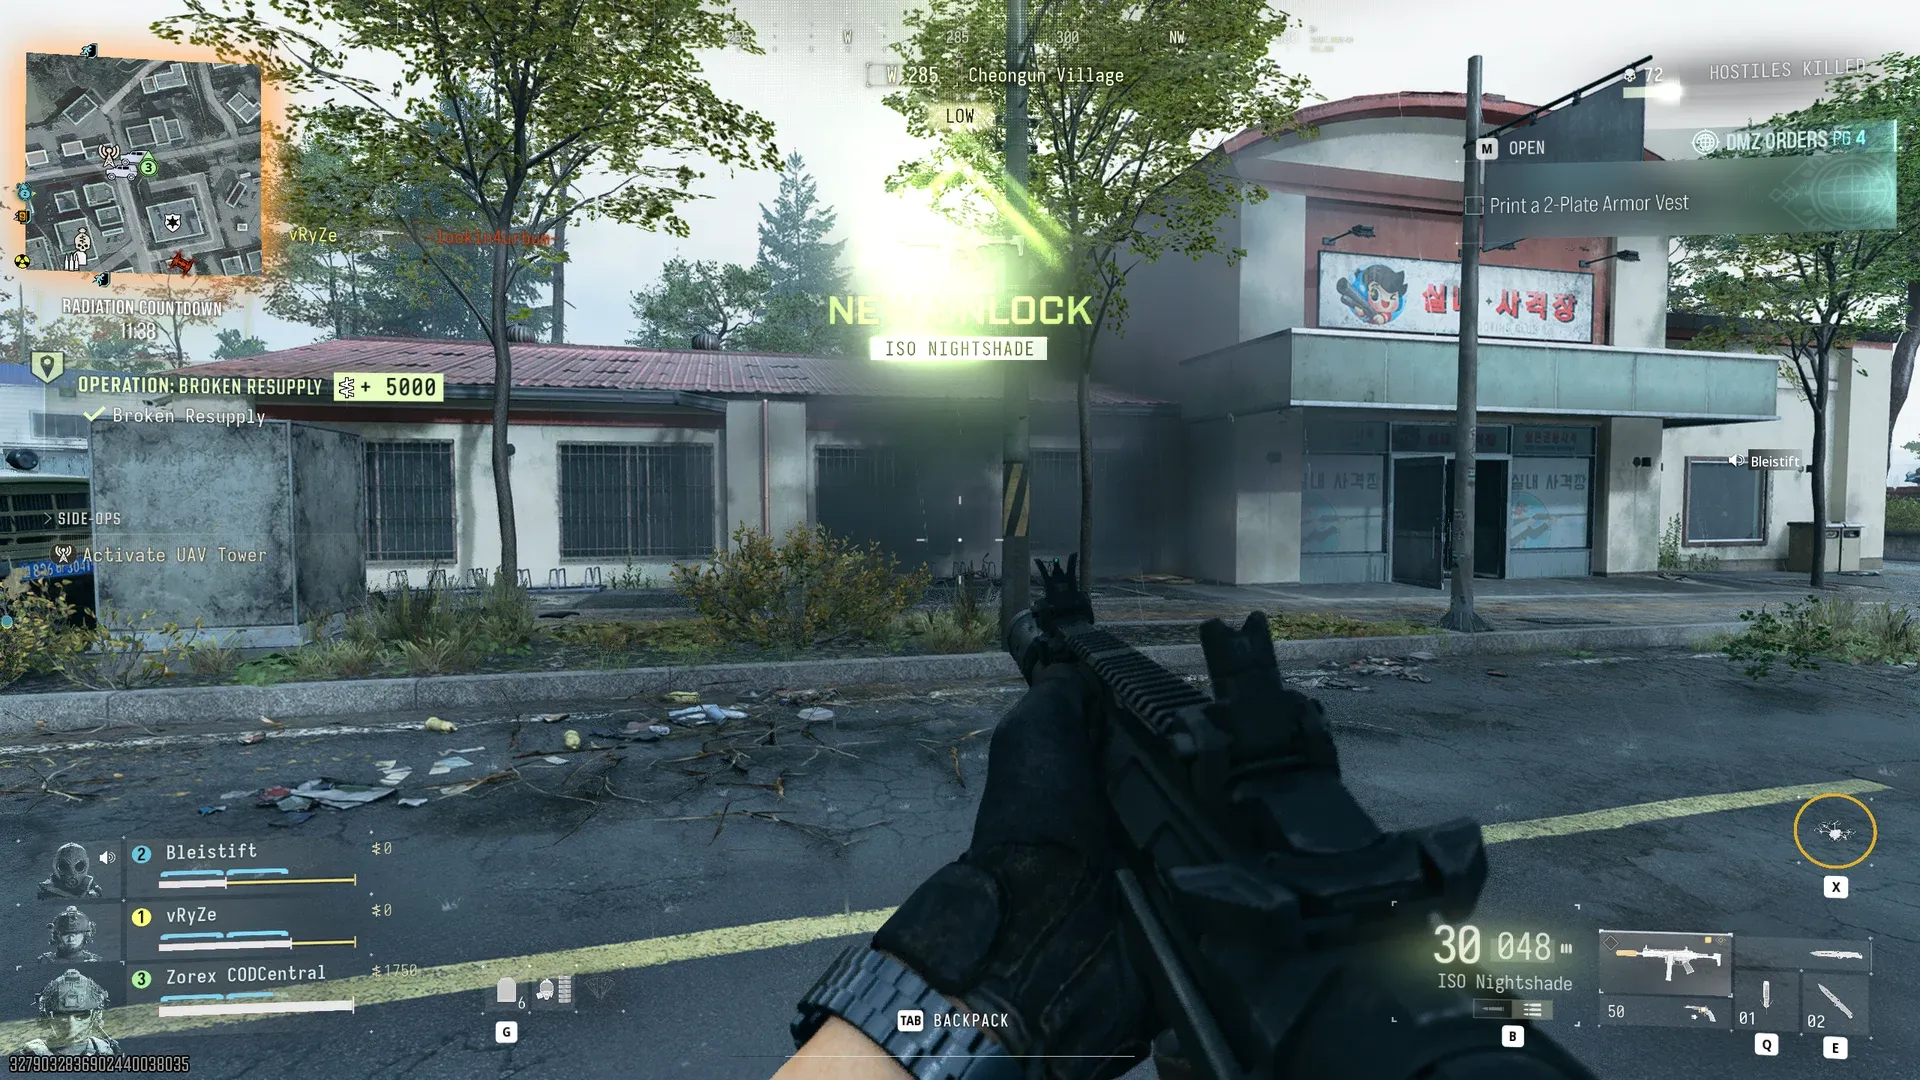
Broken Resupply mixes a hack, a defend, a safe and a bomb. It paid a 3,496 XP popup with +2,993 XP and +$5,000 on the op panel, and it unlocked the ISO Nightshade SMG for us. We picked it up from a phone at the Heavenly Luck Casino.
- Hack the Comms Server. Ours was in an office in Cheongun Village.
- Defend the Location while the DEFEND timer runs.
- Loot the Marked Item. In our run it was a Bomb in a hidden cache in the South Korean Border Zone.
- Find the Keypad Code in the Safe. Our safe was at Compound Charlie and also held a Hard Drive, Degraded Execution Footage and $600.
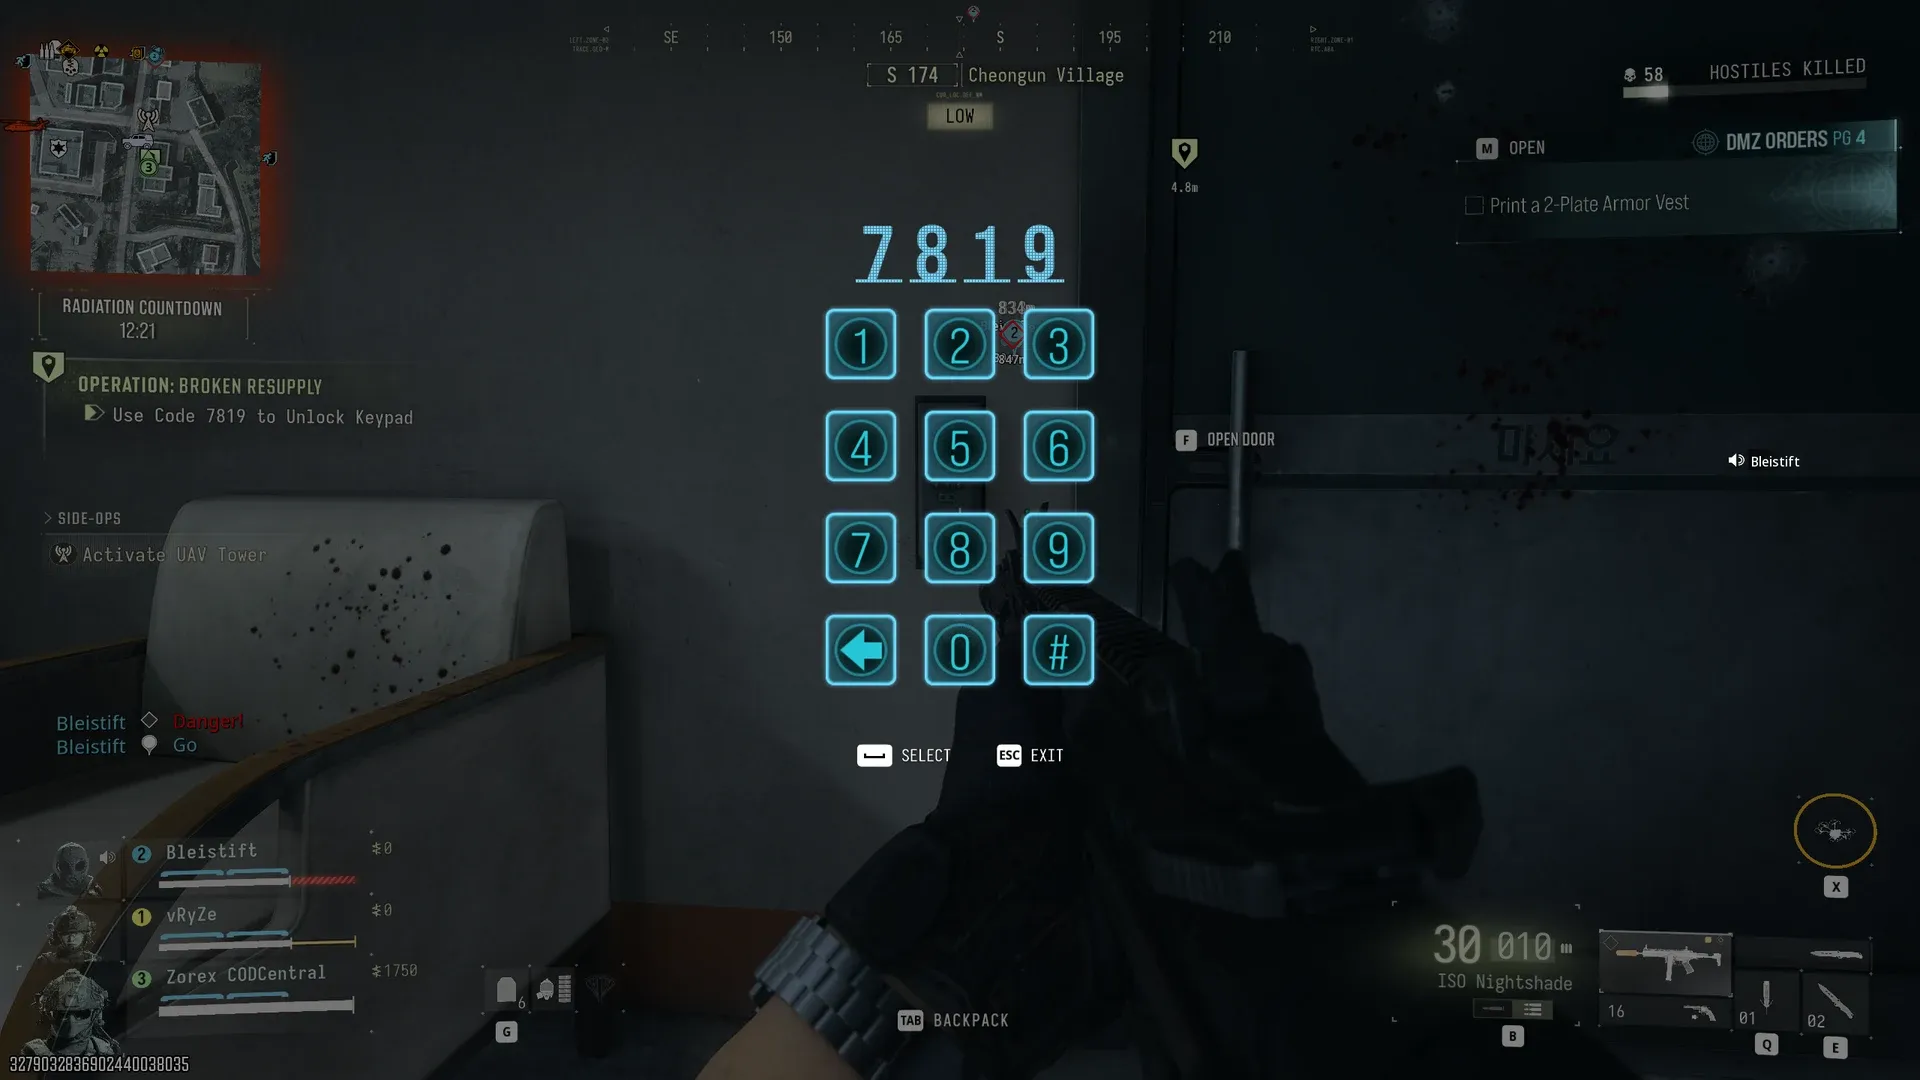
- Use Code (your number) to Unlock Keypad. Ours was 7819 in Cheongun Village, another player got 3186.
- Plant the Bomb on the WMD, a set of red barrels behind the door, and get clear.
After the op two care packages came down. Between them they held a Stim, a Sedative Inhaler, more stims and an armor vest.
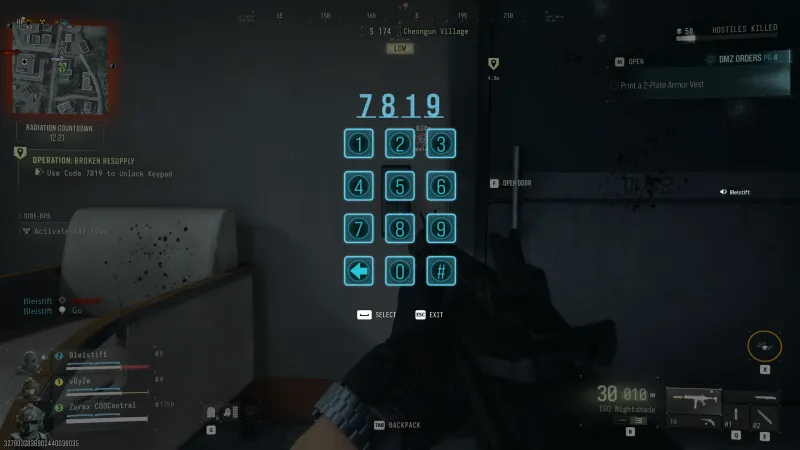 Click to enlarge Our keypad code was 7819. Yours will differ.
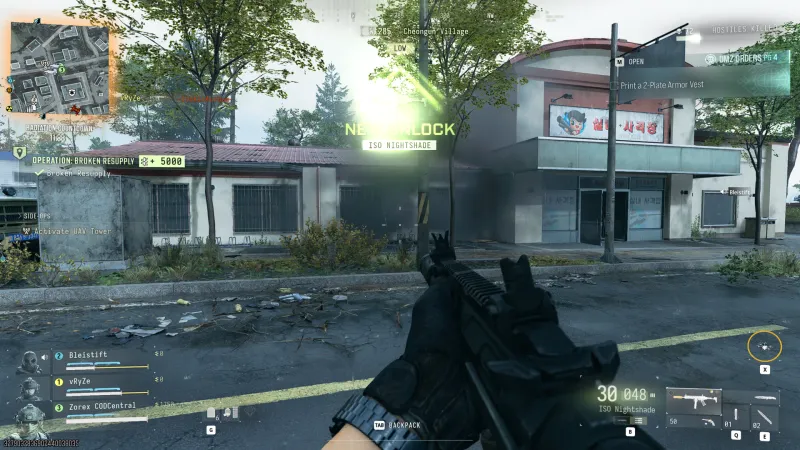 Click to enlarge Broken Resupply done, with +$5,000 and an ISO Nightshade unlock.
Special Delivery Walkthrough
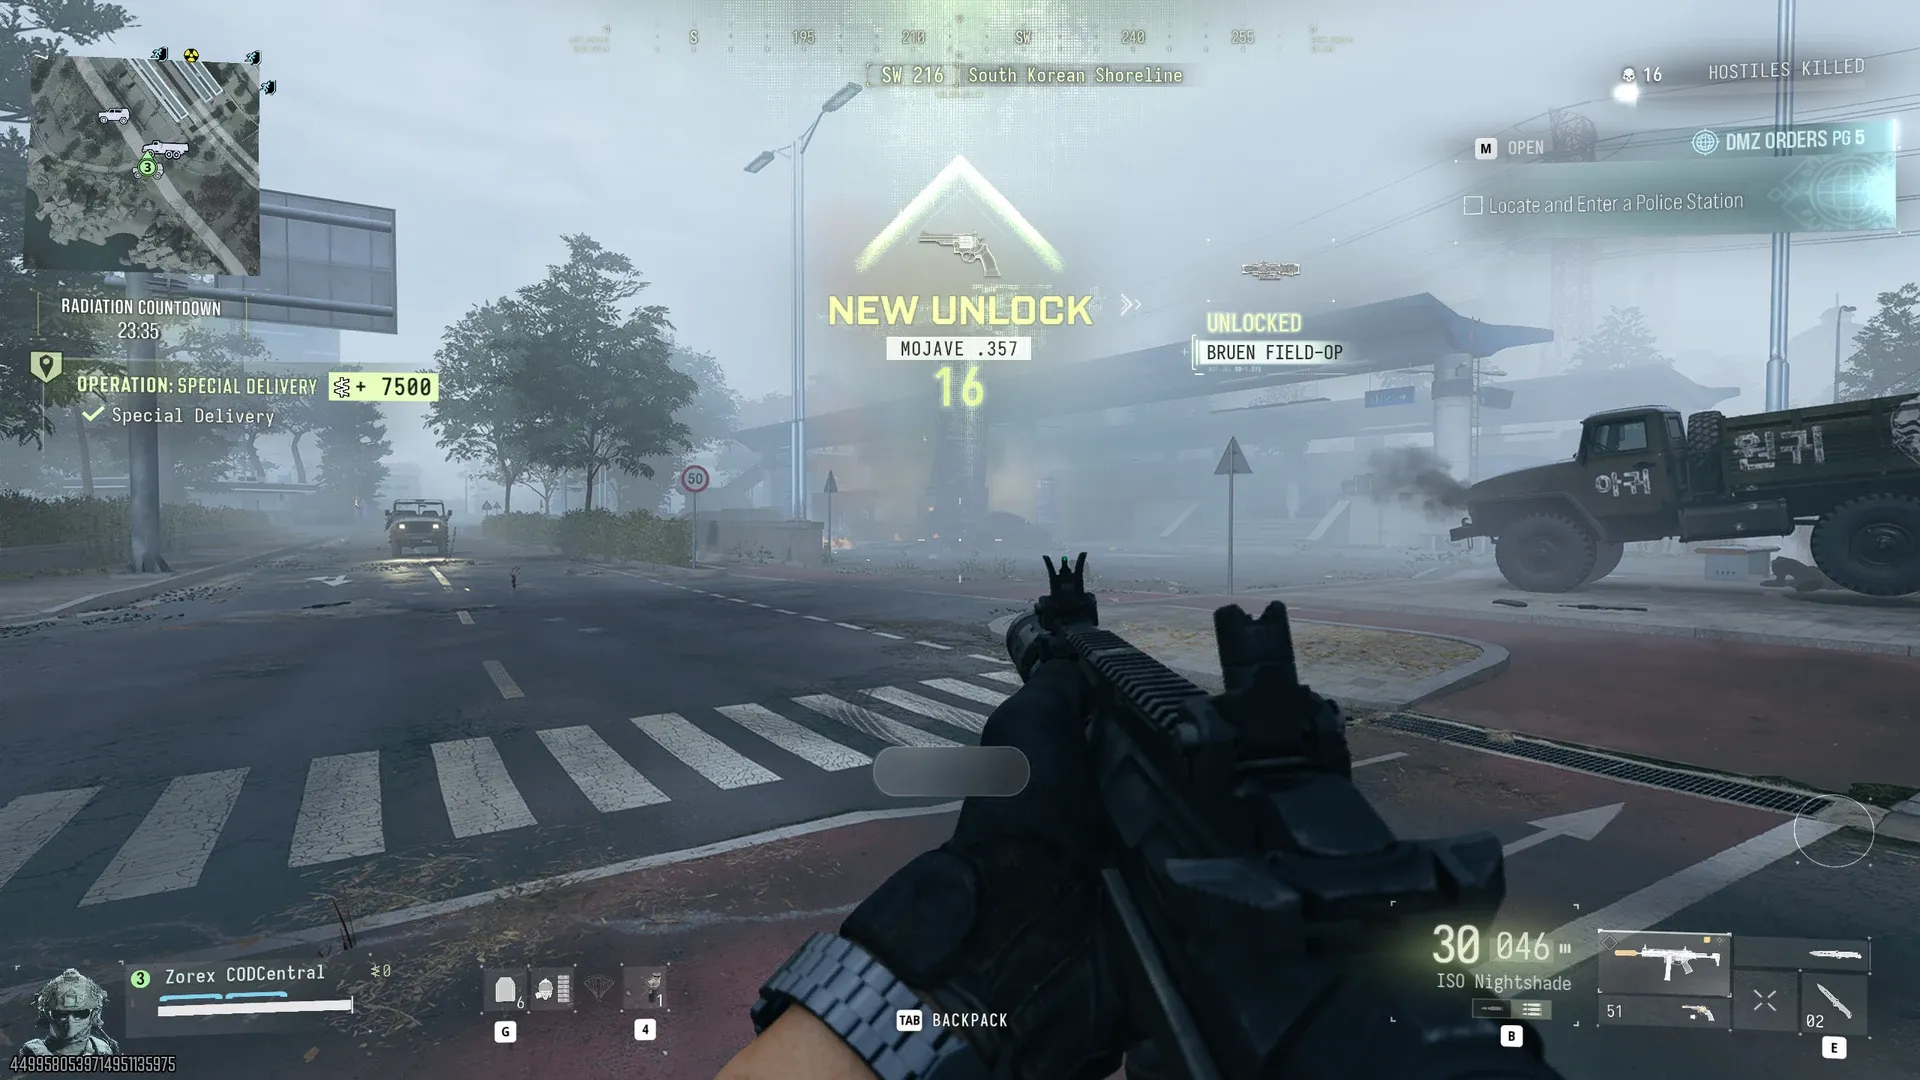
Special Delivery is another bomb op, this time aimed at a mobile missile launcher. It paid a 5,048 XP popup with +4,500 XP and +$7,500 on the op panel, and it unlocked the Mojave .357 for us.
- Collect The Bomb Parts. The counter starts at 0/3. Our Explosives were at Songdo Wharf, the Explosives Wiring in a dead drop dumpster, and the Explosives Numpad in a hidden cache in the Construction Zone, which also held an Epic Turned Components.
- Craft Bomb at a workbench. Ours was in the Construction Zone.
- Capture the UAV Tower. Ours sat on a rooftop at South Island.
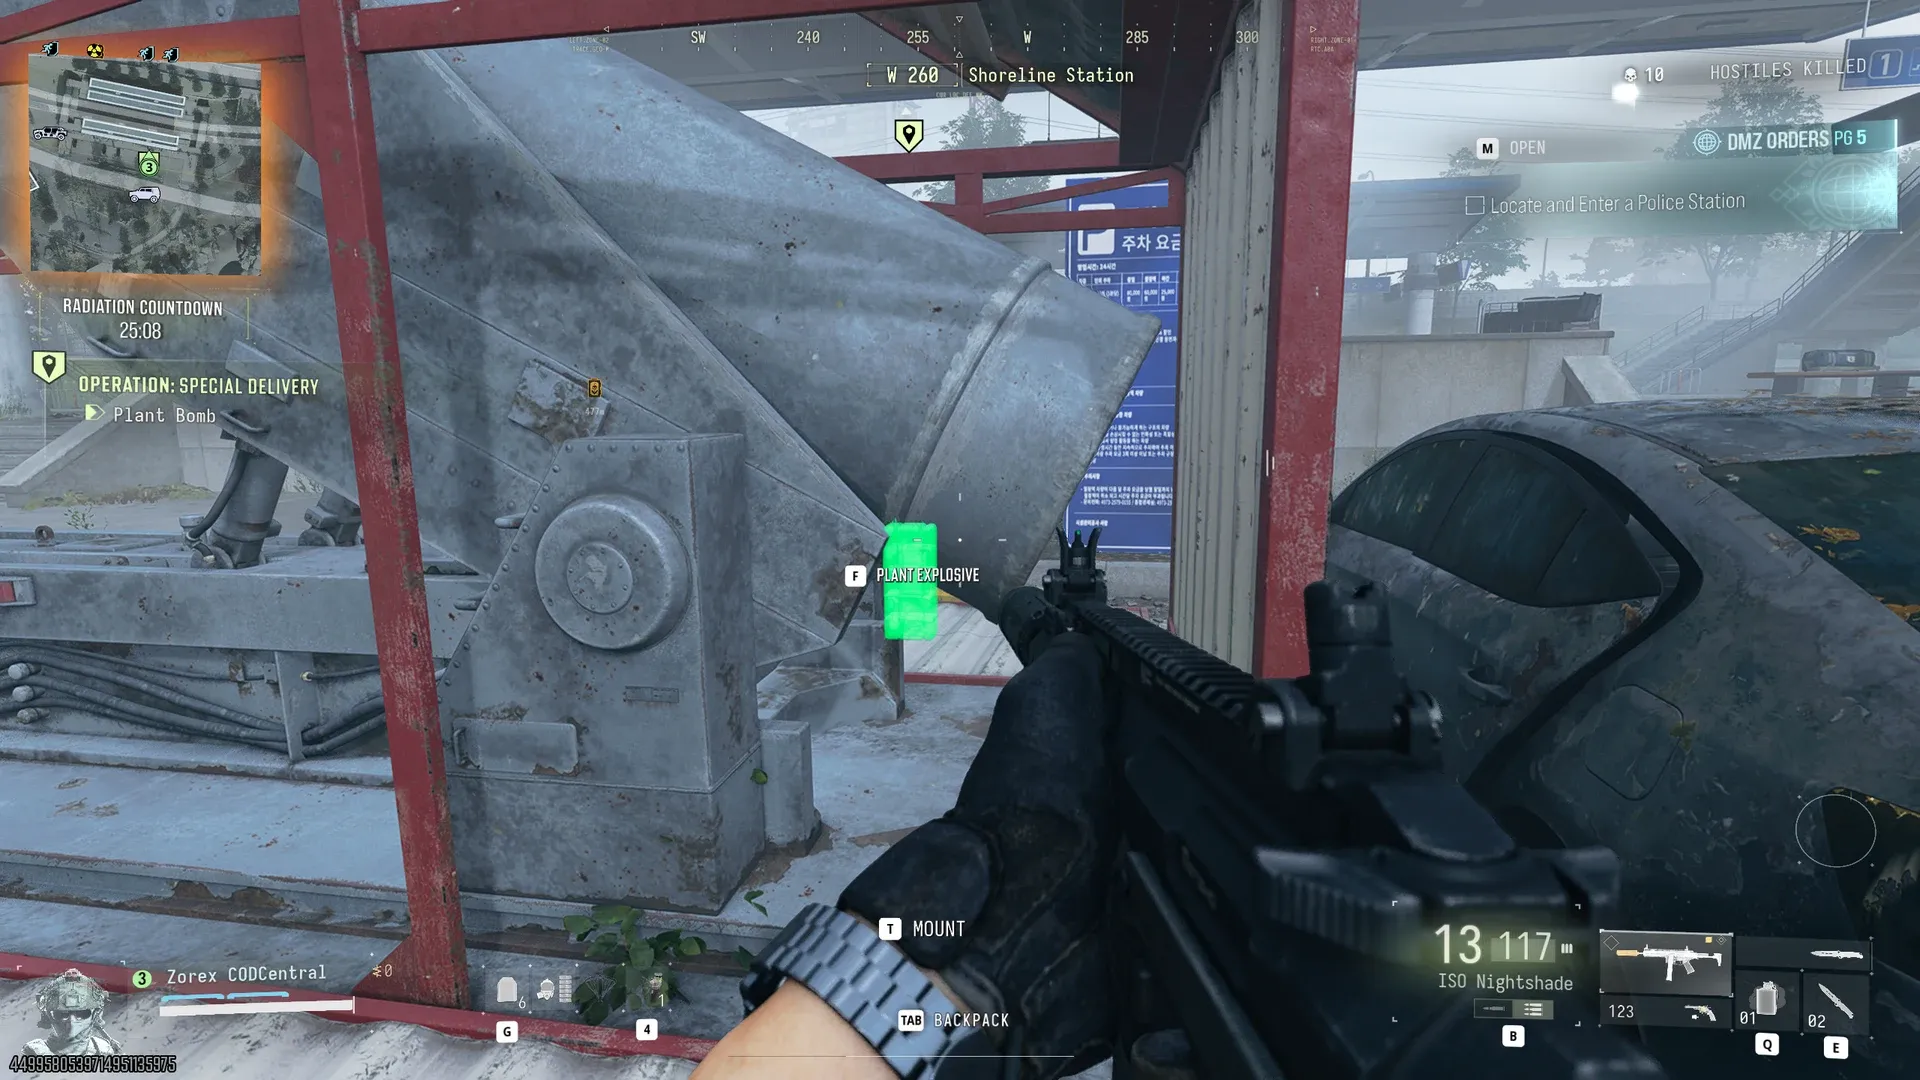
- Get to the Mobile Launch Platform. Ours was a missile launcher at Shoreline Station.
- Plant Bomb on the launcher, then Defend the Location while it counts down.
- Take Cover before the timer hits zero. We drove away and watched it go up.
The op crate that dropped afterwards held Degraded Execution Footage, Regional Combat Notes and a Medium Backpack.
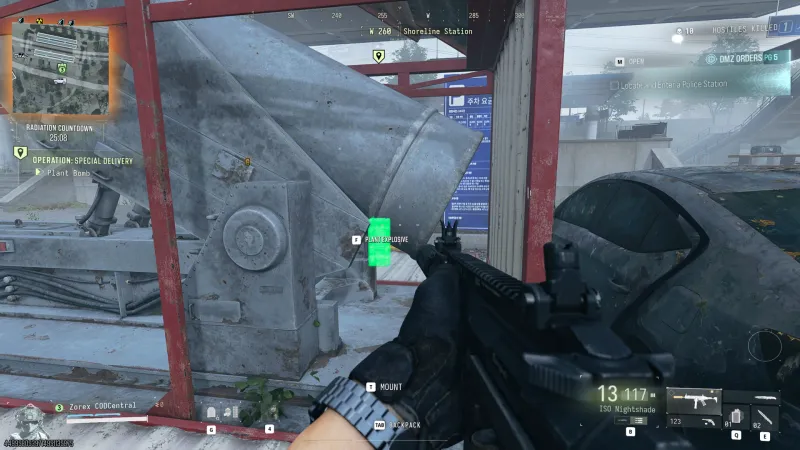 Click to enlarge Planting the bomb on the mobile launch platform.
 Click to enlarge Special Delivery done, +$7,500 and a Mojave .357 unlock.
Hunt Operator and Ignition Point
These two we only know from a map marker or their first step. We will add full walkthroughs once we have played them.
Hunt Operator
We have only seen Hunt Operator as a marker on the tac map, inside a red high-threat zone. Activision’s guide warns that the Hunt Operators op sends you after a full squad of rival players, so treat it as a PvP op and bring your best kit.
Ignition Point
We saw Operation Ignition Point at deploy, with Proceed to the Target Area at North Fork Hajin River as its first step.
Tips for Running Dynamic Ops
- Grab a vehicle early. Our Viral Reckoning waypoints sat about 650m to 915m away, and we drove between steps.
- Stack side ops on the route. Clear the Military Compound, Crack Safe and Capture SAM Site all appeared next to our ops, and Sky Heist’s 4 side ops added $2,000.
- Expect Lieutenants. The Doctor joined our Ghost Shipment uninvited, so keep ammo and plates in reserve.
- Do not bail just because you cannot finish. An unfinished op still paid 500 to 1,500 XP, and every step pays on the spot.
DMZ Orders That Need Dynamic Ops
Several DMZ Orders pages ask for Dynamic Ops, so running them also moves your Orders forward.
- Page 1, First Op. Deploy to DMZ in Dynamic Ops.
- Page 3 of Ch. Human Intel, Payment Due. Collect a Dynamic Op Phone, and Earn $11,500 Cash From Completing Dynamic Ops.
- Page 4, Operation Rewards. Collect a Dynamic Op Phone in Cheongun Village, Complete a Dynamic Op, and Loot a Dynamic Op Crate.
Payment Due took us two ops. Its counter climbed $300 at a time as our steps paid out, so partial progress counts. For the basics of the mode and the FOB, Activision has an official MW4 DMZ how-to-play guide.
Have questions? Join our COD Central Discord where 50,000+ members hang out.
Frequently Asked Questions
How much do Dynamic Ops pay in MW4 DMZ?
The Dynamic Operations card in the deploy menu promises $10,000 to $20,000 cash to your bank for each completed op. Our after-action reports showed $6,800 to $10,500 for a single op, and $17,000 to $20,400 for two ops in one deployment. Every finished step inside an op also paid +250 XP and +$300.
What is the code for Viral Reckoning in MW4 DMZ?
There is no fixed code. The keypad code is random every match. We got 8531 in one run and 8349 in the next, and we saw 3628 in another player's run. The code is written in the step name on your objective panel, for example Use Code 8349 to Unlock Keypad, so read it from there.
How do you start a Dynamic Op in MW4 DMZ?
Pick Dynamic Operations on the Select Deployment screen and you deploy straight into one. You can also start one mid-match by finding a Dynamic Op phone and pressing Activate. Either way the op shows up on your objective panel as a chain of steps.
Do you get anything for an unfinished Dynamic Op in MW4 DMZ?
Yes, some XP. Our report showed 1,500 XP for an unfinished Domino Protocol and 500 XP for an unfinished Sky Heist, both listed as 0 Dynamic Ops Completed. Every step you finish also pays on the spot. Viral Reckoning even offers a step called Collect the Explosive or Exfil for Partial Credit.
How many Dynamic Ops are there in MW4 DMZ?
We have seen twelve so far. They are Viral Reckoning, Ghost Shipment, Chemical Denial, Toxic Intercept, Dead Man's Cache, Signal Breaker, Broken Resupply, Special Delivery, Domino Protocol, Sky Heist, Hunt Operator and Ignition Point. In one match the tac map showed 12 op markers at once for 10 of them.
Which DMZ Orders need Dynamic Ops in MW4 DMZ?
Page 1 has First Op, which asks you to deploy in Dynamic Ops. Page 3 of Ch. Human Intel has Payment Due, with Collect a Dynamic Op Phone and Earn $11,500 Cash From Completing Dynamic Ops. Page 4 has Operation Rewards, with a Dynamic Op phone in Cheongun Village, Complete a Dynamic Op and Loot a Dynamic Op Crate.
