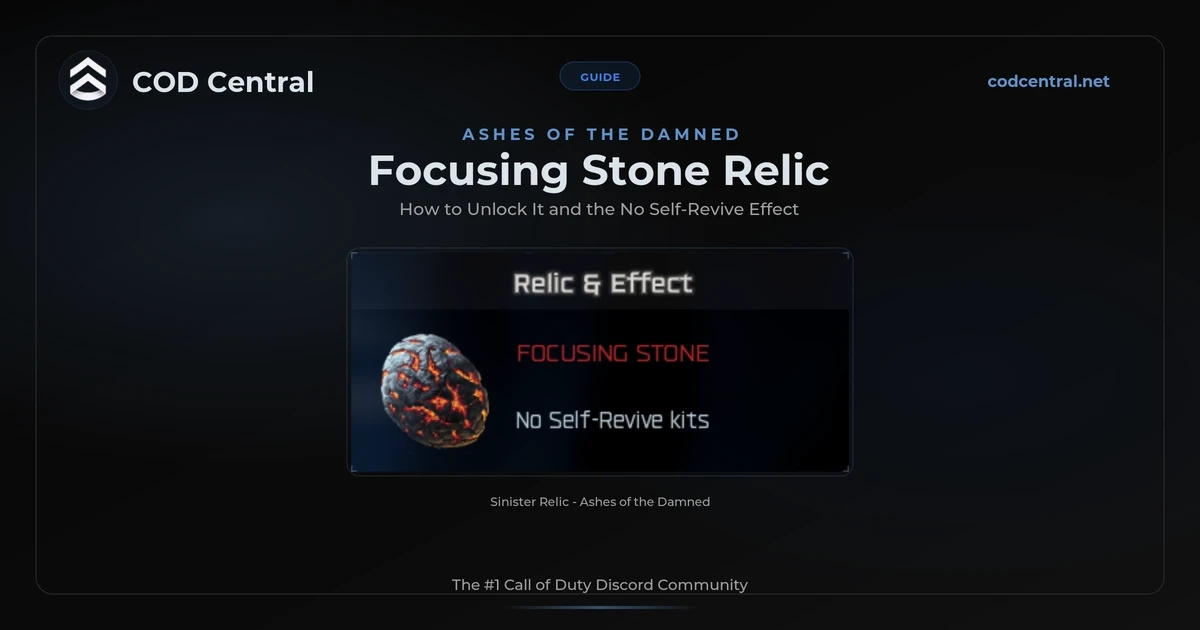
The Focusing Stone is a Sinister tier relic on Ashes of the Damned, and it takes away your Self-Revive kits entirely. Unlocking it is a four-part chain from round 40: melee a Zursa bear for a wine bottle, complete a T.E.D.D. task for a second, solve a Simon Says puzzle at the cabin bar, then survive a trial at Flame Trench with your essence forfeited. It is worth 2 relic points and the name is a nod to the classic Focusing Stone from Shangri-La.
- Cursed mode, Tier I or higher, round 40+, main Easter egg done
- Kill a Zursa bear with a melee finish for wine bottle one
- Complete a T.E.D.D. task at Legendary mastery for wine bottle two
- Place each bottle at the cabin bar one at a time, carrying both soft-locks the run
- Solve the Simon Says order once all five bottles are on the bar
- Survive the 5-wave trial at Flame Trench with all essence forfeited
- Relic effect: no Self-Revive kits, so the goal is to never go down
We unlocked this one on our own run and documented every step below. Creators like ZoneX and his community, plus TheGamingRevolution and MrDalekJD, covered the chain early on YouTube. Our run confirmed the melee bear kill, the random bottle order, and the Flame Trench portal firsthand.
Requirements
Get these sorted before you go hunting for the Focusing Stone steps.
| Requirement | Details |
|---|---|
| Map | Ashes of the Damned |
| Relic Tier | Sinister (2 relic points) |
| Cursed Tier Needed | Tier I or higher. You need earlier Grim relics equipped to raise the Cursed mode tier. |
| Round 40+ | The relic chain only starts once you reach round 40. |
| Main Easter Egg | Must have completed the Ashes of the Damned main Easter egg (defeat Veytharion). |
| Loadout | Ether Shroud, a Pack-a-Punch knife or the Necrofluid Gauntlet, and GobbleGums for the trial. |
Step 1: Zursa Melee Kill
From round 40, you need to kill a Zursa bear with a melee finish. A normal gun kill will not count, the final blow has to be melee. Weaken the bear with your guns first, then swap to a knife or gauntlet to land the last hit. This is the fiddliest step of the whole chain, especially solo.
Our go-to method: pop Ether Shroud to stay cloaked, then finish the Zursa with a Pack-a-Punch Tier 4 knife while it cannot target you. When the melee kill lands, the bear drops a wine bottle on the ground with a question mark prompt.
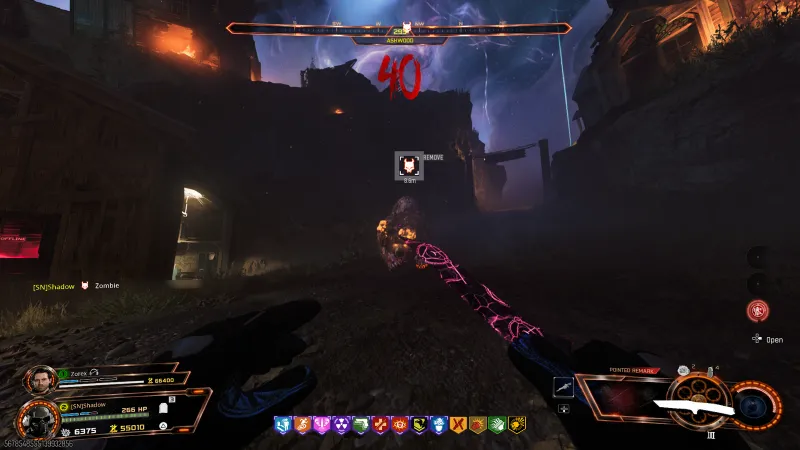
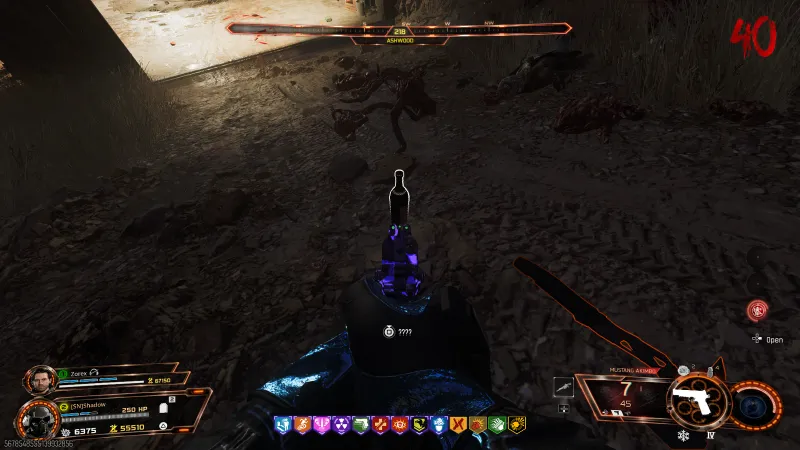
Pick this bottle up and take it straight to the cabin bar at Blackwater Lake, then place it before you go for the second one. Handling the bottles in the wrong order is what breaks most runs, so read the warning below before you touch either bottle.
Warning: place one bottle at a time
Never carry both wine bottles at once. Get the first bottle, place it on the bar, then go earn the second and place that one. If you hold both bottles and place them together, the game only registers one and soft-locks your entire run, forcing you to restart the whole chain from the bear kill. You know you did it right when five wine bottles are sitting on the bar.
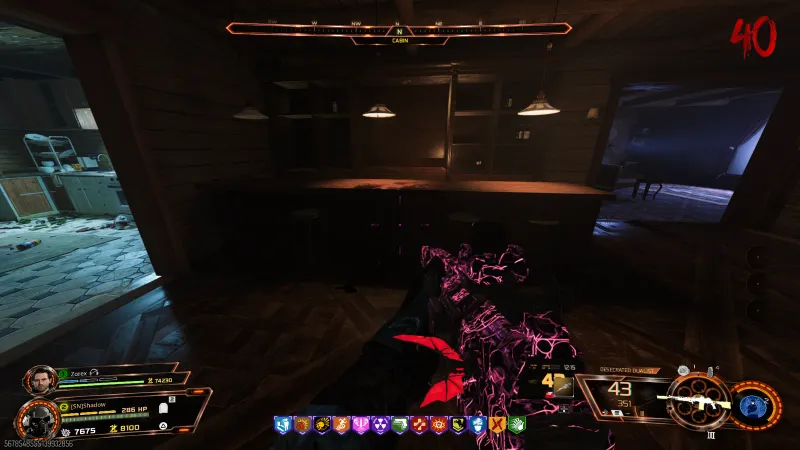
The bar you are heading for is inside the cabin at Blackwater Lake, marked CABIN on your compass. Here is the counter where both bottles go.
You do not have to wait for the round timer to spawn a Zursa. Shoot the three green skulls around the map with the Necrofluid Gauntlet wonder weapon to force a bear spawn. The skulls sit at Flame Trench, Support Systems, and Zarya Cosmodrome, and the trick works from as early as round 13.
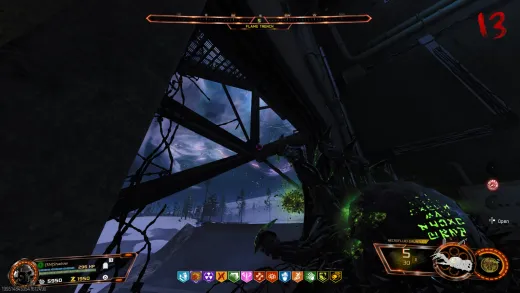 Click to enlarge Flame Trench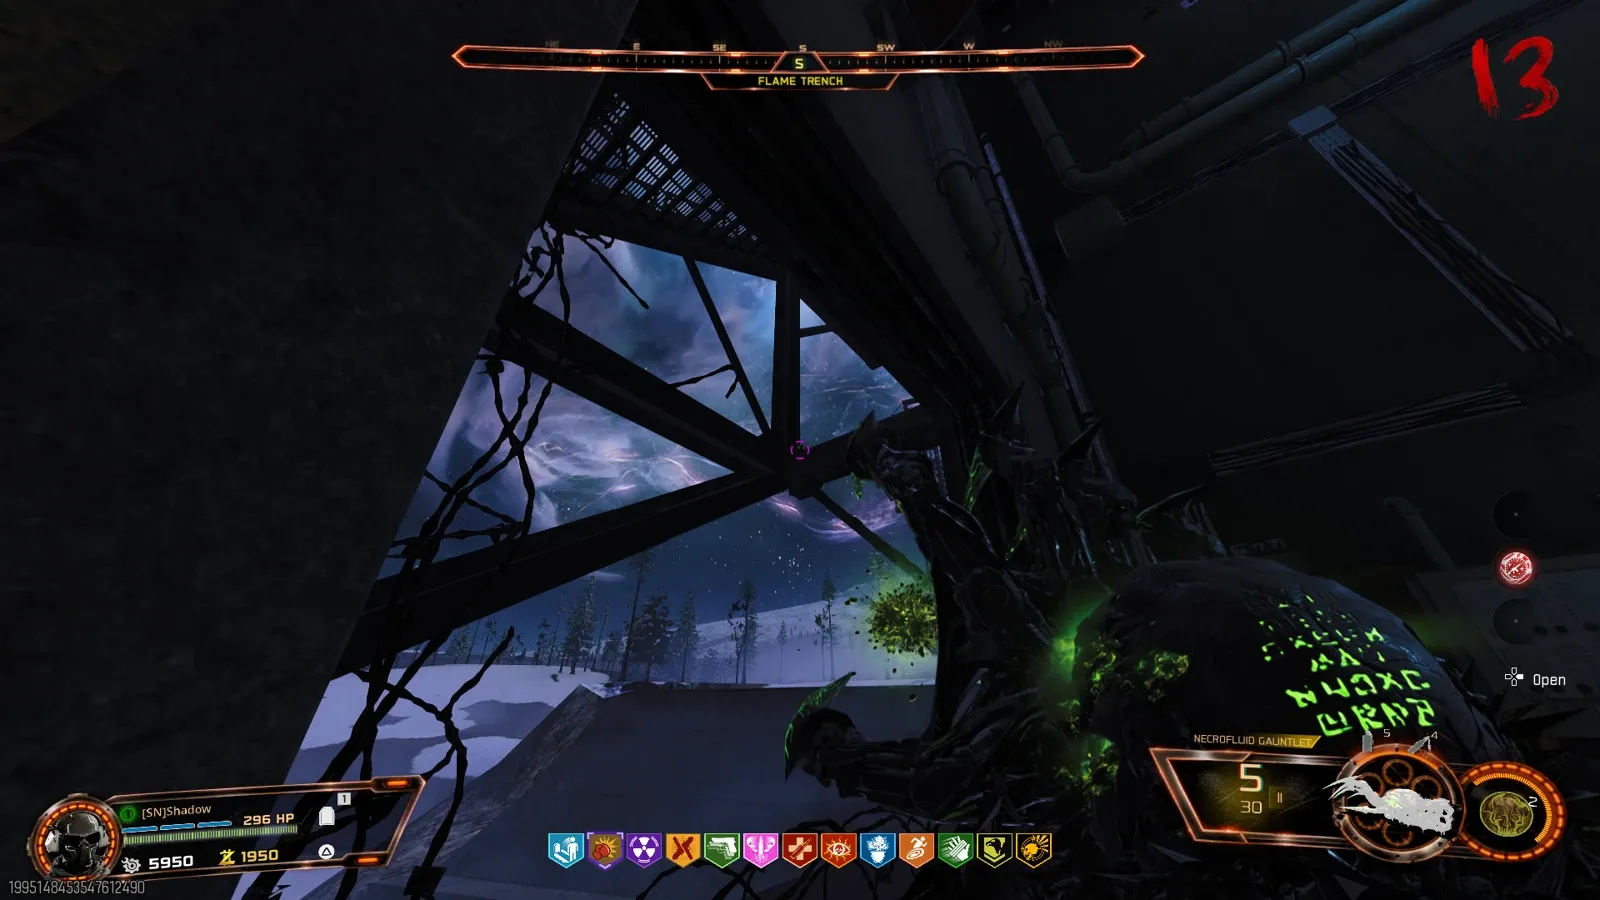
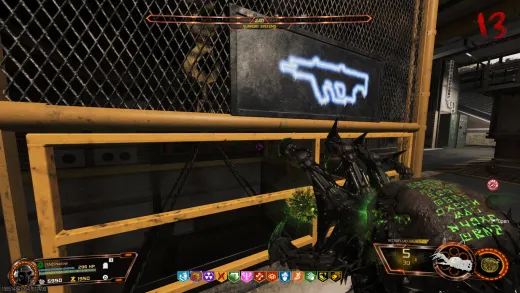 Click to enlarge Support Systems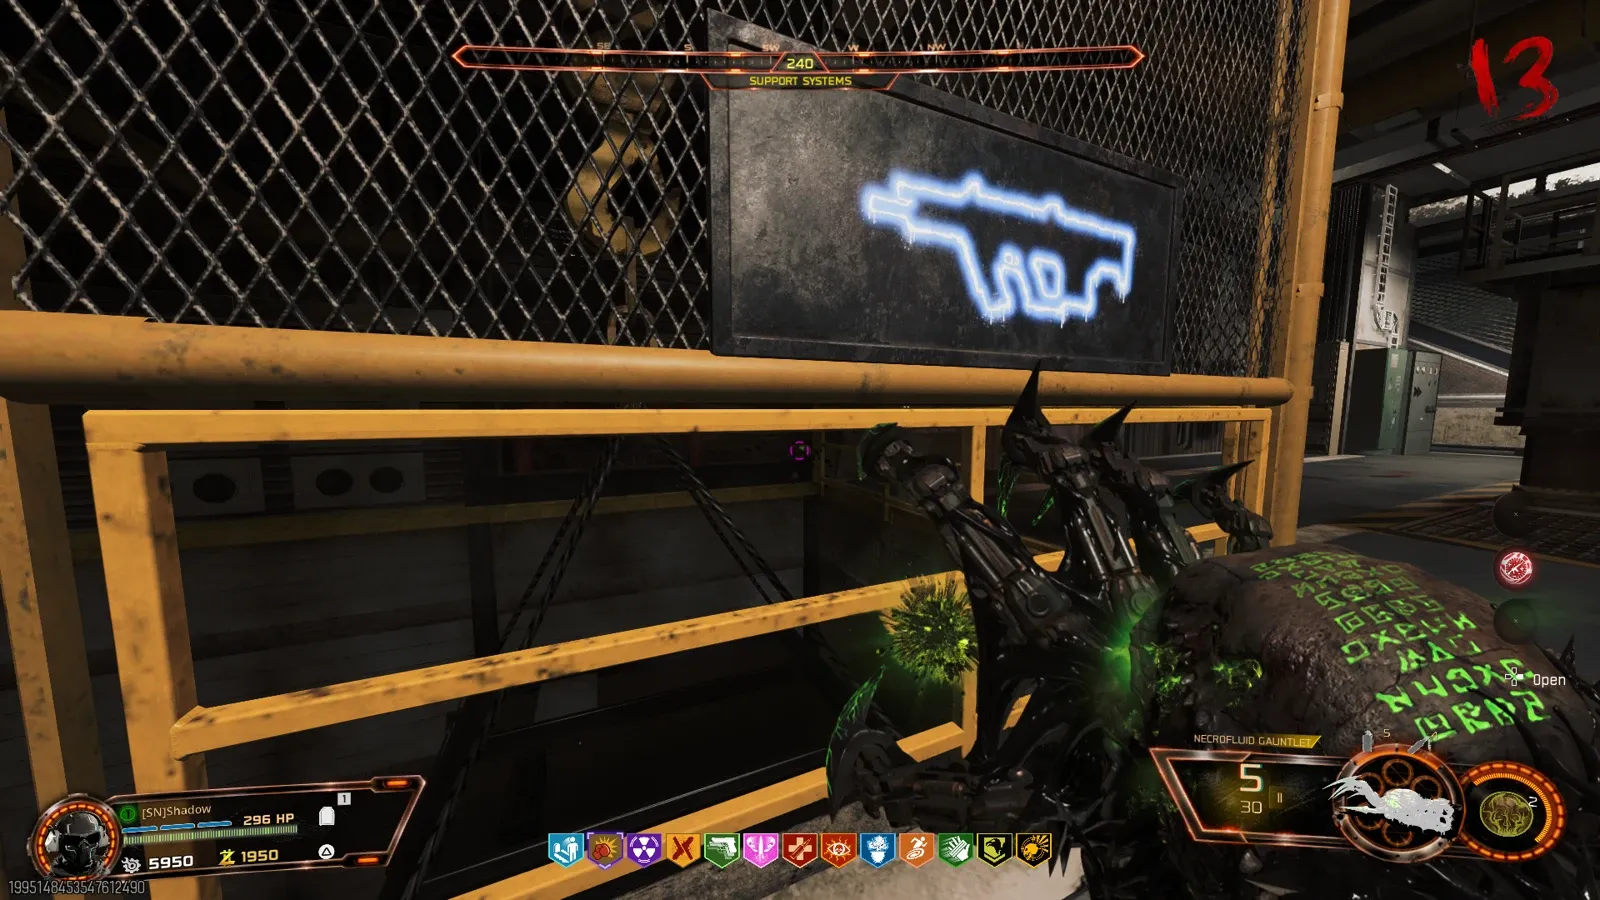
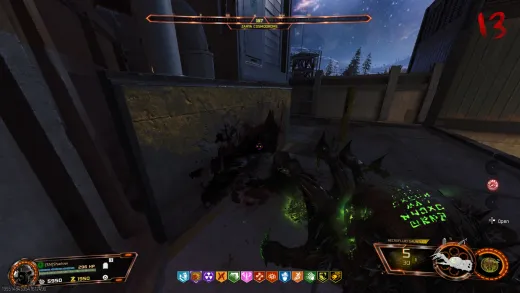 Click to enlarge Zarya Cosmodrome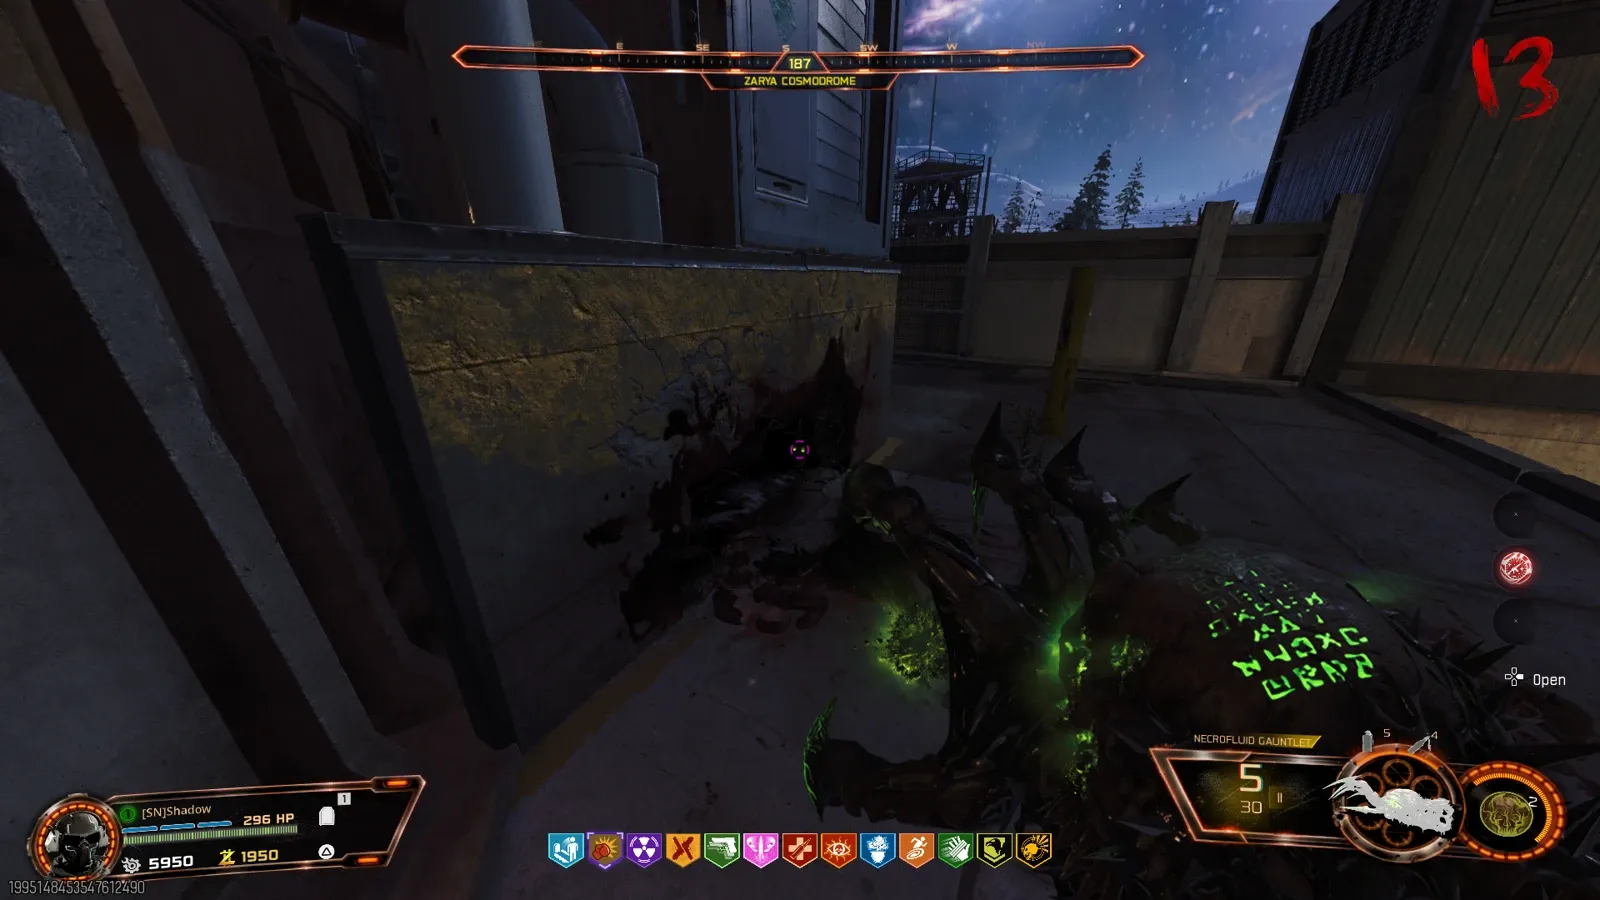
Step 2: T.E.D.D. Task (Legendary)
The second wine bottle comes from a T.E.D.D. task. Trigger a task from the T.E.D.D. robot, complete it, and push the reward all the way to Legendary mastery. Ours was a defend objective, a “remain inside the marked location” task at the barn, and hitting Legendary at round 40 is not hard once you are training a horde nearby.
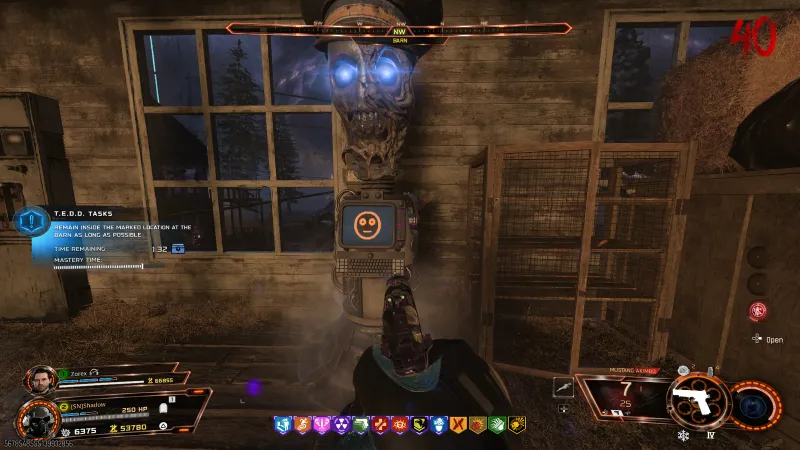
Only start this once your first bottle is already placed on the bar. Once you hit Legendary, a second wine bottle drops in front of the reward crate, again with a question mark prompt. Pick it up and place it too, and you should now see all five bottles lined up on the bar.
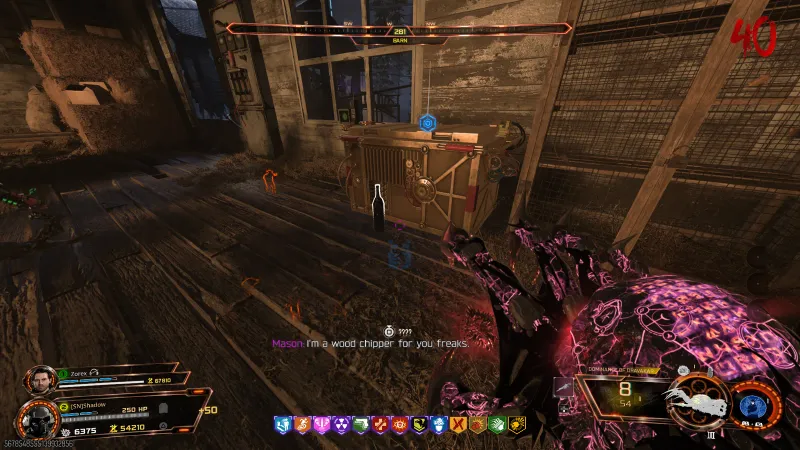
The reward crate bottle can bug out. We have seen it float, clip through the floor, or get stuck under the map. If the pickup prompt does not appear where the bottle should be, look up and down around the crate before assuming it did not spawn.
Step 3: Simon Says at the Cabin Bar
With both bottles already placed one at a time, five bottles now sit lined up on the cabin bar at Blackwater Lake. That is your cue the placement worked. Now the puzzle starts: the bottles light up and break in a set order, one after another. Watch the full sequence and memorise it. The order is random every game, so there is no set answer to copy.
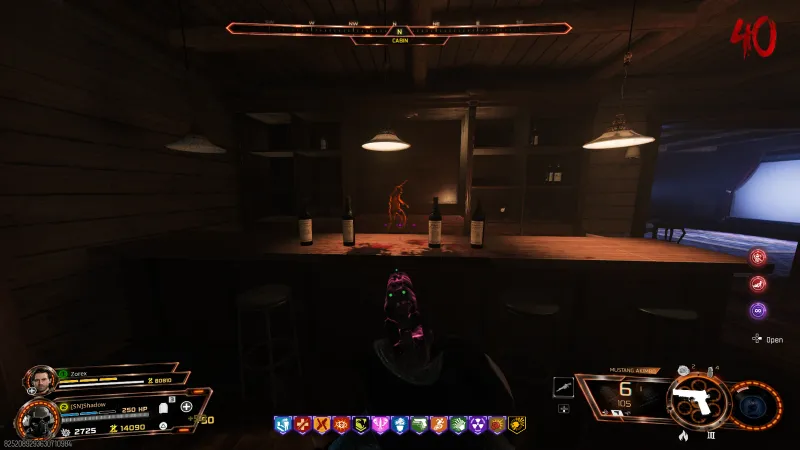
Then shoot the bottles in the same order they broke. Get it wrong and the sequence resets, so the safest play is to record it on your phone and replay it back. When you shoot them in the correct order, you hear the Mr Peeks laugh, which confirms this stage is done.
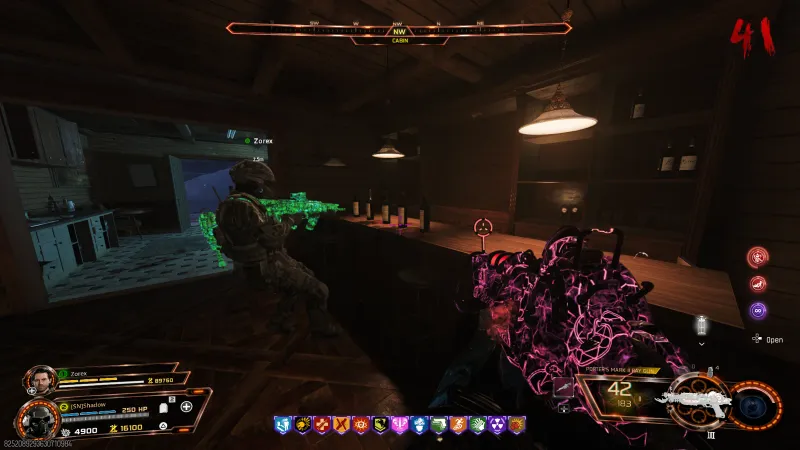
The Mr Peeks laugh (your confirmation sound)
This laugh confirms you shot the bottles in the right order. If you do not hear it, the sequence reset and you need to watch it break again.
Step 4: Survive the Flame Trench Trial
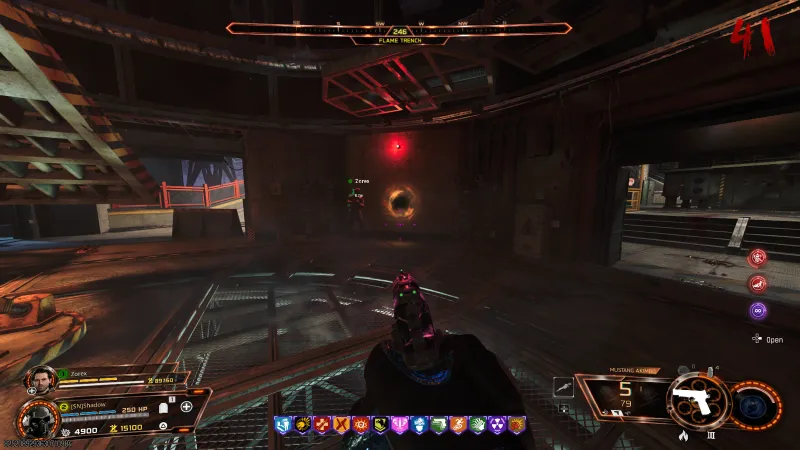
Solving the puzzle opens a dark swirling portal on the wall at Flame Trench in Zarya Cosmodrome. Walk up to it and the Relic Trial prompt appears. It spells out the two rules that catch people out: you forfeit all your essence, and every relic is disabled inside the trial. Your points drop to zero and you cannot buy ammo, perks, or anything else once it starts, so build your full loadout first.
| Wave | Objective | Notes |
|---|---|---|
| Wave 1 | Kill the horde | Warmup, conserve ammo where you can |
| Wave 2 | Kill 2 HVT mimics | First HVT wave, ammo starts getting tight |
| Wave 3 | Kill the horde | Standard wave, keep training |
| Wave 4 | Kill the horde | More enemies, watch your reserves |
| Wave 5 | Kill 3 HVT Doppelghasts | Final push, this is where runs fall apart |
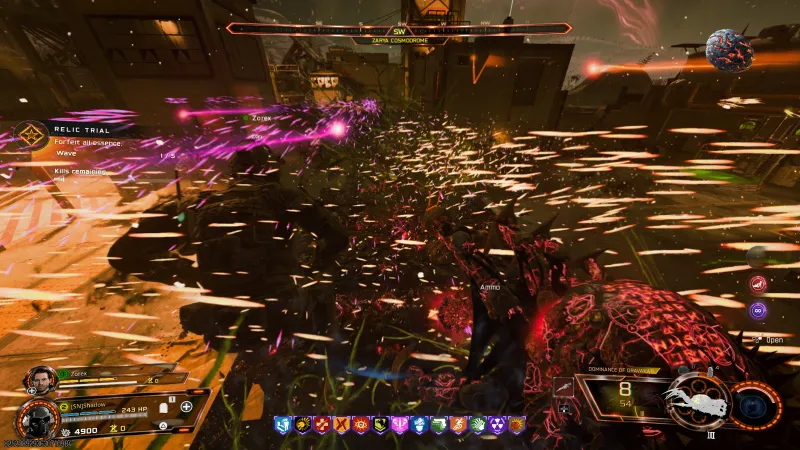
With no way to restock, ammo is your real enemy, not the zombies. Max ammo drops and ammo caches are disabled inside, so bring GobbleGums like Cash Back, Temporal Gift, or Killjoy, and lean on combat axes and Kasmirs to save bullets. The Necrofluid Gauntlet carries the horde waves, a War Machine shreds the HVT waves, and PhD Slider protects you from your own splash damage. Clear all five waves and your essence is returned along with the Focusing Stone relic.
Relic Effect
With the Focusing Stone equipped, you cannot carry or use any Self-Revive kits. On paper that is one of the harsher Sinister modifiers, because a single down with nobody to pick you up ends the run.
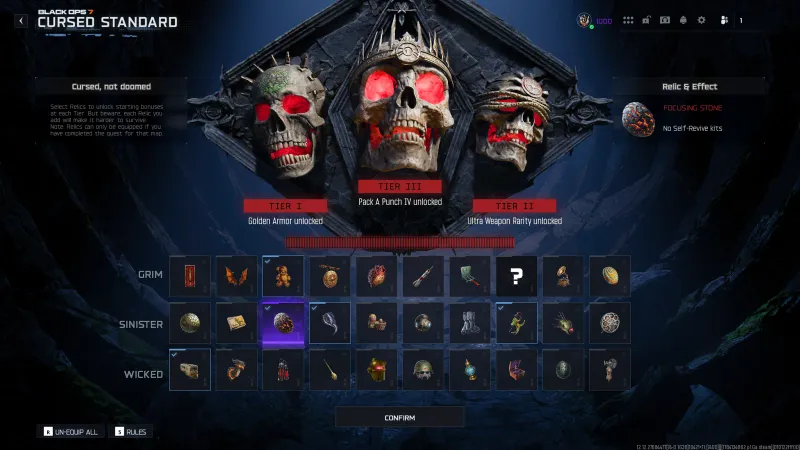
Here is our take though. We rate the Focusing Stone higher than most players do. T.E.D.D. task rewards still hand you self-revives during a match, so you are not completely locked out of them, and the modifier just forces the mindset every high round player should have anyway: do not go down in the first place. Pair it with a strong training loadout and it barely changes how you play.
All Ashes of the Damned Relics
Ashes of the Damned has 9 relics total, the most of any map. For a full breakdown of the relic system and tier rewards, see our What Is Cursed Mode guide. And if you hear music mid-round with no radio nearby, that is Mr Peeks, worth the detour for his egg.
| Tier | Relic | Effect |
|---|---|---|
| Grim | Dragon Wings | Power-ups do not spawn |
| Grim | Lawyer’s Pen | Mimic props infiltrate the map |
| Grim | Teddy Bear | 75% round delay reduction |
| Sinister | Vril Sphere | Limits you to 4 perks |
| Sinister | Samantha’s Drawing | Weapon swaps each round (gun game) |
| Sinister | Focusing Stone | Self-revives disabled |
| Wicked | Bus | Enemy health regenerates |
| Wicked | Dragon | Ammo caches disabled |
| Wicked | Blood Vials | All augments disabled |
Tips
- Ether Shroud is the cleanest way to land the melee kill on the Zursa, it stops the bear targeting you mid-knife.
- Shoot the three skulls with the Necrofluid Gauntlet to spawn the bear on demand instead of waiting on the round timer.
- Record the Simon Says order on your phone. The sequence is random and resets on a wrong shot, so do not trust your memory.
- Set up everything before the trial: full ammo, all perks, and GobbleGums. Your essence drops to zero the moment it starts.
- Combat axes and Kasmirs save ammo on the HVT waves, which is the resource that actually runs out.
- You still get self-revives from T.E.D.D. task rewards, so grab them when you can even with this relic equipped.
- Need a loadout for reaching round 40 comfortably? Check our best BO7 Zombies loadout guide.
Frequently Asked Questions
What does the Focusing Stone relic do in BO7 Zombies?
The Focusing Stone is a Sinister tier relic on Ashes of the Damned. When equipped, you cannot carry or use Self-Revive kits at all. It is one of the harsher solo modifiers because a single mistake with no self-revive can end the run, though you can still pick up self-revives from T.E.D.D. task rewards mid-game.
How do you unlock the Focusing Stone relic on Ashes of the Damned?
Beat the Ashes of the Damned main Easter egg first, then run a Tier I or higher Cursed match. From round 40, kill a Zursa bear with a melee finish for the first wine bottle and place it at the Blackwater Lake cabin bar, then complete a T.E.D.D. task at Legendary mastery for the second bottle and place that one too. Place each bottle one at a time, solve the Simon Says puzzle once all five are on the bar, then survive the trial at Flame Trench.
Why is my Focusing Stone relic bugged or soft-locked?
The most common cause is carrying both wine bottles at once. If you hold both and then place them, the game only registers one bottle and soft-locks the quest, forcing you to restart the chain. Always place the first bottle before you go earn the second. The reward crate bottle can also spawn floating or stuck under the map, so check around the crate if the prompt does not appear.
How do you kill the Zursa bear for the Focusing Stone relic?
Weaken the Zursa with guns, then land the final blow with a melee weapon. Ether Shroud keeps you cloaked while you knife it, and a Pack-a-Punch Tier 4 knife or the Necrofluid Gauntlet drops it fast. A normal gun kill will not count. On the melee kill it drops a wine bottle with a question mark prompt.
Where is the Focusing Stone trial portal on Ashes of the Damned?
After the Simon Says puzzle, a fiery orange portal opens at Flame Trench in Zarya Cosmodrome. Walking up to it shows the Relic Trial prompt, which warns that you forfeit all essence and that all relics are disabled inside. Get your full loadout ready before you start it.
Is the Focusing Stone relic worth equipping in BO7?
We rate it higher than its reputation. The no self-revive tag sounds brutal, but T.E.D.D. task rewards still hand you self-revives during a run, so the real goal is simply to never go down. It is worth 2 relic points, which helps push your Cursed tier up faster.
Can you spawn the Zursa bear faster on Ashes of the Damned?
Yes. Shoot the three green skulls around the map with the Necrofluid Gauntlet wonder weapon to force a bear spawn instead of waiting for the round timer. The skulls sit at Flame Trench, Support Systems, and Zarya Cosmodrome, and the trick works from as early as round 13.
Can you unlock the Focusing Stone relic solo?
Yes, but the melee bear kill and the no essence trial are much harder alone. Co-op lets a teammate revive you and helps bait the Zursa onto your knife. Solo players should bring Ether Shroud, combat axes, and a self-sustaining setup before starting the trial.
Stuck on the Zursa melee kill or after a squad for the round 40 Cursed grind? Join 50,000+ players in the COD Central Discord. Our Zombies channels run relic trials daily, and the team that unlocked this one is in there to help.
