
Rogue Run is the permanent roguelite Zombies mode in Black Ops 7, played across four maps: Ashes of the Damned, Kowakujō, Paradox Junction, and Astra Malorum. You start every run with nothing but a random pistol, no knife, no augments, and no Pack-a-Punch machine, and everything has to come from the reward pedestals between rounds.
The mode launched on June 4, 2026, as part of the Season 04 update, and sits alongside Standard, Survival, Directed, Cursed, and Dead Ops Arcade 4 in the Zombies menu. Unlike limited-time events, Rogue Run is here to stay. Creators like ZoneX and MrDalekJD were already grinding the playlists on day one.
Rogue Run has grown well beyond its launch shape since then. Three dedicated maps joined the mode, Kowakujō, Paradox Junction, and Astra Malorum, each with its own difficulty tiers, an optional Relic Tier system, and a fresh reward track. The original Target and Endurance playlists still run on Ashes of the Damned, so this guide covers both the launch content and everything the new maps added.
- Roguelite Zombies mode. Target and Endurance playlists on Ashes of the Damned, plus three standalone maps
- Standalone maps: Kowakujō, Paradox Junction, and Astra Malorum, each with Casual, Normal, or Hardcore difficulty and optional Relic Tiers
- Start with a random Common Pistol and infinite ammo. No knife, no augments, no PaP machine
- Pick a reward from the pedestals after each round (weapons, Perks, Ammo Mods, Field Upgrades). 60 seconds to choose
- 3 HVT bosses: Luci (Doppelghast), Mal (Amalgam), Mo (Abomination)
- Permanent upgrades carry across all playlists. Best order: Endurance, Luci, Mal, Mo, then All Targets

How Rogue Run Works
Rogue Run drops the normal Zombies loadout system entirely. You load in with a Common Rarity Pistol and infinite ammo. No knife, no augments, no salvage, no Pack-a-Punch machine. Your starting pistol does keep your equipped blueprint variant, so it is not completely random.
The core loop works like this: survive a round of zombies, then teleport to an area where the round’s rewards are laid out on pedestals and you pick one. Each pedestal offers a reward from a different pool. You get 60 seconds to pick one, or the game auto-selects for you. Then you teleport to the next arena and do it again. Each round puts you in a different arena on Ashes of the Damned (Blackwater Lake, Ashwood Bridge, Zarya Cosmodrome, Janus Towers Plaza, Vettharion’s Sepulcher, and others), so you are constantly moving through the map.
Primary weapons have infinite ammo throughout the entire mode, but Wonder Weapons and Underbarrels do not. This means you never run out of bullets on your main gun, but powerful special weapons still require resource management. If you want to know which weapons perform best in Zombies, check our BO7 Zombies loadout guide.
One thing that catches players off guard: zombies hit harder and spawn in larger numbers from round 1 compared to normal Zombies. Rounds also last noticeably longer, with more total zombies per wave. This is not a relaxed warm-up. ZoneX and his squad confirmed that even the first round feels noticeably more aggressive than standard round-based Zombies.
There is no save-and-quit option. If you leave a Rogue Run match, your progress in that run is gone. Plan your sessions accordingly: individual boss playlists take 30 to 40 minutes to complete, while All Targets runs last over an hour (our squad’s round 40 exfil clocked in at 1 hour and 8 minutes).

What’s Different from Normal Zombies
Rogue Run strips away almost everything you are used to in standard round-based Zombies. Here is what is gone or changed:
| Feature | Normal Zombies | Rogue Run |
|---|---|---|
| Starting weapon | Custom loadout | Random Common Pistol only |
| Melee weapon | Knife available | No starting knife. A melee weapon can come off a pedestal |
| Augments | Full augment loadout | Disabled until permanently unlocked via Target: Mo |
| Pack-a-Punch | Machine on map | No machine. PaP Crystals come from pedestal rewards after unlocking |
| Arsenal machine | Available on map | Turned off |
| Salvage | Earned from kills | Not earned at all |
| Ammo | Limited (buy from wall/box) | Infinite for primary weapons. Wonder Weapons and Underbarrels still limited |
| Zombie difficulty | Scales gradually | Harder from round 1, more spawns, more damage |
| Map movement | You explore freely | Teleported to different arenas each round |
| GobbleGums | All available | 14 restricted, rest still usable |
| Nuke Power-Up | Kills the zombies on the map | Ends the round outright, however many are left |
The biggest adjustment is that you cannot rely on the Mystery Box, wall buys, or the Arsenal machine. Your entire loadout comes from what the pedestals offer between rounds. That is the core of the roguelite design.
Pedestal Rewards and Build Strategy
After clearing each round, you teleport to a reward area where the round’s rewards wait on pedestals. Each one draws from a different pool, and the full list is longer than you might think:
- Weapons, at varying Pack-a-Punch levels and rarities
- Wonder Weapons, always stock with no upgrades, once unlocked through Target: Luci
- Melee weapons, the only way to get one in this mode
- Perks, including Eternal Perks
- Field Upgrades
- Ammo Mods
- Armor upgrades
- Augments for Perks, Field Upgrades or Ammo Mods, once unlocked through Target: Mo
- Aether Tools, for weapon rarity
- Aether Crystals, for Pack-a-Punch levels
- Ammo and equipment refills
One rule runs underneath all of it: a pedestal will only ever offer you something you do not already have.
You have 60 seconds to make your choice. Take too long and the game auto-selects for you. This keeps the pace fast and forces quick decisions about your build path. In co-op, each player sees different options on each pedestal, so you cannot plan identical builds with your squad.

There is also a hidden Perk mechanic that the game does not explain: if you pick the same Perk twice from different pedestals, it becomes a permanent Perk for that run. If you go down, you keep that Perk instead of losing it. This makes doubling up on key Perks like Juggernog or Quick Revive a top priority once you spot them on a pedestal.
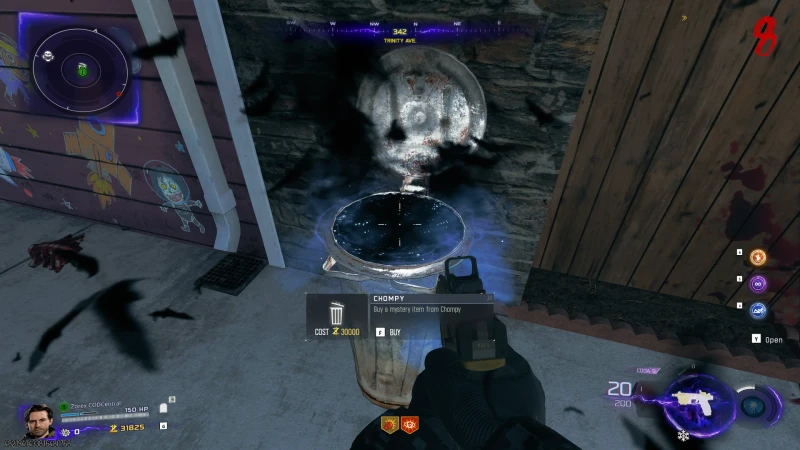
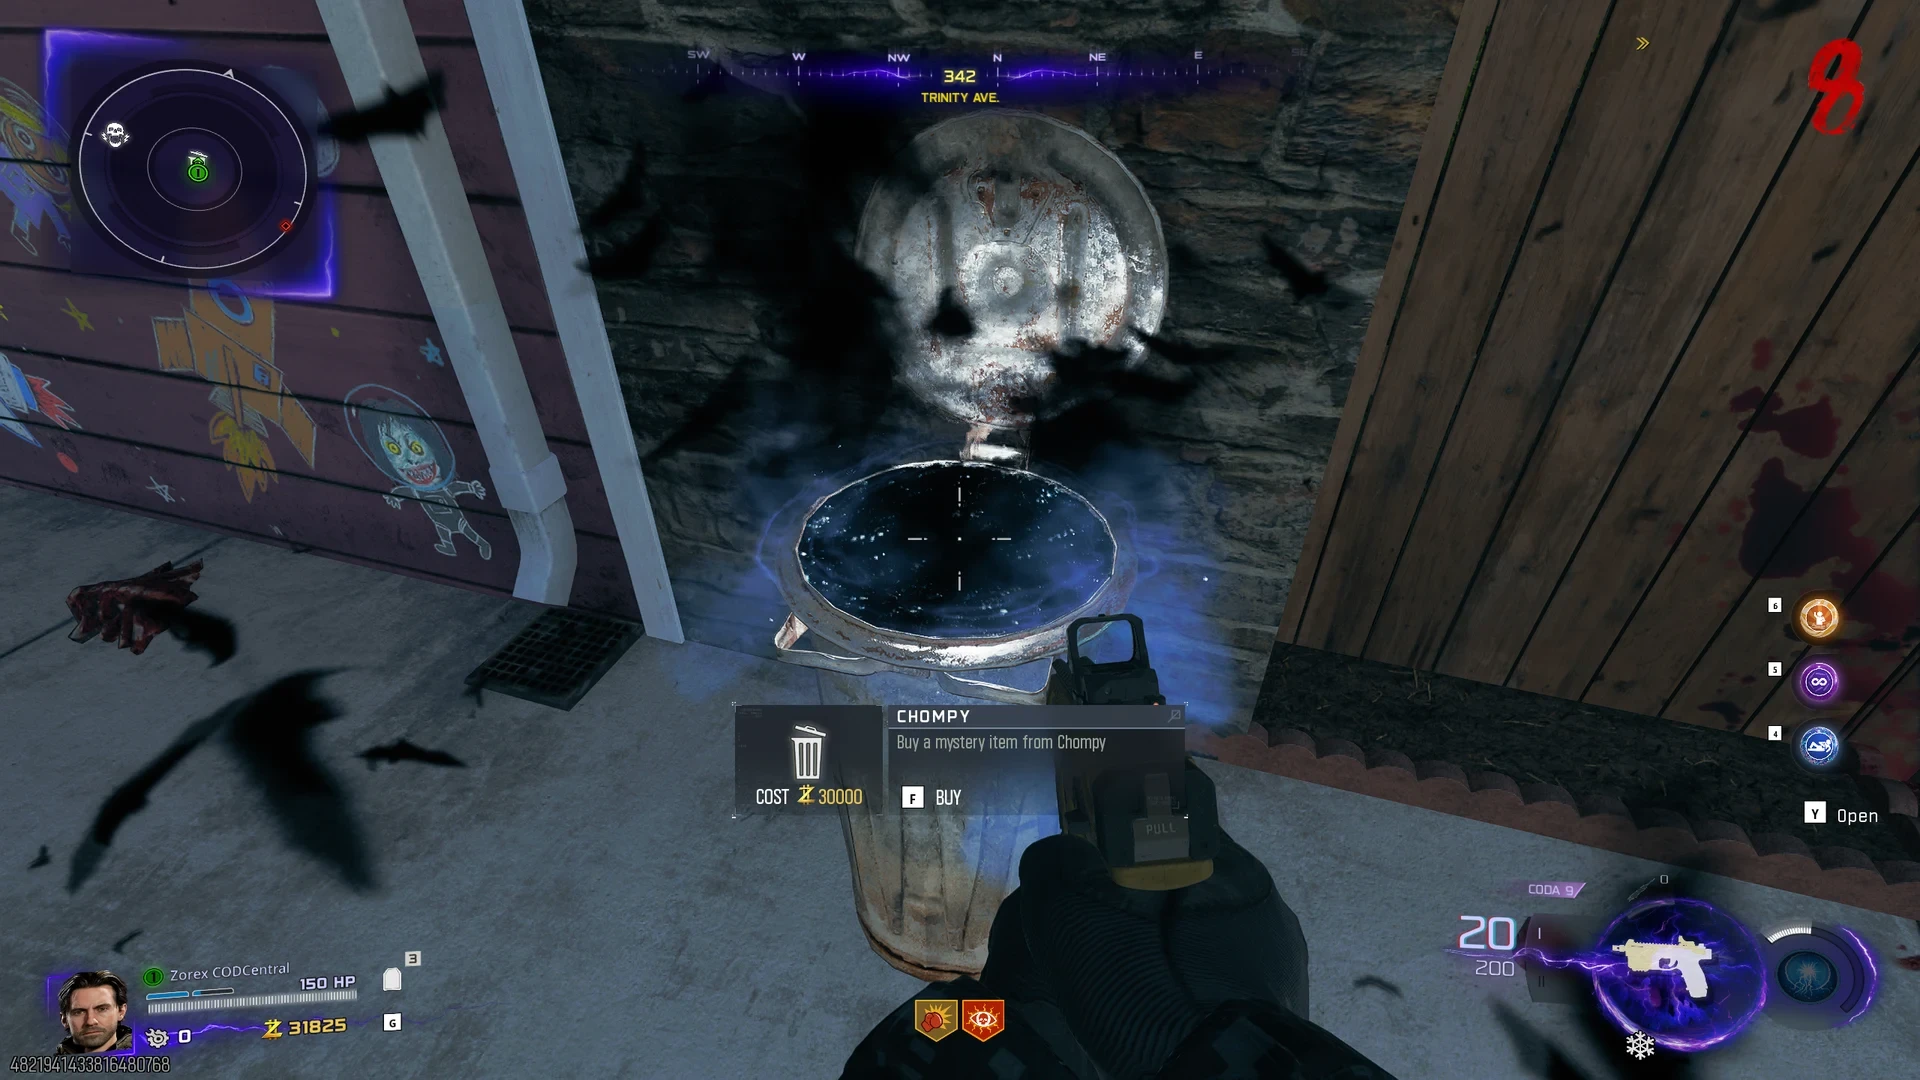
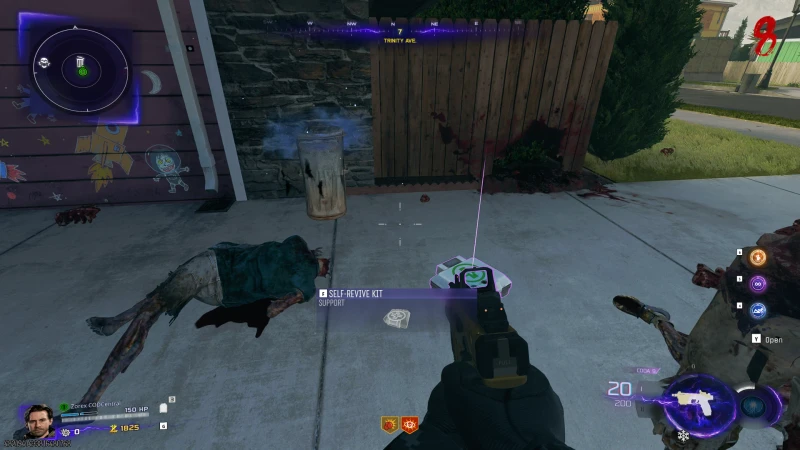
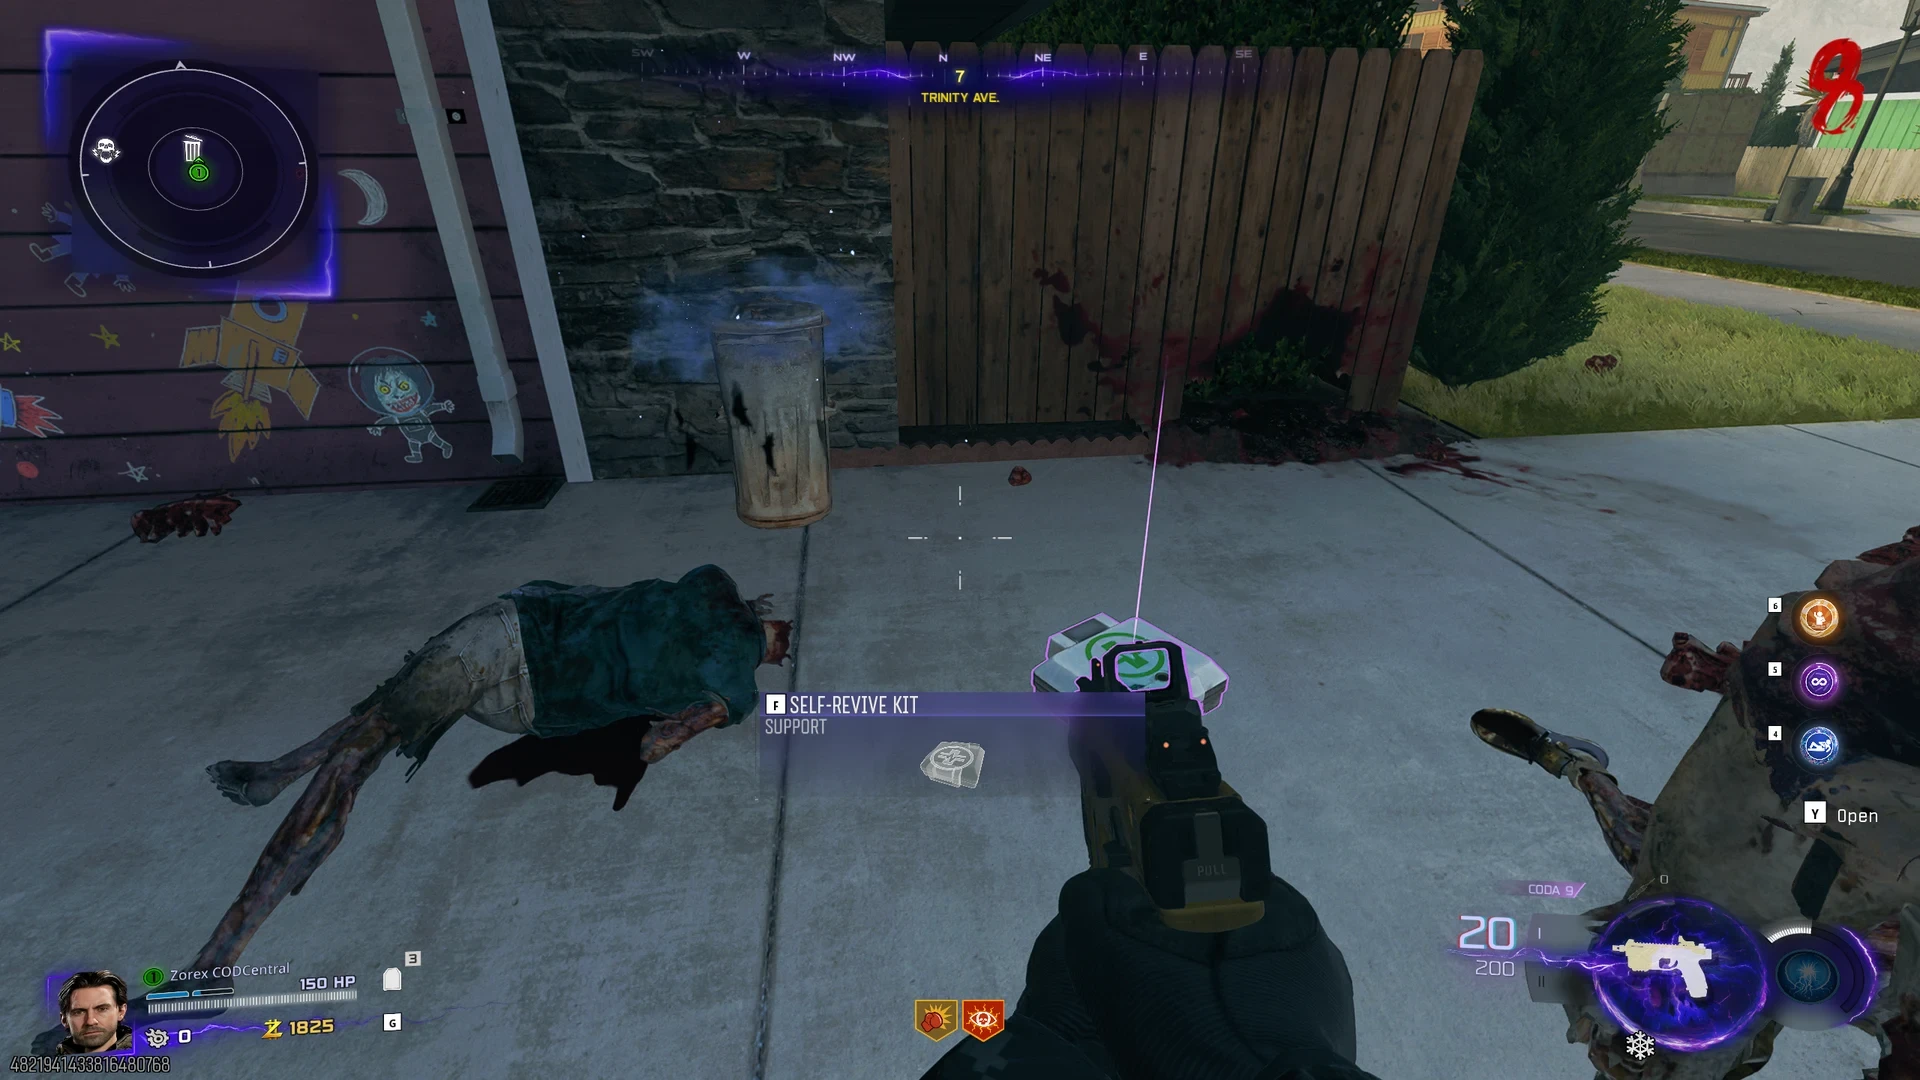
Besides pedestals, Chompy (the mystery trash can) sells a random item for 30,000 Essence, and there is always one within reach whichever area you get dropped into. What comes out is tied to what you are missing rather than pure chance: in our runs the first buy has always been a Self-Revive when we did not have one, and after that we have seen Aether Crystals, Aether Tools, and Perk-a-Cola cans. When there is nothing left to top up, Chompy pays out a Power-Up instead. It is expensive, but late in a run with Essence to spare it is the one way to fill a gap the pedestals never offered.
 Click to enlarge
 Click to enlarge
Early permanent unlocks change what can appear on pedestals. For example, Wonder Weapons only show up after you unlock them through the Target: Luci playlist. The same goes for Pack-a-Punch Crystals (Target: Mo) and the permanent 4th reward (Target: Mal). The more permanent upgrades you have, the better your pedestal options become across all playlists.

Trick or Treat Pumpkins
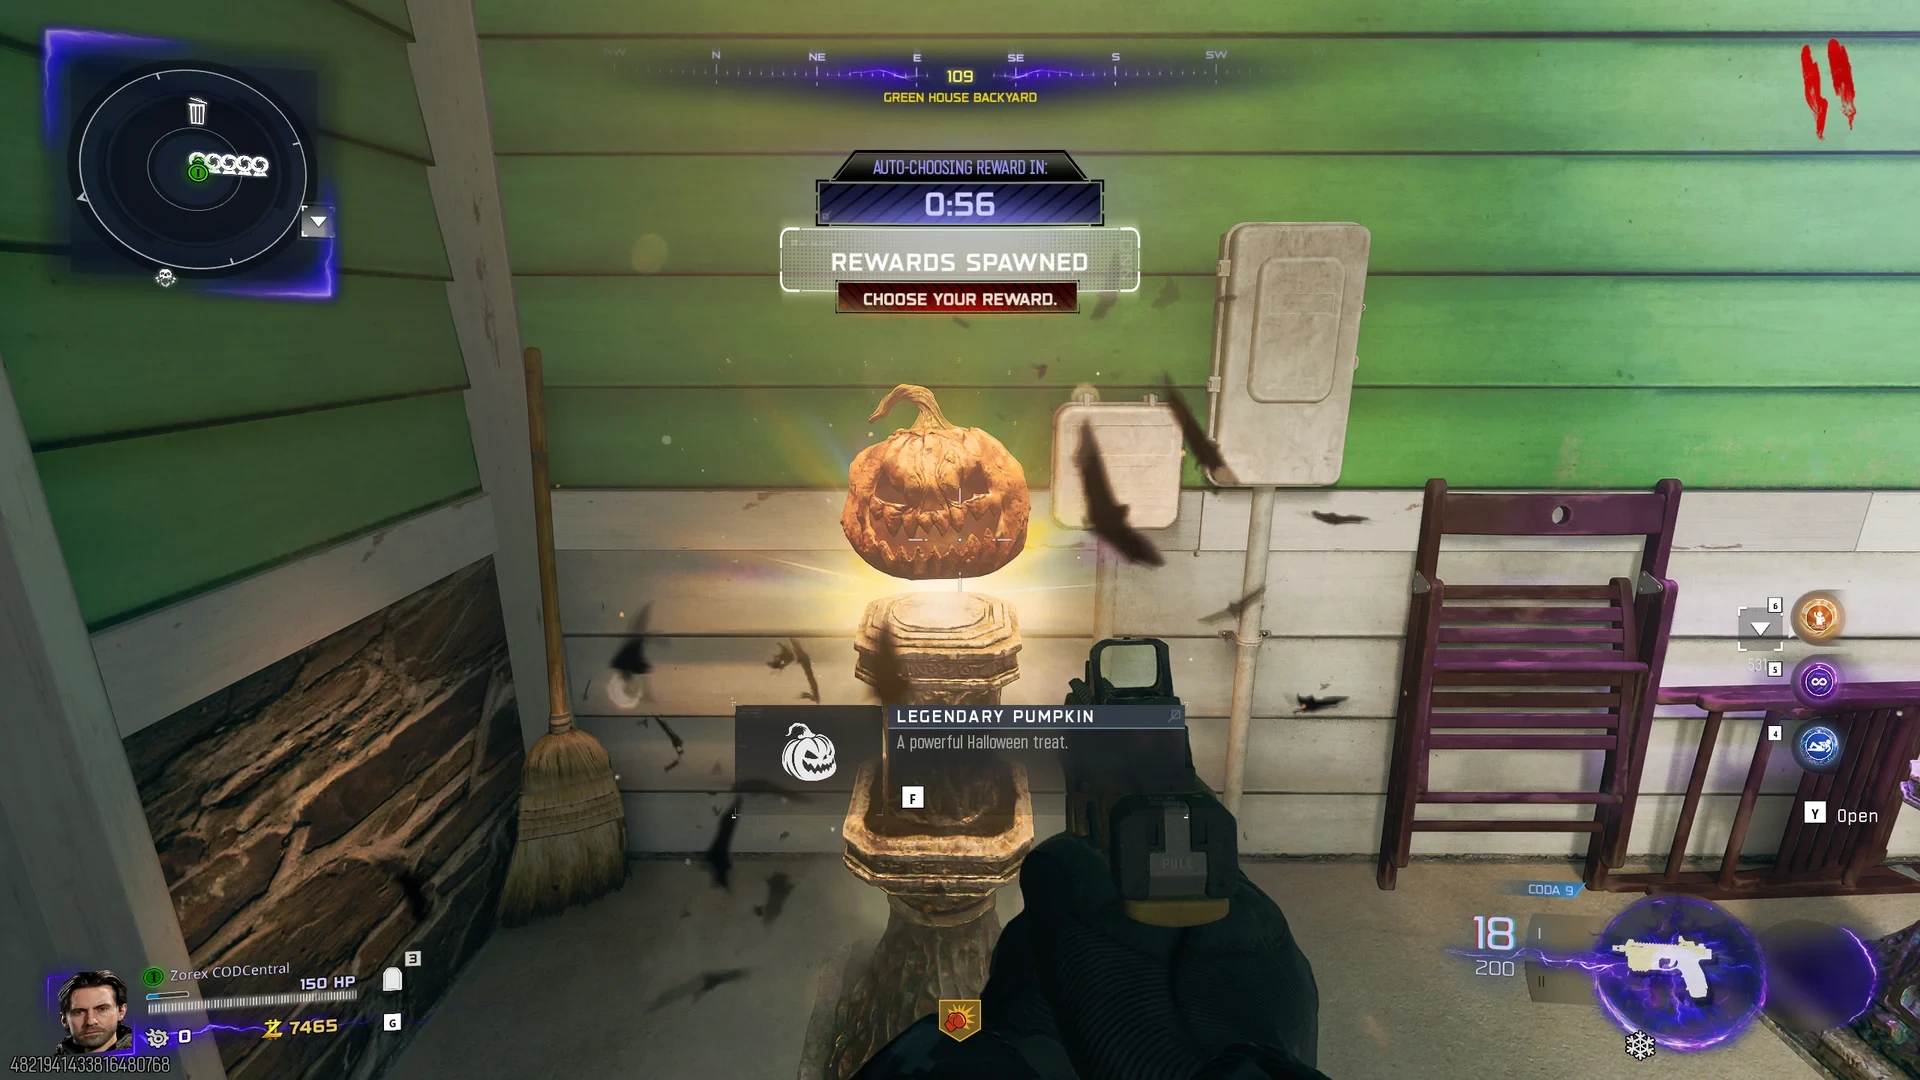
While The Haunting runs, pumpkin-headed zombies roam every Rogue Run playlist and festive pumpkins take their turn on the reward pedestals. They come in three rarities, and the rarity decides one thing only: how much you get. A Rare pumpkin pays out one reward, an Epic two, and a Legendary three.
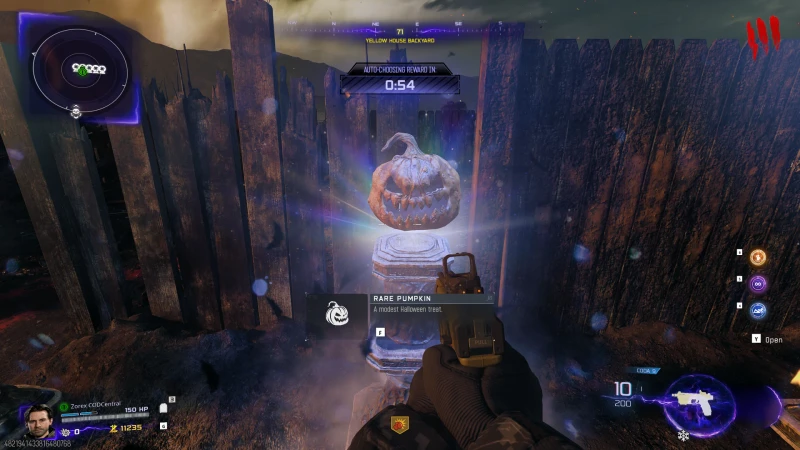 Click to enlarge Rare
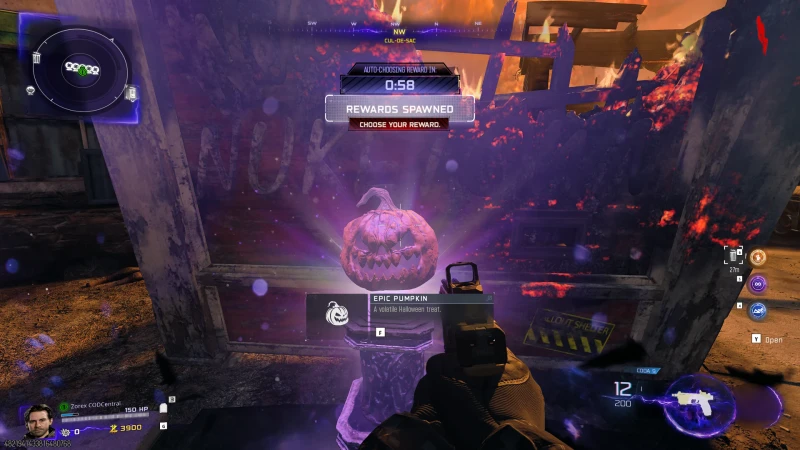 Click to enlarge Epic
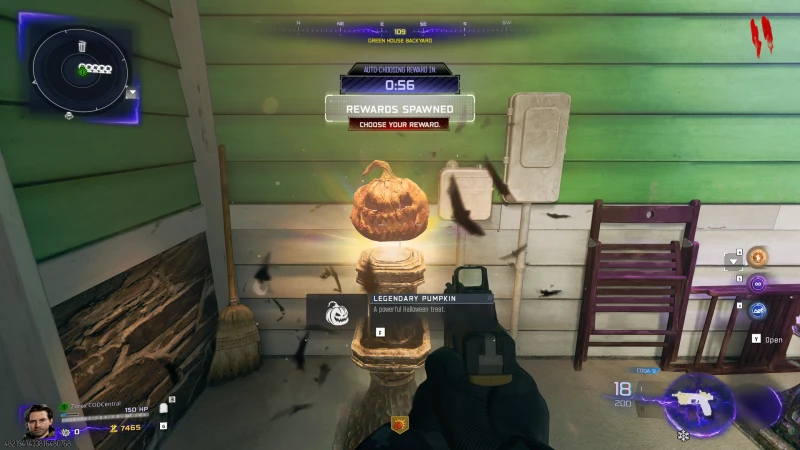 Click to enlarge Legendary
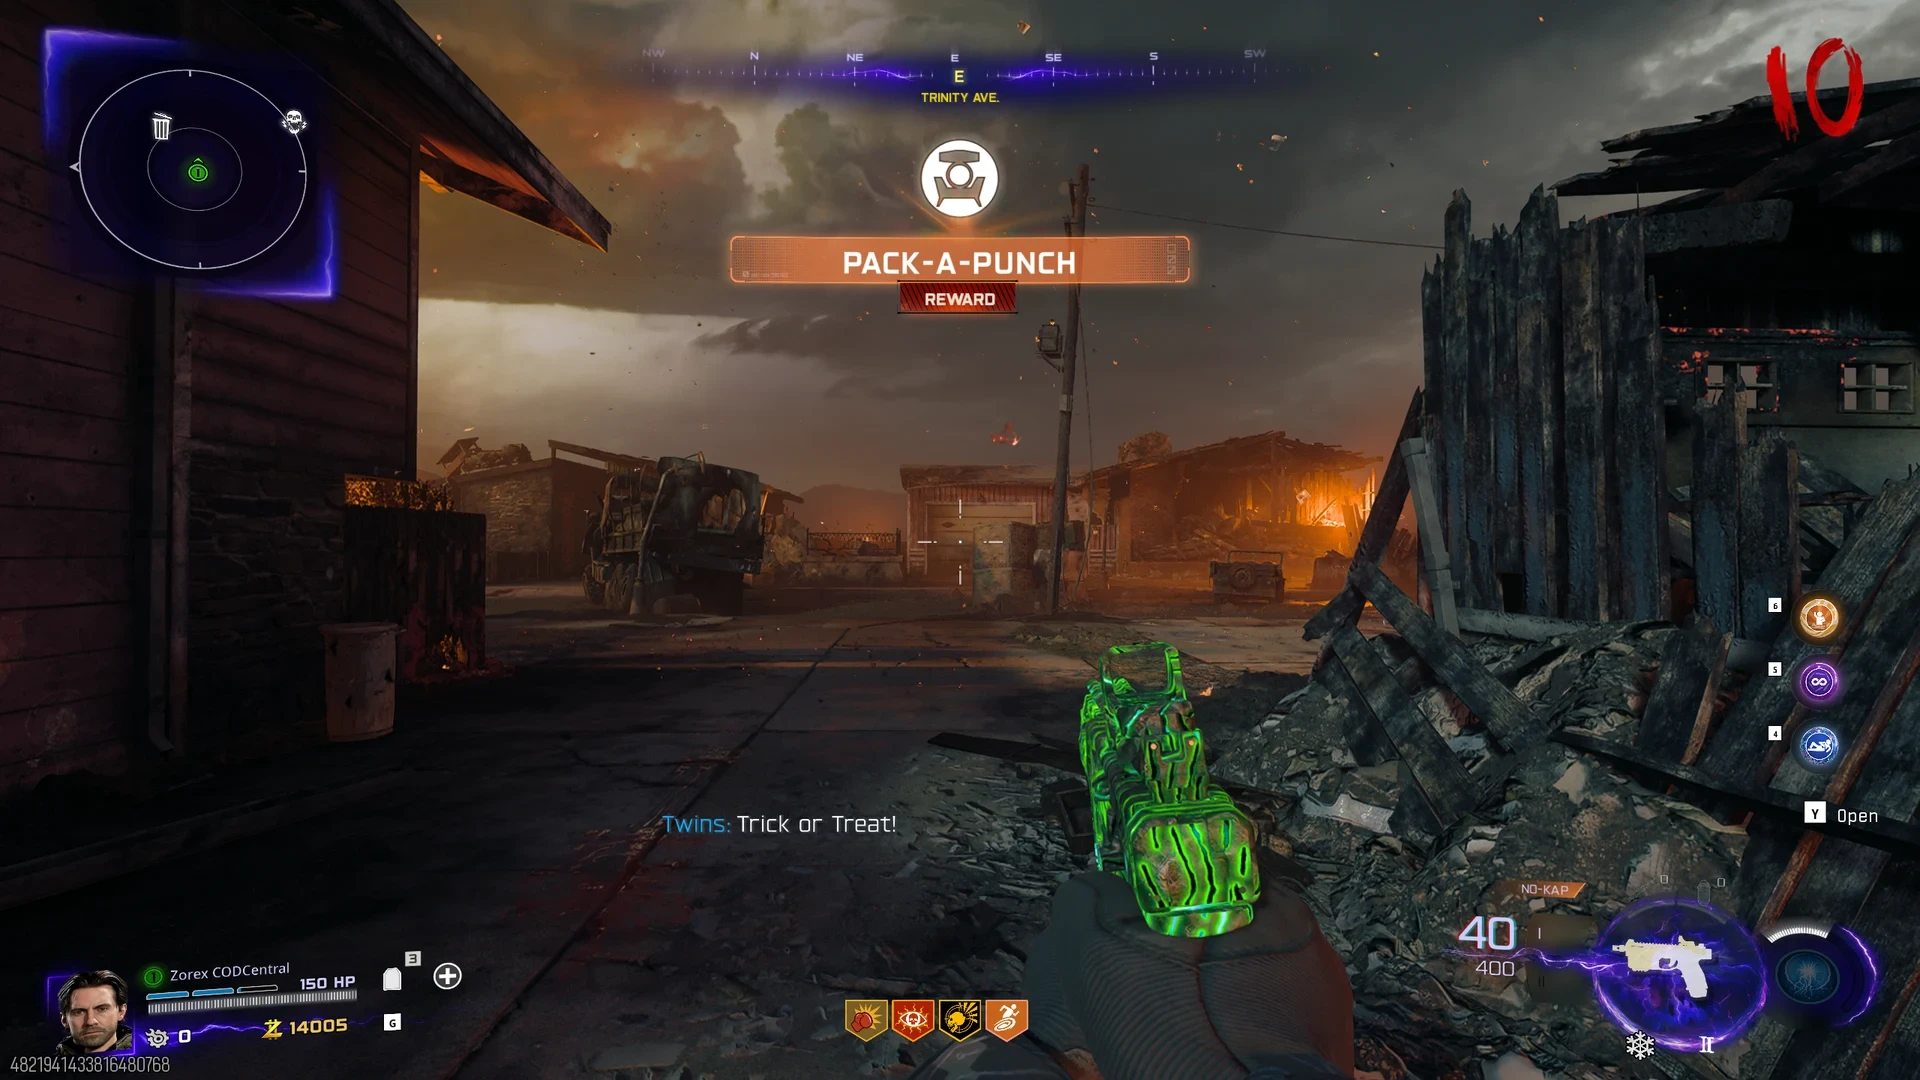
What comes out is random every time. Across our runs the pool has thrown up minor and major augments, a Field Upgrade, an armor upgrade, an Ammo Mod, a weapon rarity upgrade, a Perk, and a Pack-a-Punch reward. There is no steering it, so a pumpkin is a straight gamble, and the one worth taking when the normal pedestals are offering you nothing you need.
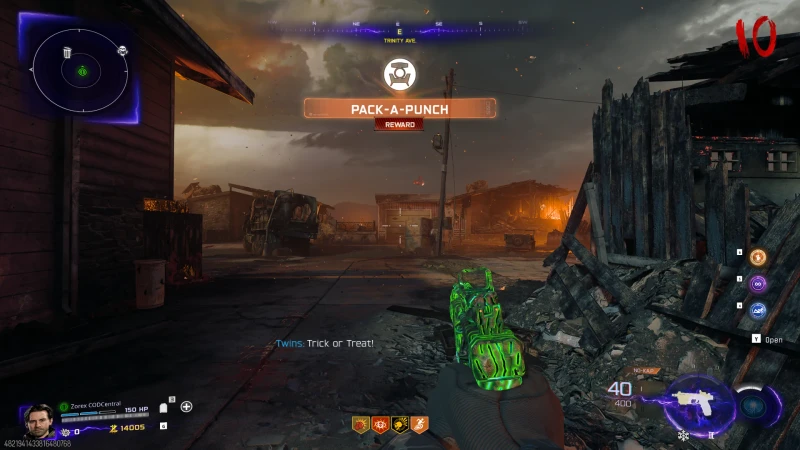 Click to enlarge A Pack-a-Punch reward straight out of a pumpkin
Maps and Difficulties
At launch, every Rogue Run match played out on Ashes of the Damned. Three standalone maps have joined since, each picked straight from the map selection screen and each with its own difficulty tiers.
| Map | Playlists |
|---|---|
| Ashes of the Damned | Target: Luci, Target: Mal, Target: Mo, All Targets, Endurance |
| Kowakujō | Casual, Hardcore |
| Paradox Junction | Casual, Hardcore |
| Astra Malorum | Casual, Normal, Hardcore |
The tiers set the expected skill level. Casual is aimed at newer players, Normal at intermediate players, and Hardcore at anyone after a real challenge. Every tier follows the same survival goal: push as far as you can, because each round gets harder.
Relic Tiers
The standalone maps also carry a Relic Tier system, a set of optional modifiers you turn on before a run. Casual maps let you enable Tier I relics, Normal maps Tier II, and Hardcore maps Tier III, and you can stack as many as you like. Relics make the run harder, and that is the trade, because the tier you reach decides which upgrades show up on your pedestals. The reward track leans on them too, with several challenges asking you to complete a set number of rounds with a Relic Tier active. Unlocking a relic is its own hunt with a confirmed trigger for each one, and we have full write-ups for the six on Kowakujō and the three on Astra Malorum.
Relics come in three severities and they fill your tier bar at different rates. A Grim relic fills a third of a bar, a Sinister relic two thirds, and a Wicked relic an entire tier. One Wicked relic therefore puts you at the same tier as three Grim ones, and it is that total that counts, not the difficulty you picked.
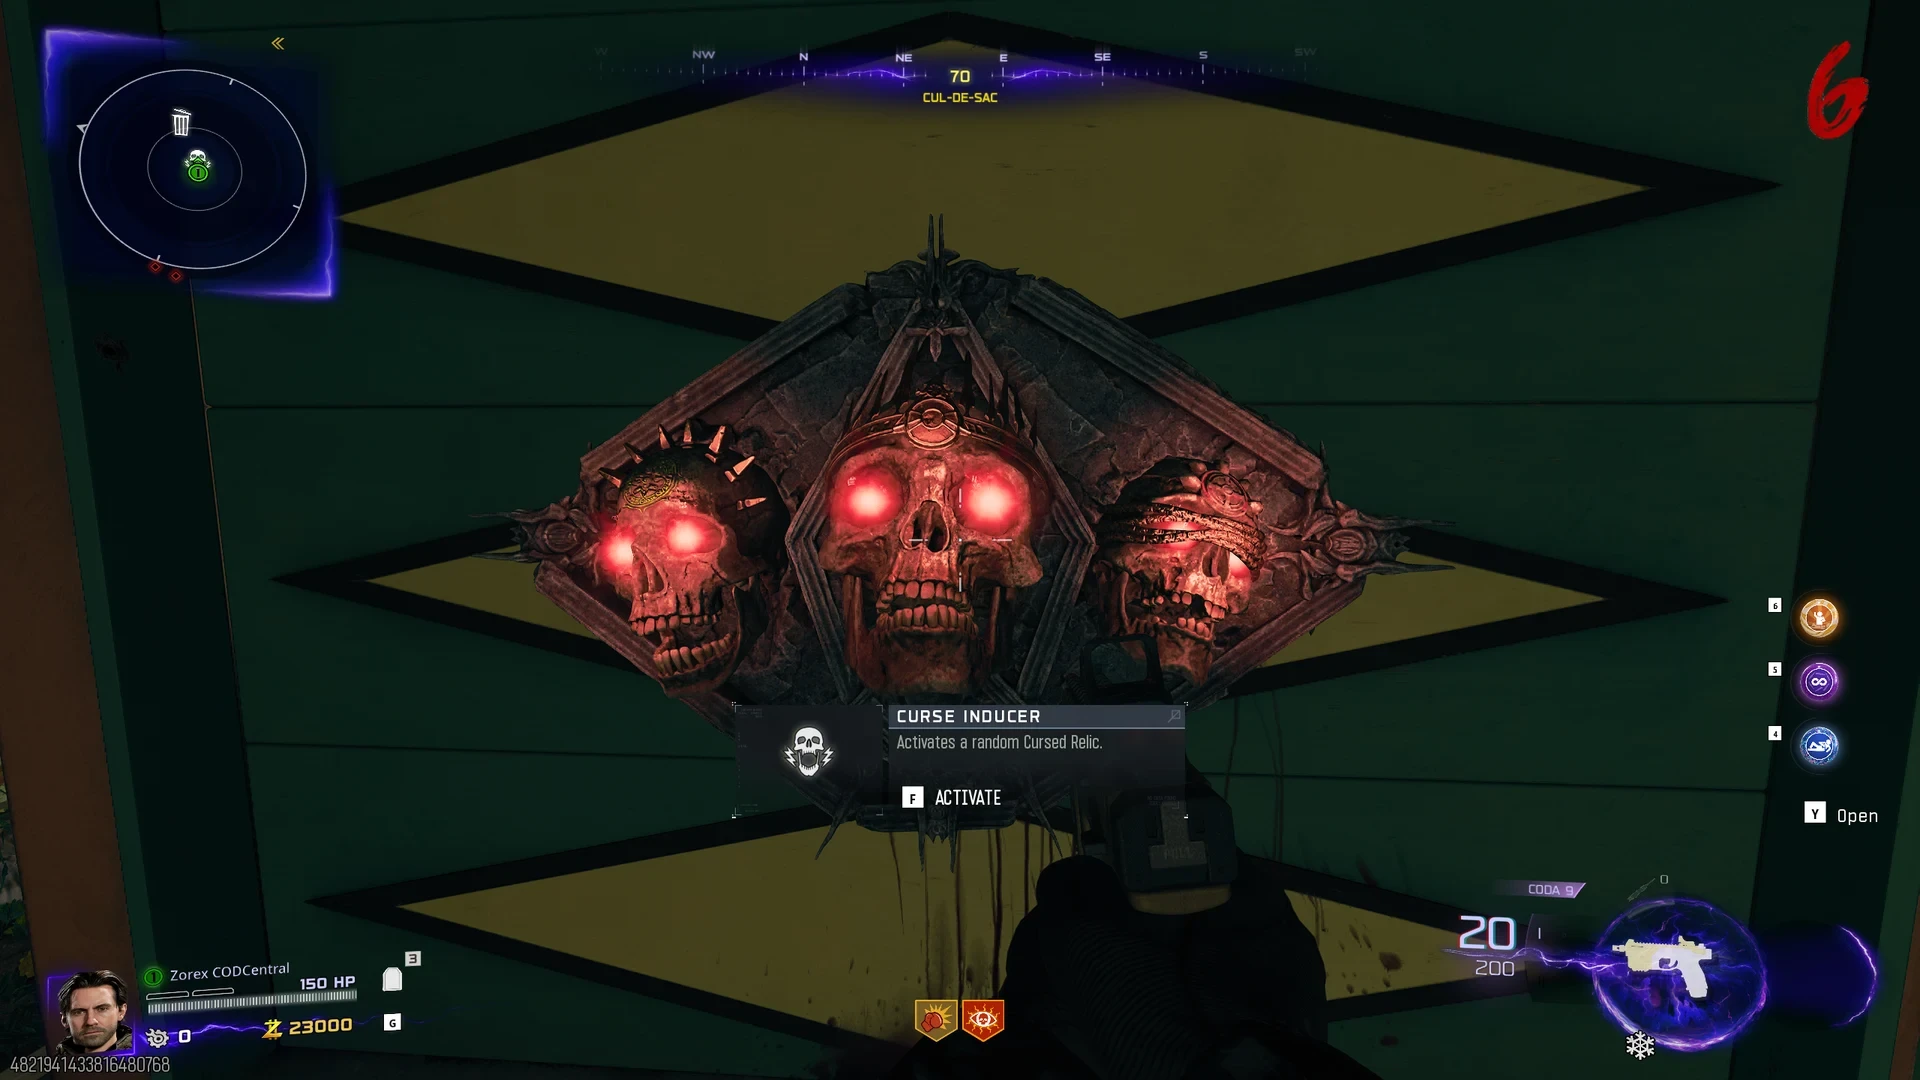
If you drop in without enough relics equipped, the Curse Inducer is the way back up. It is a skull shrine standing in the map, and activating it rolls a random Cursed Relic that stays active for the rest of the run.
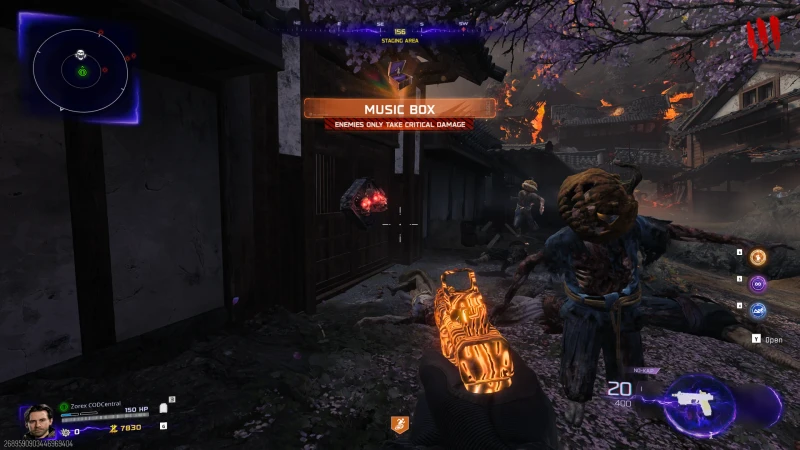 Click to enlarge A cursed relic in effect
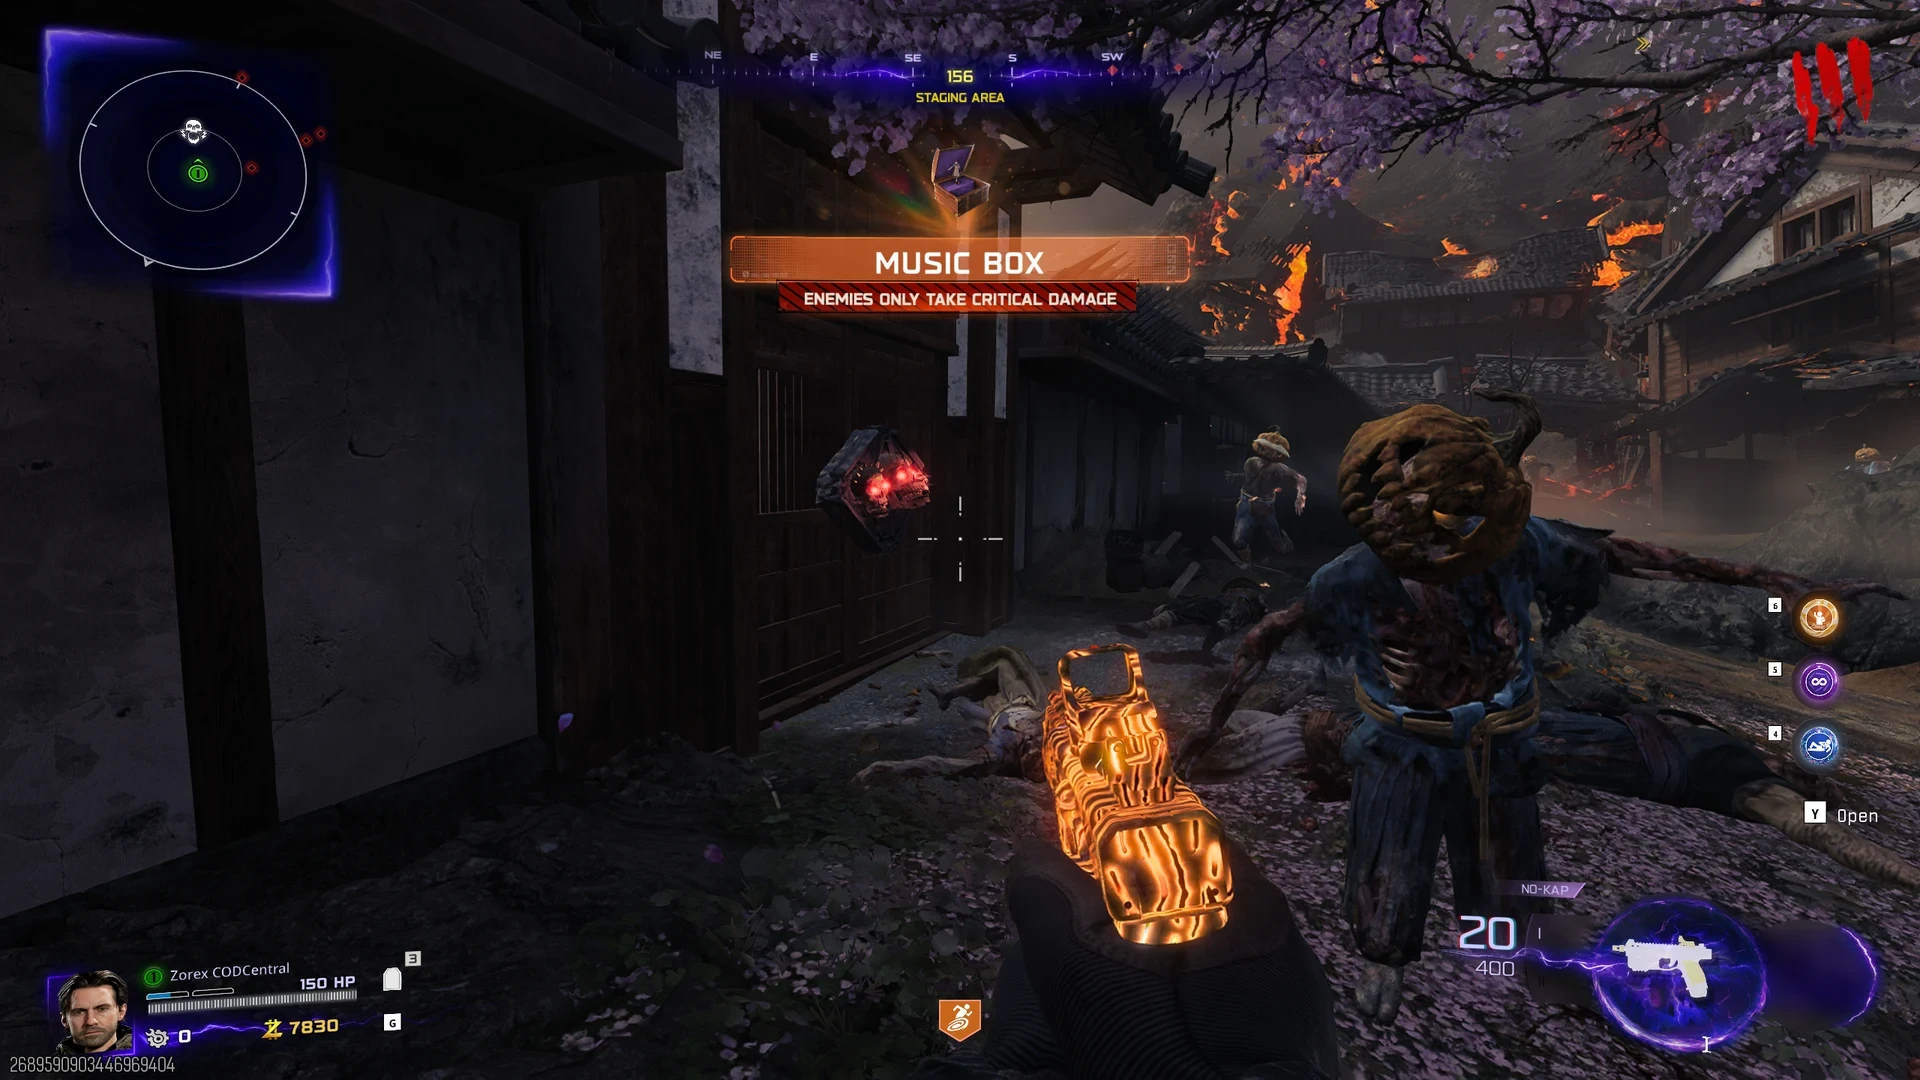
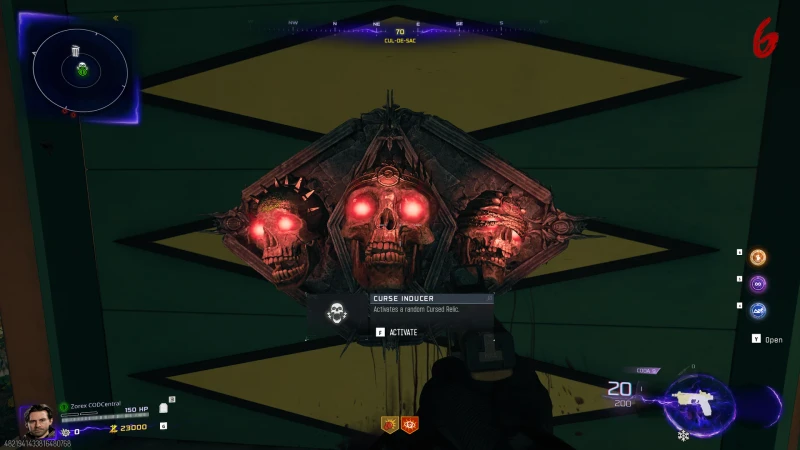 Click to enlarge The Curse Inducer
Every tier you reach adds one more upgrade to the pedestal pool:
| Relic Tier | What it adds to your pedestals |
|---|---|
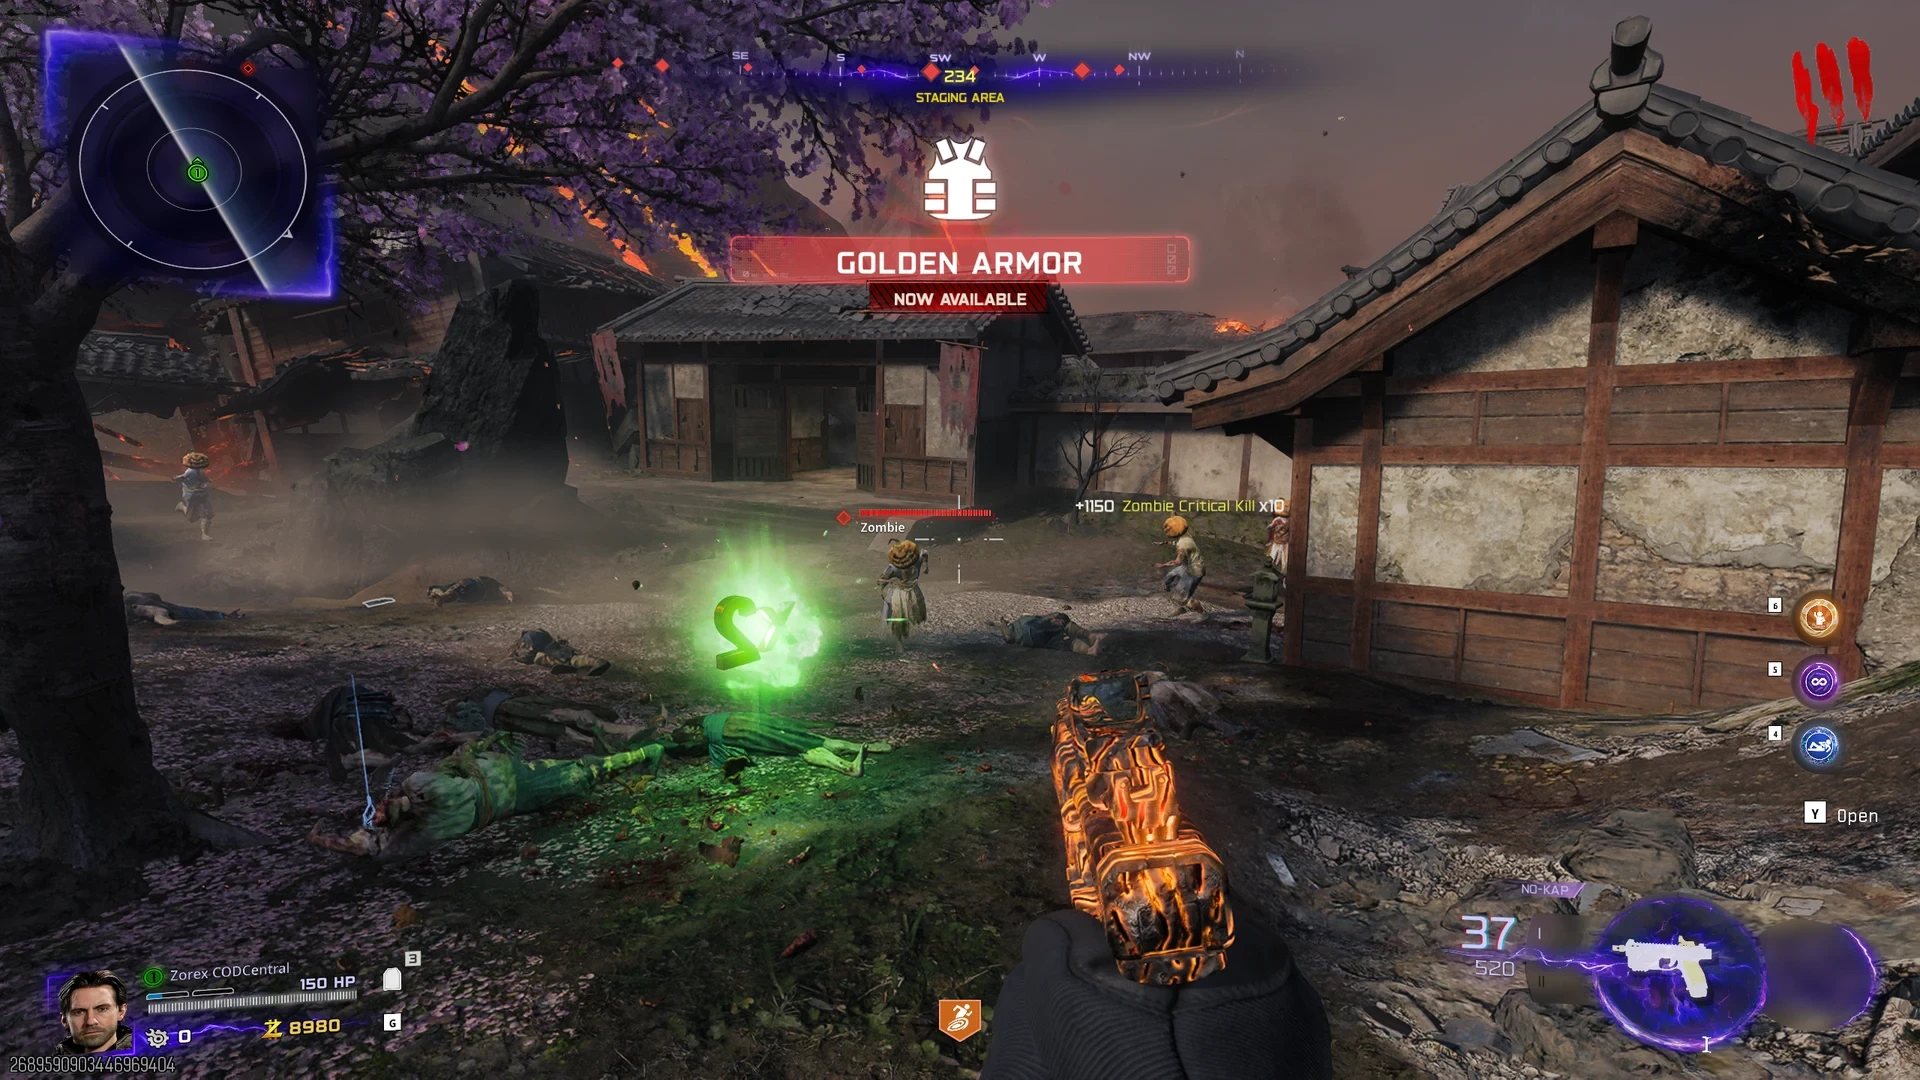
| Tier I | Golden Armor, sold after Tier III Armor for 45,000 Essence. The plates regenerate on their own |
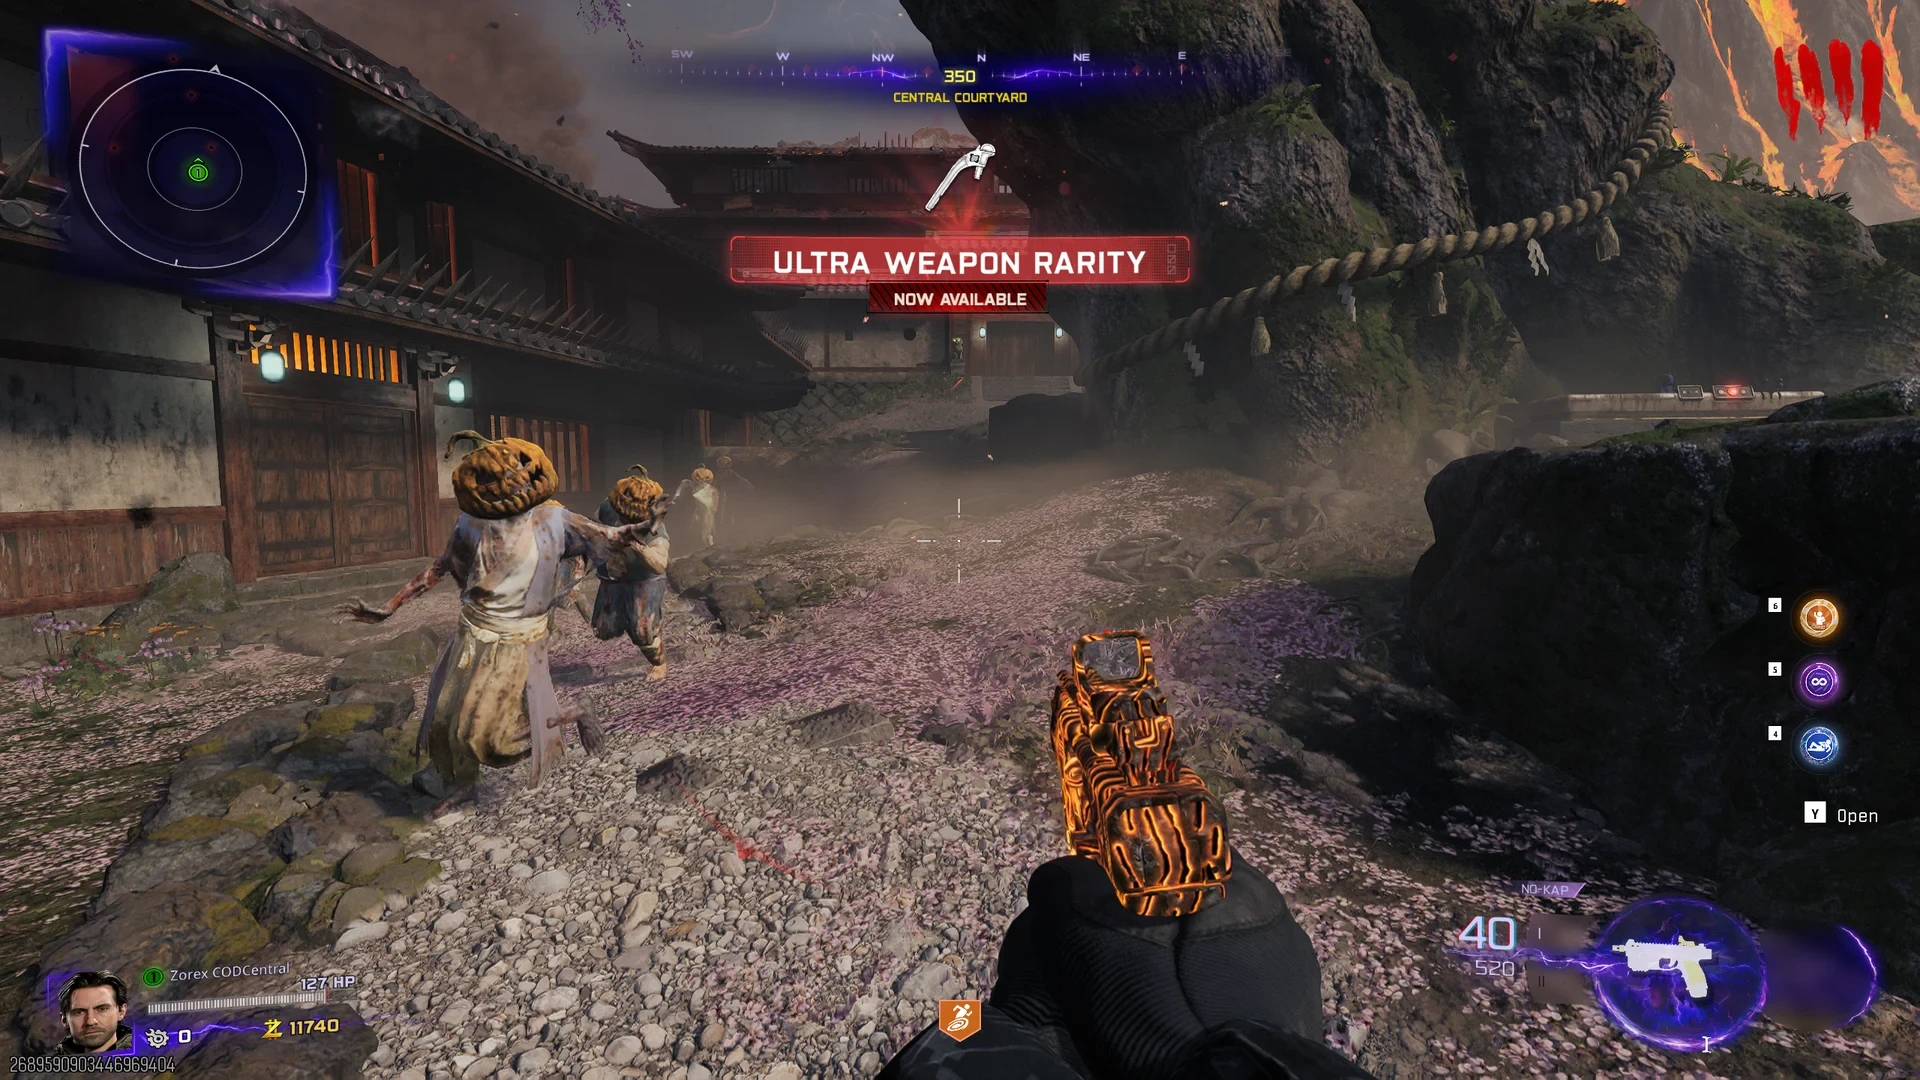
| Tier II | Ultra weapon rarity, one step above the usual ceiling |
| Tier III | Level 4 Aether Crystals, which is Pack-a-Punch IV |
You do not have to plan around them. Each one announces itself mid-run the moment your tier crosses, and from there it stays in the pedestal pool for the rest of the game.
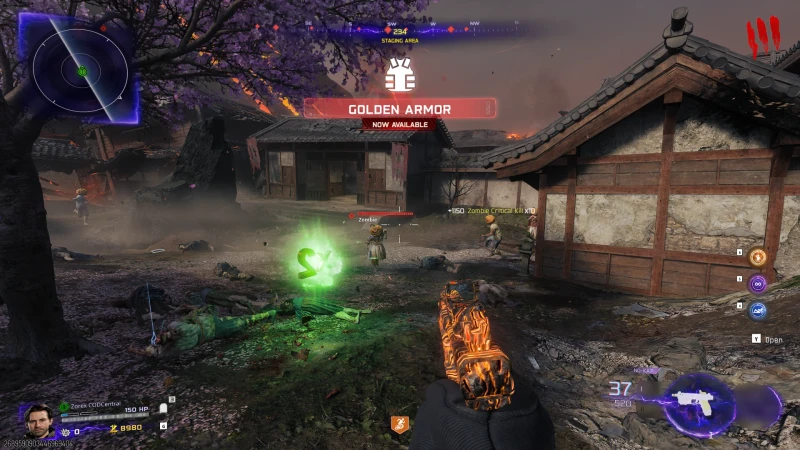 Click to enlarge Tier I: Golden Armor
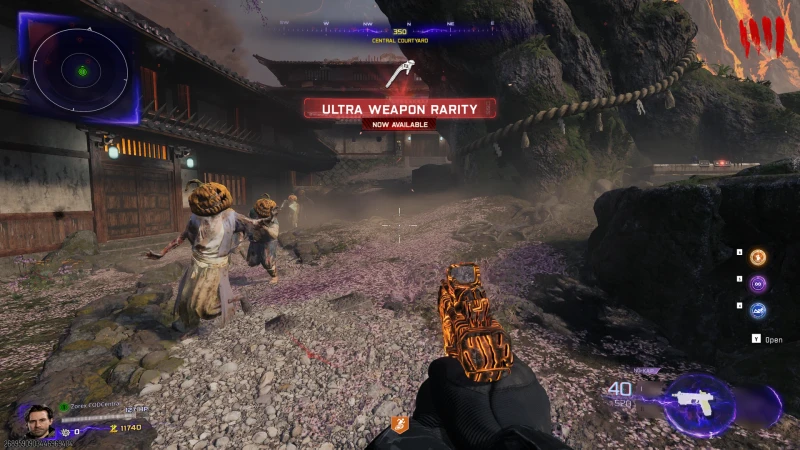 Click to enlarge Tier II: Ultra rarity
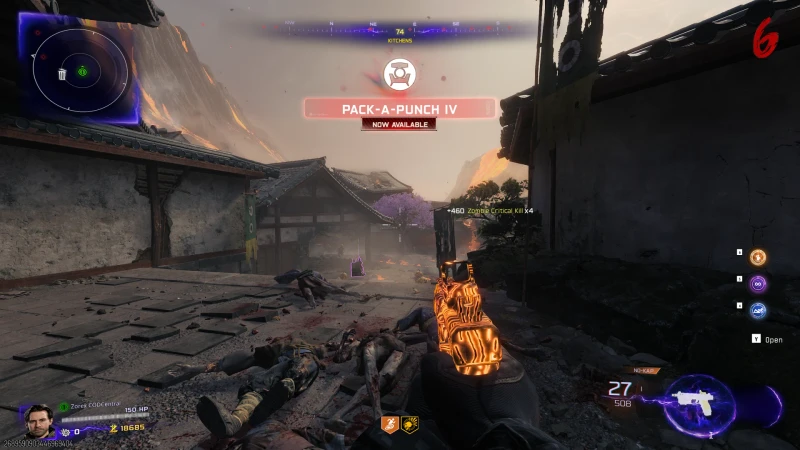 Click to enlarge Tier III: Pack-a-Punch IV
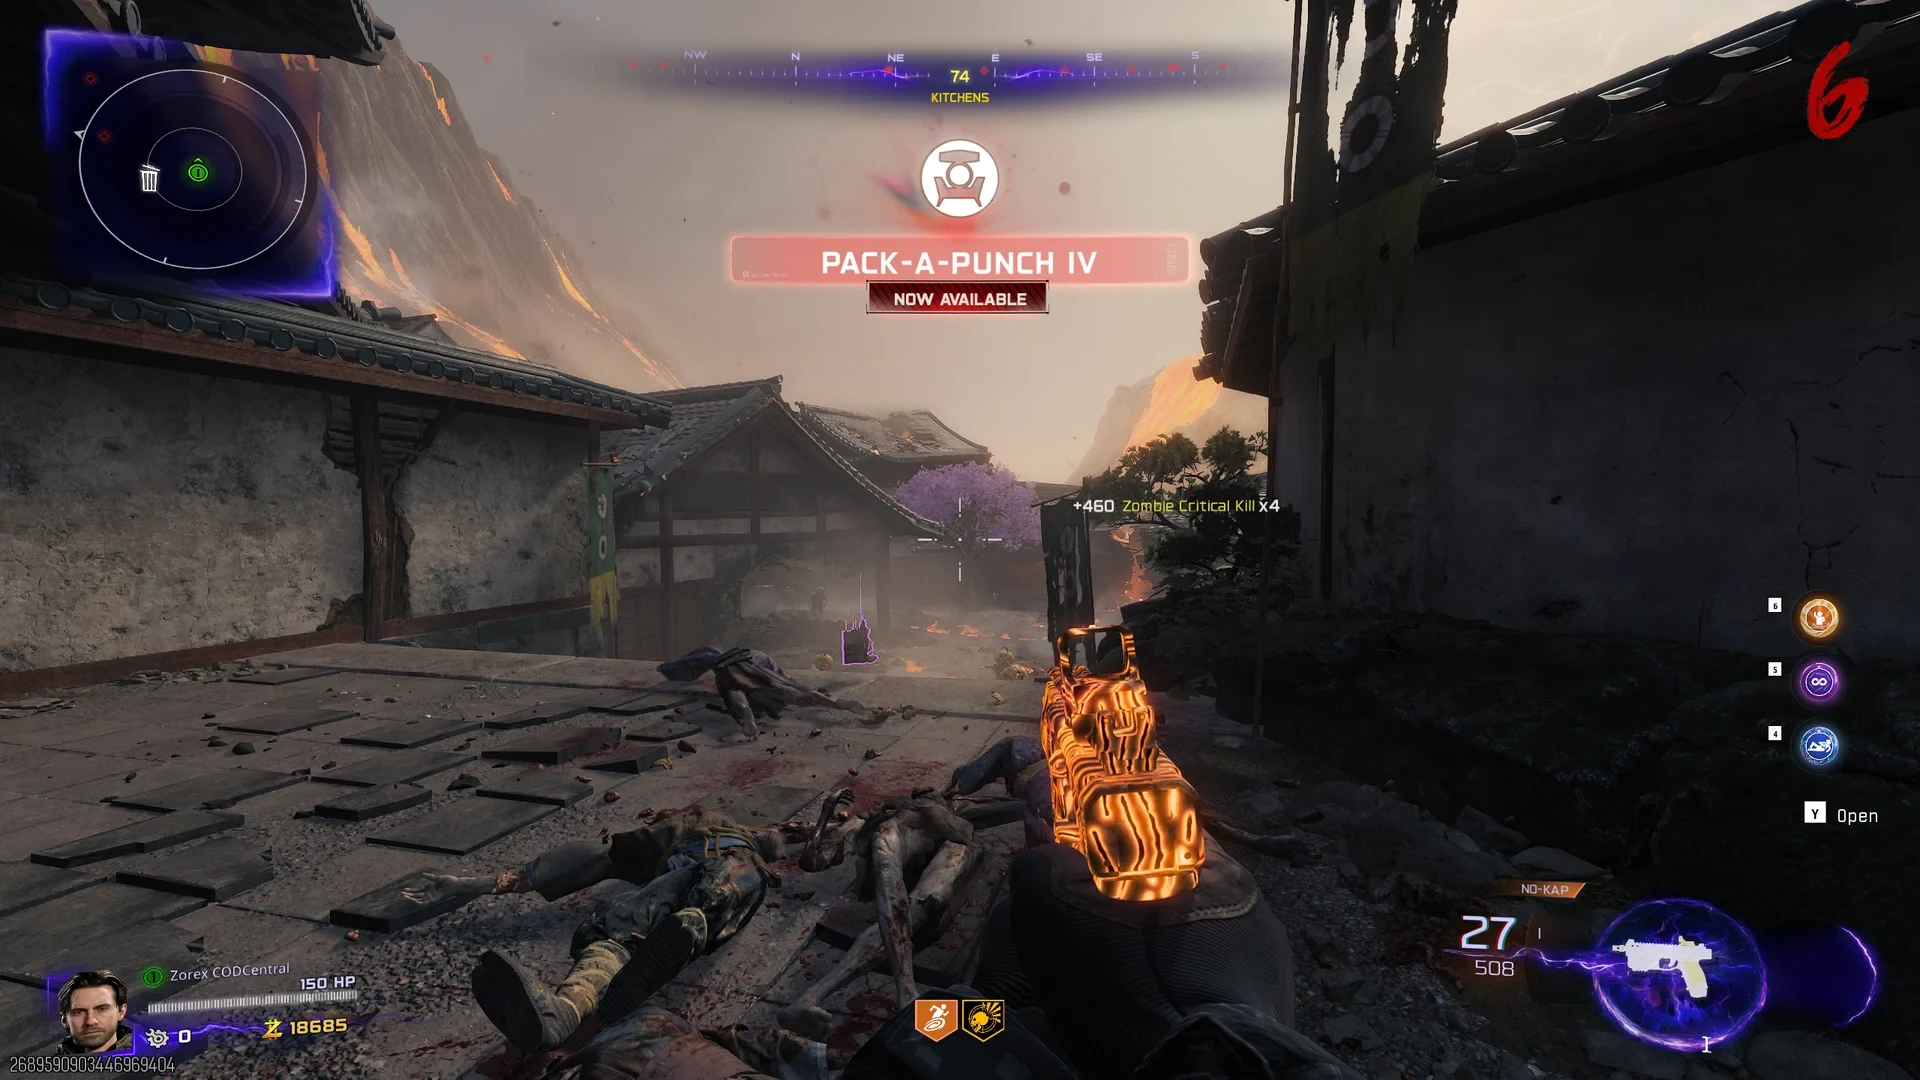
This is the update Rogue Run needed. Relics used to be difficulty for its own sake, and tying the pedestal upgrades to them turned that into a reason to stack them. The mode is more chaotic for it, and between the better rewards and the randomness of what lands in front of you, we keep going back for another run.
Ashes of the Damned Playlists
The original Rogue Run playlists all take place on Ashes of the Damned. The first three revolve around hunting a specific HVT boss, while the last two test your overall skill.
Target: Luci

Luci is a Doppelghast that summons volatile attackers to disrupt the fight. The key here is mobility. Stand still and you get overwhelmed by the adds Luci spawns. Reaching Round 15 in this playlist unlocks Wonder Weapons as pedestal rewards across all playlists, making it a strong first pick.
Target: Mal

Mal is an Amalgam that drains nearby zombies and resists standard bullet damage. You need elemental damage (Ammo Mods) to deal with Mal effectively. Prioritize Ammo Mod rewards from the pedestals if you are running this playlist.
Target: Mo

Mo is an Abomination that adapts to your weapons over time. The longer you use the same gun against Mo, the less effective it becomes. You need to scavenge and switch weapons regularly to stay effective.
All Targets

All three bosses in a single run. Luci appears at round 20, Mal at round 30, and Mo at round 40. You need a versatile build that can handle all three boss mechanics, and you need to survive 40+ rounds to see Mo. The rewards here are the best in the mode, including the Perkaholic GobbleGum.
Endurance

No boss, no time limit, just survive. Every round gets harder, so your build decisions matter more than in any other playlist. Endurance is where you unlock starting pistol upgrades (Uncommon and Rare) that improve your early game across all playlists.
The Three HVT Bosses
All boss fights take place in the map’s existing boss fight arena on Ashes of the Damned. In the individual playlists, you reach the boss at round 20. In All Targets, they appear at rounds 20, 30, and 40.
| Boss | Type | Mechanic | Counter |
|---|---|---|---|
| Luci | Doppelghast | Summons volatile attackers. Blast attack slows you and causes hallucinations | Stay mobile, clear adds fast, avoid the blast radius |
| Mal | Amalgam | Drains nearby zombies to heal. Resists standard bullet damage | Use elemental/Ammo Mod damage. Prioritize Ammo Mods from pedestals |
| Mo | Abomination | Adapts to your weapons over time, reducing their effectiveness | Switch weapons frequently. Keep a backup from pedestal rewards |
Luci (Doppelghast) is the gentlest of the three. She summons volatile attackers and lands a blast that slows you and triggers hallucinations, so the fight is about movement rather than raw damage. Clear the adds the moment they spawn, keep circling the arena, and stay out of the blast radius.
Mal (Amalgam) is the hardest fight in the mode. He drains nearby zombies to heal himself and shrugs off standard bullet damage, so plain weapon damage stalls out. Take every Ammo Mod the pedestals offer before round 20, kill the zombies feeding him instead of tunnelling on the boss, and keep your distance from the double-grab that downs you outright.
Mo (Abomination) adapts to whatever you shoot him with, so the weapon that opened the fight is the weakest one by the end. Rotate between two guns rather than committing to a favorite, and hold a pedestal weapon in reserve for the last stretch.

In terms of difficulty, our team ranks Luci as the easiest boss, followed by Mo, then Mal. Mal has the largest HP pool of the three and can double-grab you, which instantly downs you if you are not prepared. Having permanent upgrades from Endurance and Luci active before attempting Mal’s playlist makes a real difference.
Each boss has its own playlist where you can learn its mechanics before facing all three together in the All Targets playlist. TheGamingRevolution’s full walkthrough covers each boss fight in detail if you want to see the mechanics in action.
Permanent Upgrades
Permanent upgrades persist across all matches and all playlists. Every run makes future runs easier.
Complete playlist challenges to unlock upgrades like:
- Wonder Weapons appearing as pedestal rewards (from Target: Luci)
- Aether Tools for weapon upgrades (from Target: Luci)
- The Permanent 4th Rogue Run Reward (from Target: Mal)
- Pack-a-Punch Crystals (from Target: Mo)
- Augments (from Target: Mo)
- Uncommon and Rare starting pistols (from Endurance)
- Armor Upgrades (from Endurance)
Recommended Playlist Order
The order you play the playlists matters. Each permanent unlock makes every other playlist easier, so starting with the right one means your permanent upgrades are rolling when the harder playlists arrive.
- Endurance first. The round 10 threshold is the lowest of any playlist, giving you the Uncommon Starting Pistol fast. Push to round 20 for Armor Upgrades and round 30 for the Rare Starting Pistol. No boss fight required.
- Target: Luci second. Unlocking Wonder Weapons as pedestal rewards is the single biggest upgrade in the entire mode. Every future run gets better once you can pull a Wonder Weapon from the pedestals.
- Target: Mal third, for its permanent reward on top of the Arsenal Accelerator and Hidden Power gums.
- Target: Mo fourth. Augments are a huge power boost, but you need decent gear from earlier unlocks to reliably defeat Mo. His weapon adaptation mechanic punishes you if your build is too narrow.
- All Targets last. This is the victory lap. With all permanent upgrades active, you have the tools to handle Luci at round 20, Mal at round 30, and Mo at round 40 in a single run.
Solo players will want to follow this order especially. Errl Shatter’s solo run showed that starting with Endurance gives you the smoothest early progression since there is no boss pressure.
Rewards by Playlist
Target: Luci
| Challenge | Reward | XP |
|---|---|---|
| Complete Round 5 | “Who’s Keeping Score?” GobbleGum | 1,000 |
| Complete Round 15 | Wonder Weapons (Permanent Unlock) | 2,500 |
| Defeat Luci | Aether Tools (Permanent Unlock) | 5,000 |
 Click to enlarge
 Click to enlarge
 Click to enlarge
Target: Mal
| Challenge | Reward | XP |
|---|---|---|
| Complete Round 5 | “Arsenal Accelerator” GobbleGum | 1,000 |
| Complete Round 15 | Permanent 4th Rogue Run Reward | 2,500 |
| Defeat Mal | “Hidden Power” GobbleGum | 5,000 |
 Click to enlarge
 Click to enlarge
 Click to enlarge
Target: Mo
| Challenge | Reward | XP |
|---|---|---|
| Complete Round 5 | “Profit Sharing” GobbleGum | 1,000 |
| Complete Round 15 | Pack-a-Punch Crystals (Permanent Unlock) | 2,500 |
| Defeat Mo | Augments (Permanent Unlock) | 5,000 |
 Click to enlarge
 Click to enlarge
 Click to enlarge
All Targets
| Challenge | Reward | XP |
|---|---|---|
| Defeat 1 HVT in a single run | “Armor Gettin’” GobbleGum | 10,000 |
| Defeat 2 HVTs in a single run | “Perkaholic” GobbleGum | 20,000 |
| Defeat all HVTs in a single run | “Ray to Play” Calling Card | 30,000 |
 Click to enlarge
 Click to enlarge
 Click to enlarge
Endurance
| Challenge | Reward | XP |
|---|---|---|
| Complete Round 10 | Uncommon Starting Pistol (Permanent Unlock) | 1,000 |
| Complete Round 20 | Armor Upgrades (Permanent Unlock) | 2,500 |
| Complete Round 30 | Rare Starting Pistol (Permanent Unlock) | 5,000 |
 Click to enlarge
 Click to enlarge
 Click to enlarge
Rewards by Map and Difficulty
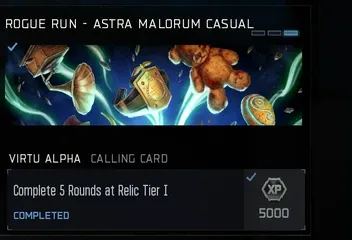
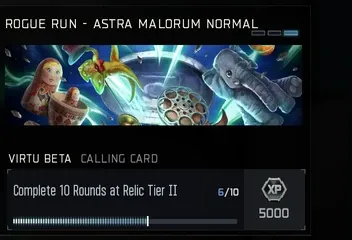
Each new map has its own reward track per difficulty. You unlock rewards by clearing round milestones or by completing rounds with Relic Tiers active, and that second kind is a counter: “Complete 5 Rounds at Relic Tier I” means five rounds played with a relic of that tier switched on, and the count carries over from one run to the next rather than resetting when a run ends. One relic of the right tier is all you need: stacking more does not make the counter move any faster. The first two rewards on each track are GobbleGums, and the third is tied to a Relic Tier challenge. Some of these GobbleGums, like Wonderbar! and Flavor Hex, are the reward itself even though they stay restricted inside Rogue Run, so you earn the gum for use in other Zombies modes.
Kowakujō
Casual
| Challenge | Reward | XP |
|---|---|---|
| Complete Round 15 | “On The House” GobbleGum | 1,000 |
| Complete Round 20 | “Armor Gettin’” GobbleGum | 2,500 |
| Complete 5 Rounds at Relic Tier I | “Fully Packed” GobbleGum | 5,000 |
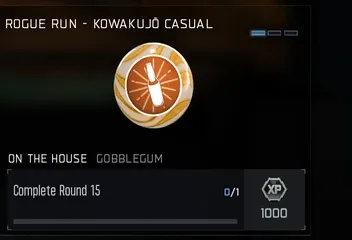 Click to enlarge
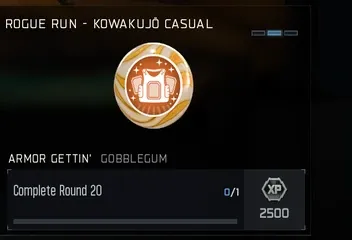 Click to enlarge
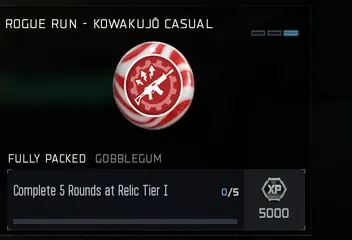 Click to enlarge
Hardcore
| Challenge | Reward | XP |
|---|---|---|
| Complete Round 20 | “Hidden Power” GobbleGum | 1,000 |
| Complete Round 30 | “Reign Drops” GobbleGum | 2,500 |
| Complete 15 Rounds at Relic Tier III | “Golden Inopportunity” Calling Card | 5,000 |
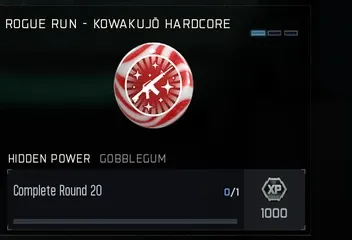 Click to enlarge
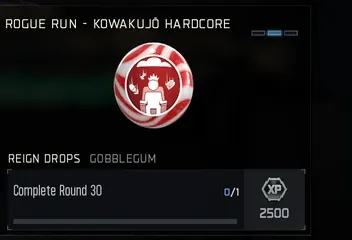 Click to enlarge
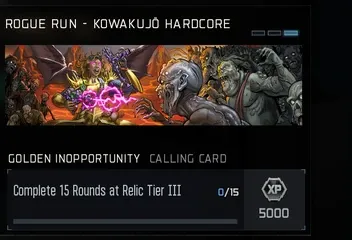 Click to enlarge
Paradox Junction
Casual
| Challenge | Reward | XP |
|---|---|---|
| Complete Round 15 | “Power Vacuum” GobbleGum | 1,000 |
| Complete Round 20 | “Hellping Hound” GobbleGum | 2,500 |
| Complete 5 Rounds at Relic Tier I | “Fully Packed” GobbleGum | 5,000 |
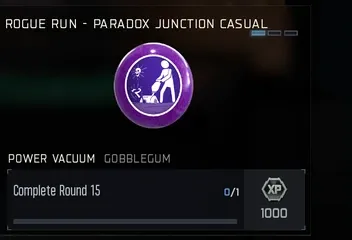 Click to enlarge
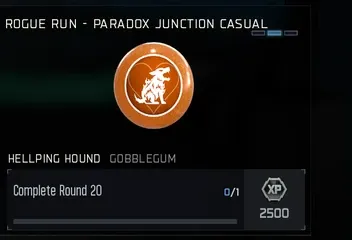 Click to enlarge
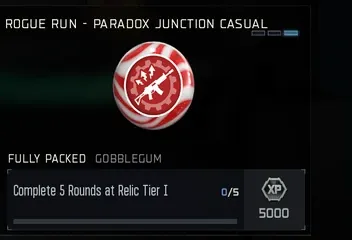 Click to enlarge
Hardcore
| Challenge | Reward | XP |
|---|---|---|
| Complete Round 20 | “Wonderbar!” GobbleGum | 1,000 |
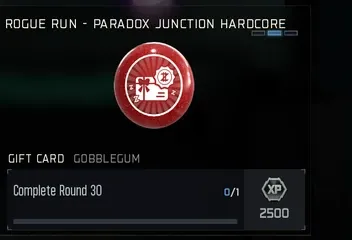
| Complete Round 30 | “Gift Card” GobbleGum | 2,500 |
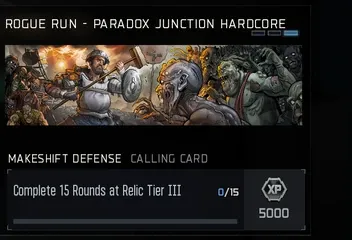
| Complete 15 Rounds at Relic Tier III | “Makeshift Defense” Calling Card | 5,000 |
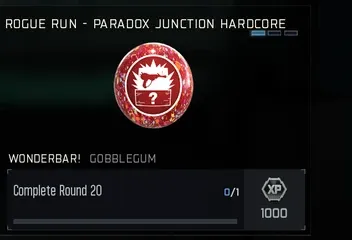 Click to enlarge
 Click to enlarge
 Click to enlarge
Astra Malorum
Casual
| Challenge | Reward | XP |
|---|---|---|
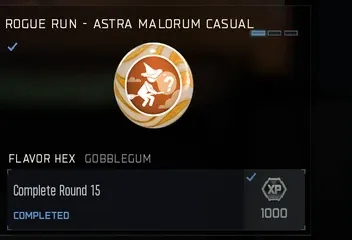
| Complete Round 15 | “Flavor Hex” GobbleGum | 1,000 |
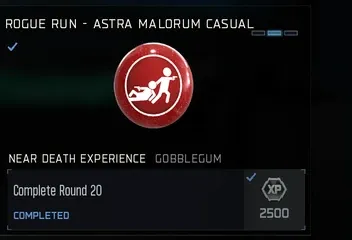
| Complete Round 20 | “Near Death Experience” GobbleGum | 2,500 |
| Complete 5 Rounds at Relic Tier I | “Virtu Alpha” Calling Card | 5,000 |
 Click to enlarge
 Click to enlarge
 Click to enlarge
Normal
| Challenge | Reward | XP |
|---|---|---|
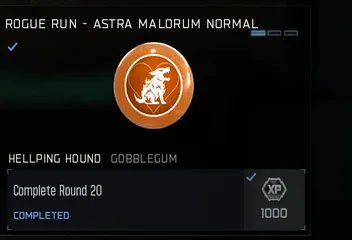
| Complete Round 20 | “Hellping Hound” GobbleGum | 1,000 |
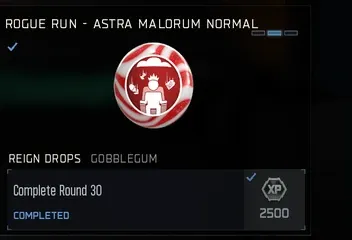
| Complete Round 30 | “Reign Drops” GobbleGum | 2,500 |
| Complete 10 Rounds at Relic Tier II | “Virtu Beta” Calling Card | 5,000 |
 Click to enlarge
 Click to enlarge
 Click to enlarge
Hardcore
| Challenge | Reward | XP |
|---|---|---|
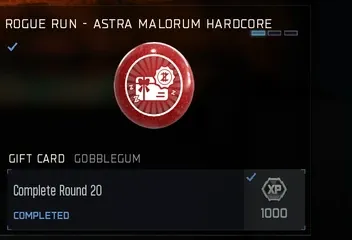
| Complete Round 20 | “Gift Card” GobbleGum | 1,000 |
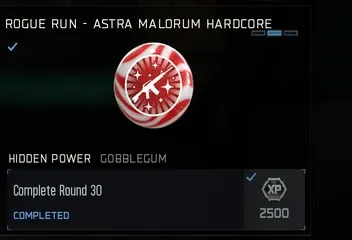
| Complete Round 30 | “Hidden Power” GobbleGum | 2,500 |
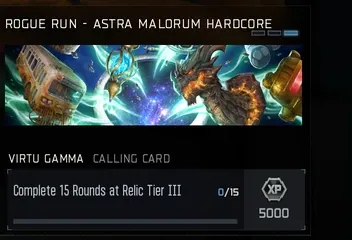
| Complete 15 Rounds at Relic Tier III | “Virtu Gamma” Calling Card | 5,000 |
 Click to enlarge
 Click to enlarge
 Click to enlarge
Restricted GobbleGums
Rogue Run restricts several GobbleGums to keep the roguelite experience balanced. You cannot use:
- Wall Power
- Wall to Wall Clearance
- Crate Power
- Wonderbar!
- Flavor Hex
- Exit Strategy
- Respin Cycle
- Soda Fountain
- Time Out
- Immolation Liquidation
- Anywhere But Here
- Nowhere But There
- Mule Kick
- Fire Sale
Most of the restricted GobbleGums are ones that would let you skip the pedestal reward system entirely, like instantly Pack-a-Punching via Wall Power or rerolling the Mystery Box with Fire Sale. Notably, Rampage Inducer is NOT restricted, so you can still use it to speed through rounds if your build is strong enough. For a full breakdown of how the relic and reward systems work in other Zombies modes, see our Cursed mode guide.
One thing that trips people up: a couple of restricted gums, like Wonderbar! and Flavor Hex, still appear as map reward unlocks in the standalone map tracks. Earning one adds the gum to your stash for other Zombies modes, but it stays off limits inside Rogue Run itself.
Tips and Strategy
General Tips
- Follow the recommended playlist order above. Endurance first, then Luci, Mal, Mo, and All Targets last. Each unlock stacks and makes the next playlist significantly easier.
- Expect your first few runs to fail. That is normal roguelite design. The permanent upgrades are what make later runs viable, so do not get frustrated early on.
- Grab Ammo Mods early from the pedestals. They are essential for the Mal boss fight and give you elemental damage against regular zombies too.
- The Loadout Refill pedestal reward refills your Wonder Weapon ammo and Field Acquisition charge. Early on when you only have a primary weapon (which already has infinite ammo), skip it. Once you have a Wonder Weapon, all Perks, and a good Field Upgrade, Loadout Refill becomes a solid pick when you are running low on WW ammo.
- Always keep a backup weapon option in mind. Mo adapts to whatever you are using, and even in other playlists, having weapon variety keeps you flexible.
- Double up on key Perks. If you pick the same Perk twice from different pedestals, it becomes permanent for that run. Prioritize doubling Juggernog and Quick Revive so you keep them even if you go down.
- The Freefire GobbleGum combined with a Pack-a-Punched 1911 melts every boss in seconds. If you have Freefire in your loadout, save it for the boss round.
- Instakill GobbleGums also boost damage against bosses, not just regular zombies. Keep one ready for boss rounds if you are struggling.
- Reign Drops (red rarity) can spawn a Nuke power-up that skips the current round entirely. Extremely rare, but if you have one, it can bail you out of a tough situation.
- Pop a Double XP token before starting a run. Rogue Run XP rewards are generous (up to 30,000 XP for beating All Targets), and Double XP stacks with them.
Solo Tips
- Solo is absolutely viable. The zombie count scales to player count, so you are not fighting a 4-player horde alone.
- Prioritize Perks from pedestals in the first few rounds. Quick Revive and Juggernog make early survival much more consistent.
- Without a squad to cover you, Ammo Mods with crowd control (like Dead Wire or Brain Rot) become even more important.
- Endurance solo is the safest starting point. No boss pressure means you can learn the pedestal system and arena rotations at your own pace.
Squad Tips
- Each player gets different pedestal rewards, so you naturally end up with different builds. Use that to your advantage: one player focuses on crowd control, another on boss damage.
- Squad play can be harder than solo if someone does not carry their weight. One weak player makes it a carry for the rest, and zombie counts scale to the full squad size regardless. Make sure everyone knows the mode before jumping into All Targets together.
- For All Targets, make sure at least one squad member has strong elemental damage for Mal and another has weapon variety for Mo.
- Rampage Inducer still works in Rogue Run. If your whole squad is confident, use it to speed through early rounds and get to the boss fights faster.
Our team has been grinding all five playlists since launch. Endurance is the standout for pure fun. The no-boss survival format feels like the best roguelite experience in the mode, and unlocking permanent upgrades there first made every other playlist feel manageable. Target: Mo was the most frustrating because his weapon adaptation mechanic punishes you for finding a gun you like. Mal is the hardest boss overall thanks to his massive HP pool and double-grab move. Once you have all permanent upgrades though, even the toughest playlists become more about strategy than luck.
Want to discuss Rogue Run strategies, share your best runs, or find a squad? Join 50,000+ players in our Discord where our team is already grinding all five playlists and sharing their permanent unlock progress.
Frequently Asked Questions
What is Rogue Run in Black Ops 7 Zombies?
Rogue Run is a permanent roguelite game mode in BO7 Zombies. You start with a random pistol and infinite ammo, clear rounds of zombies, then choose rewards from pedestals between rounds. It runs on Ashes of the Damned, which holds the Target and Endurance playlists, plus three dedicated maps: Kowakujō, Paradox Junction, and Astra Malorum, each with its own difficulty tiers. A permanent upgrade system carries across everything.
How many playlists does Rogue Run have in BO7?
On Ashes of the Damned there are five playlists: Target: Luci, Target: Mal, Target: Mo, All Targets, and Endurance. The first three hunt a specific HVT boss, All Targets puts all three in one run at rounds 20, 30, and 40, and Endurance is pure survival. Three more maps each run their own survival playlist: Kowakujō, Paradox Junction, and Astra Malorum, with Casual and Hardcore difficulties and a Normal tier on Astra Malorum.
What are the new Rogue Run maps in BO7?
Rogue Run runs on three standalone maps besides Ashes of the Damned: Kowakujō, Paradox Junction, and Astra Malorum. Each is a survival playlist where every round gets harder. Kowakujō and Paradox Junction have Casual and Hardcore difficulties, and Astra Malorum also has a Normal difficulty in between. The original Target and Endurance playlists still take place on Ashes of the Damned.
What are Relic Tiers in BO7 Rogue Run?
Relic Tiers are optional challenge modifiers on the new maps. Casual maps let you switch on Tier I relics, Normal maps Tier II, and Hardcore maps Tier III, and you can enable as many as you want. They make the run harder, and the tier you reach decides which upgrades appear on your pedestals: Golden Armor at Tier I, Ultra weapon rarity at Tier II, and Pack-a-Punch IV at Tier III. Some reward challenges also ask you to complete a set number of rounds with a Relic Tier active.
What are the Rogue Run bosses in BO7 Zombies?
There are three HVT bosses in Rogue Run. Luci is a Doppelghast that summons volatile attackers. Mal is an Amalgam that drains nearby zombies and resists standard damage, requiring elemental damage. Mo is an Abomination that adapts to your weapons over time, forcing you to switch weapons.
What are permanent upgrades in BO7 Rogue Run?
Permanent upgrades are in-mode rewards that persist across all Rogue Run playlists. They include better starting pistols, Wonder Weapon access, Aether Tools, Pack-a-Punch Crystals, Augments, and Armor Upgrades. You unlock them by completing playlist challenges like reaching certain rounds or defeating bosses.
Is Rogue Run solo or squad in BO7 Zombies?
You can play Rogue Run both solo and in a squad. The mode supports squad fill from the lobby screen. Solo scales zombie counts to one player and is great for learning the mode. Squad play has higher zombie counts, and if someone does not pull their weight it becomes a carry for the rest. Both are viable, but make sure your squad knows the mode before attempting All Targets.
What GobbleGums are restricted in BO7 Rogue Run?
Twelve GobbleGums are restricted in Rogue Run: Anywhere But Here, Respin Cycle, Exit Strategy, Soda Fountain, Nowhere But There, Wall Power, Flavor Hex, Immolation Liquidation, Wall To Wall Clearance, Crate Power, Wonderbar! and Time Out. The Mule Kick Perk and the Fire Sale Power-Up are restricted too.
Can you get Wonder Weapons in Rogue Run?
Yes, but only after unlocking the Wonder Weapons permanent Rogue Run reward by completing Round 15 in the Target: Luci playlist. Once unlocked, Wonder Weapons can appear as pedestal rewards in all playlists. Note that Wonder Weapons do not have infinite ammo, unlike primary weapons.
Is Rogue Run a limited-time mode in BO7?
No, Rogue Run is a permanent addition to BO7 Zombies. It launched with Season 04 on June 4, 2026, and is here to stay alongside Standard, Survival, Directed, Cursed, and Dead Ops Arcade 4.
Are augments available in BO7 Rogue Run?
Not at first. Augments are completely disabled when you start playing Rogue Run. You need to permanently unlock them by defeating Mo in the Target: Mo playlist. Once unlocked, your full augment loadout carries into every future Rogue Run match across all playlists.
Can you Pack-a-Punch in BO7 Rogue Run?
There is no Pack-a-Punch machine on the map in Rogue Run. Instead, you unlock Pack-a-Punch Crystals as a permanent reward by completing Round 15 in the Target: Mo playlist. Once unlocked, PaP Crystals can appear as pedestal rewards between rounds.
What is the best playlist order for Rogue Run in BO7?
Start with Endurance to unlock better starting pistols at round 10. Then play Target: Luci to unlock Wonder Weapons, Target: Mal for its permanent reward, and Target: Mo for augments. Save All Targets for last since you need all permanent upgrades to handle three bosses in one run.
