Shadow Rift is one of the weaker Ammo Mods in BO7 Zombies. The best setup we ran averaged around 7 kills per activation and peaked at 10, which puts it well behind Fire Works or Cryo Freeze on any serious round. There is one situation where it earns its place, and we cover that upfront.
We tested every Major and Minor on Season 6. Here is what actually holds up.
- Best build: Gravity Well with Haste and Supermassive. It is the most kills Shadow Rift can produce, but expect a ceiling of around 7 per activation even on a packed horde.
- For elites: Big Game is the one real advantage Shadow Rift has. One activation dealt roughly 50% of a Zursa’s health. Two activations finished it.
- Base numbers: Without any augments, Shadow Rift averages about 3 kills per activation and costs 500 Salvage to apply to a weapon.
- Honest verdict: For general horde clearing, run Fire Works, Napalm Burst, or Cryo Freeze instead.
The Best Shadow Rift Augment Build
Shadow Rift becomes a black hole that pulls in enemies before teleporting away any that are nearby.
Shadow Rift cooldown is reduced.

The singularity's radius is increased and kills more enemies.
Requires Extra Slot, the final unlock on the research grid. Until then, run Gravity Well with Haste only.
Gravity Well turns Shadow Rift into something resembling a mini LT53 Kazimir. It pulls enemies toward the singularity before teleporting them, which means more zombies end up in range per activation compared to the base effect. Haste keeps the cooldown short enough to be useful across a full round. Supermassive stretches the pull radius further.
The honest caveat: we tested this setup on dense hordes and the kill count did not break 7. That ceiling is real, and it is well below what other Ammo Mods are capable of. Gravity Well is the best Shadow Rift has available, not one of the best options in the game.
For Elite Damage: Big Game
Shadow Rift can activate on Elite Enemies.
Shadow Rift cooldown is reduced.
Shadow Rift's only genuine advantage over other Ammo Mods. Worth running as a secondary weapon if elites are giving you trouble.
Without Big Game, Shadow Rift does not activate on Elites at all. With it, we tested on a Zursa and one activation stripped roughly half its health. A second activation finished it. That is consistent elite damage from a proc-based mechanic, and it earns Big Game a real slot when HVTs are the problem rather than hordes.
Pair with Haste so the cooldown does not leave you staring at a full health bar between procs. This is a secondary-weapon strategy: keep a strong primary for hordes and let Shadow Rift handle the Elite encounter.
What Shadow Rift Actually Does
Treyarch’s description: “Bullets deal Shadow damage. Each bullet has a chance to spawn a black hole on a Normal or Special Enemy, warping away those nearby and dropping some from the air at lethal speed.”
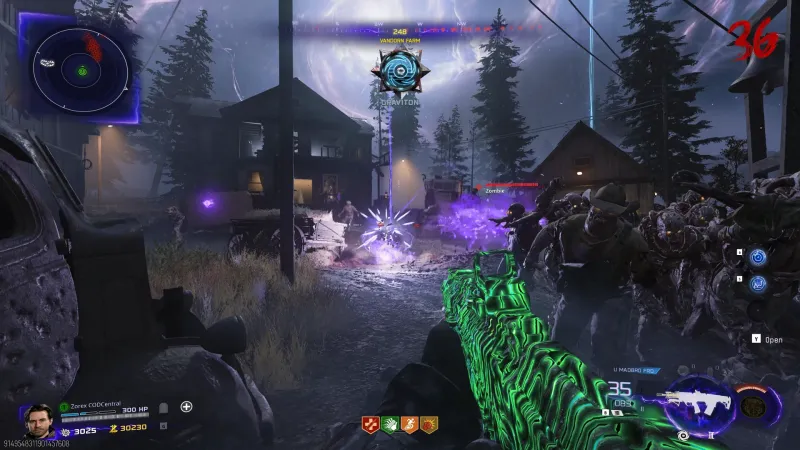
In practice, the black hole spawns on a zombie you hit, warps a cluster of nearby enemies, and drops them. The drop kills some; the rest come back. Without any augments, we saw about 3 kills per activation consistently.
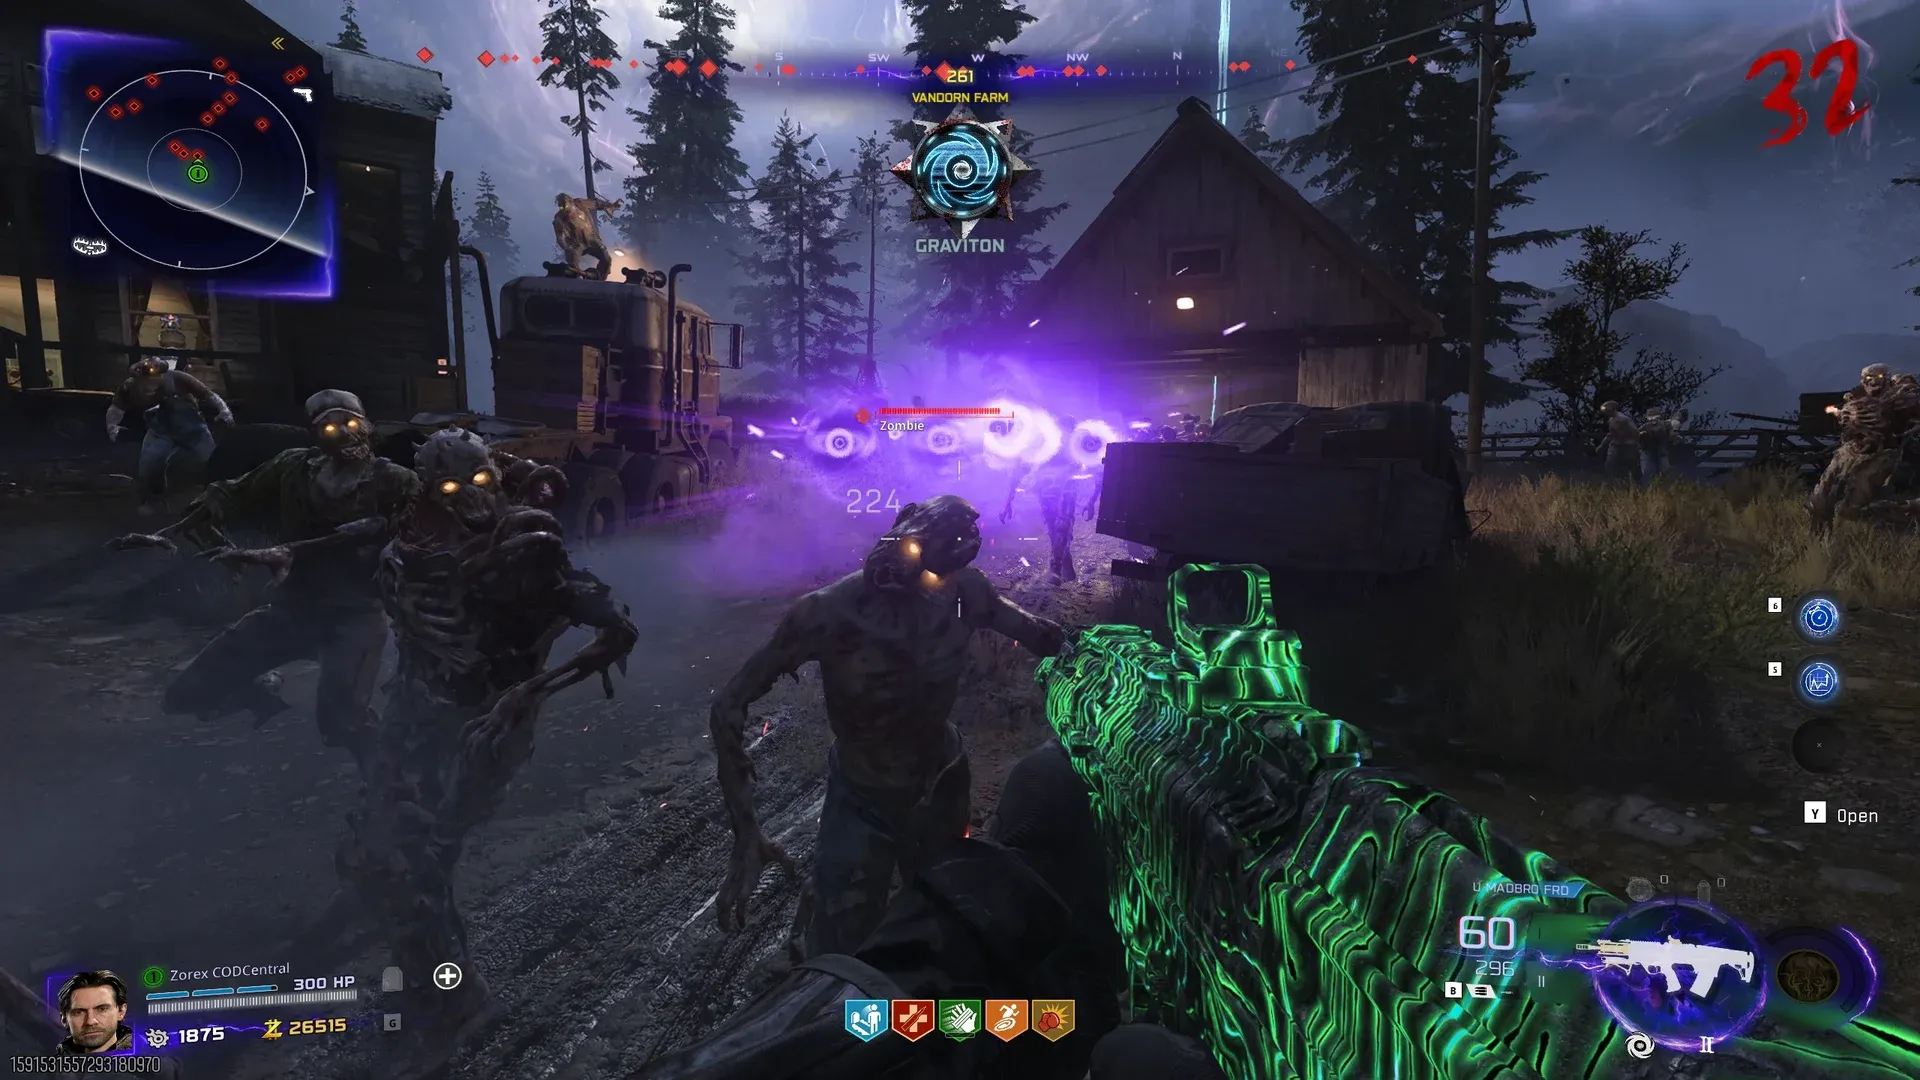
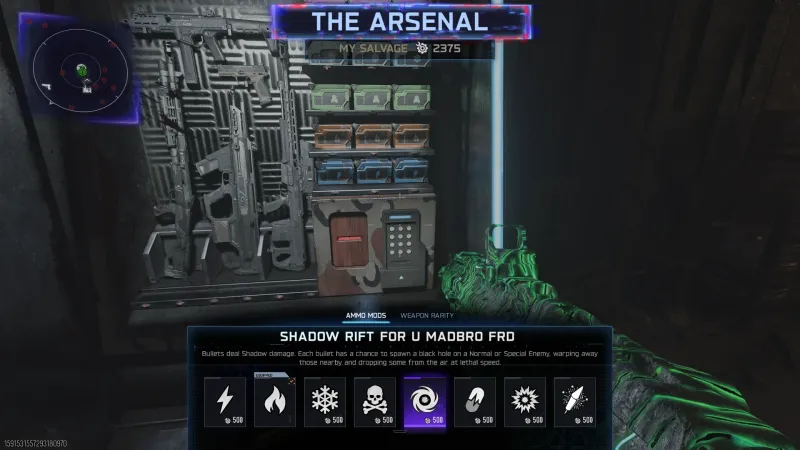
The activation is a random proc per bullet, not a triggered ability. You cannot force it when you need it most. That randomness is part of why Shadow Rift underperforms on demand: you are waiting for it to fire rather than controlling when it does. Applying the mod costs 500 Salvage per weapon at the Arsenal.
How to Unlock Every Shadow Rift Augment
Shadow Rift’s research diagram requires Player Level 44 and 18 total Augments already researched before it unlocks. That is the second-hardest unlock gate of any Ammo Mod. Plan accordingly before committing your research queue to it.
The grid runs nine nodes across three rows. The augments unlock in row order, left to right within each row:
- Row 1: Haste (Minor), Big Game (Major), Targeted (Minor)
- Row 2: Topple Danger (Major), Supermassive (Minor), Explosive Rain (Major)
- Row 3: Ammo Theorem (Minor), Gravity Well (Major), Extra Slot (Minor)
Big Game is a Row 1 unlock, so the elite-focused build is available fairly early. Gravity Well and Extra Slot are both Row 3, meaning the full recommended build requires finishing the entire grid. If you are only grinding the camo and want to run two Minors, Extra Slot is the last thing you get.
One practical point: if you only care about the elite build, you can stop after Row 1. Big Game and Haste are both there, and nothing in Rows 2 or 3 improves that scenario.
All Major Augments for Shadow Rift Ranked
Big Game Gravity Well  Topple Danger
  Explosive Rain
 Big Game
Big Game is the one Major with a clear use case over the competition. Shadow Rift does nothing to Elites by default; Big Game removes that restriction. We tested it on a Zursa and it dealt roughly 50% of its health in one activation.
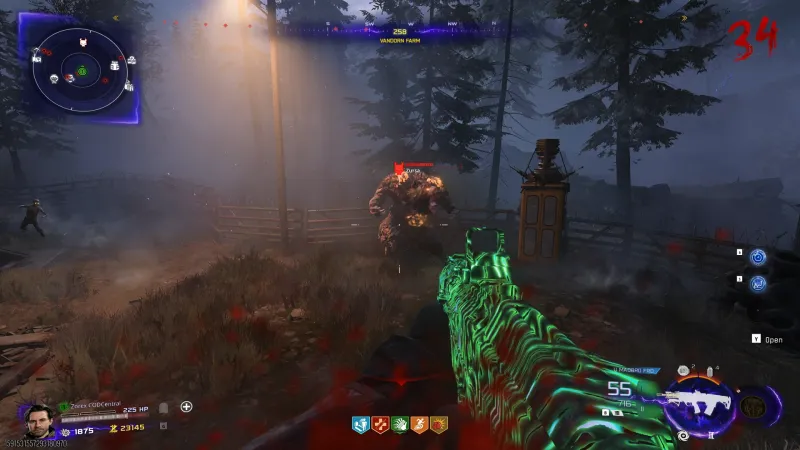 Click to enlarge First Big Game activation on a Zursa. Half its health gone in one proc.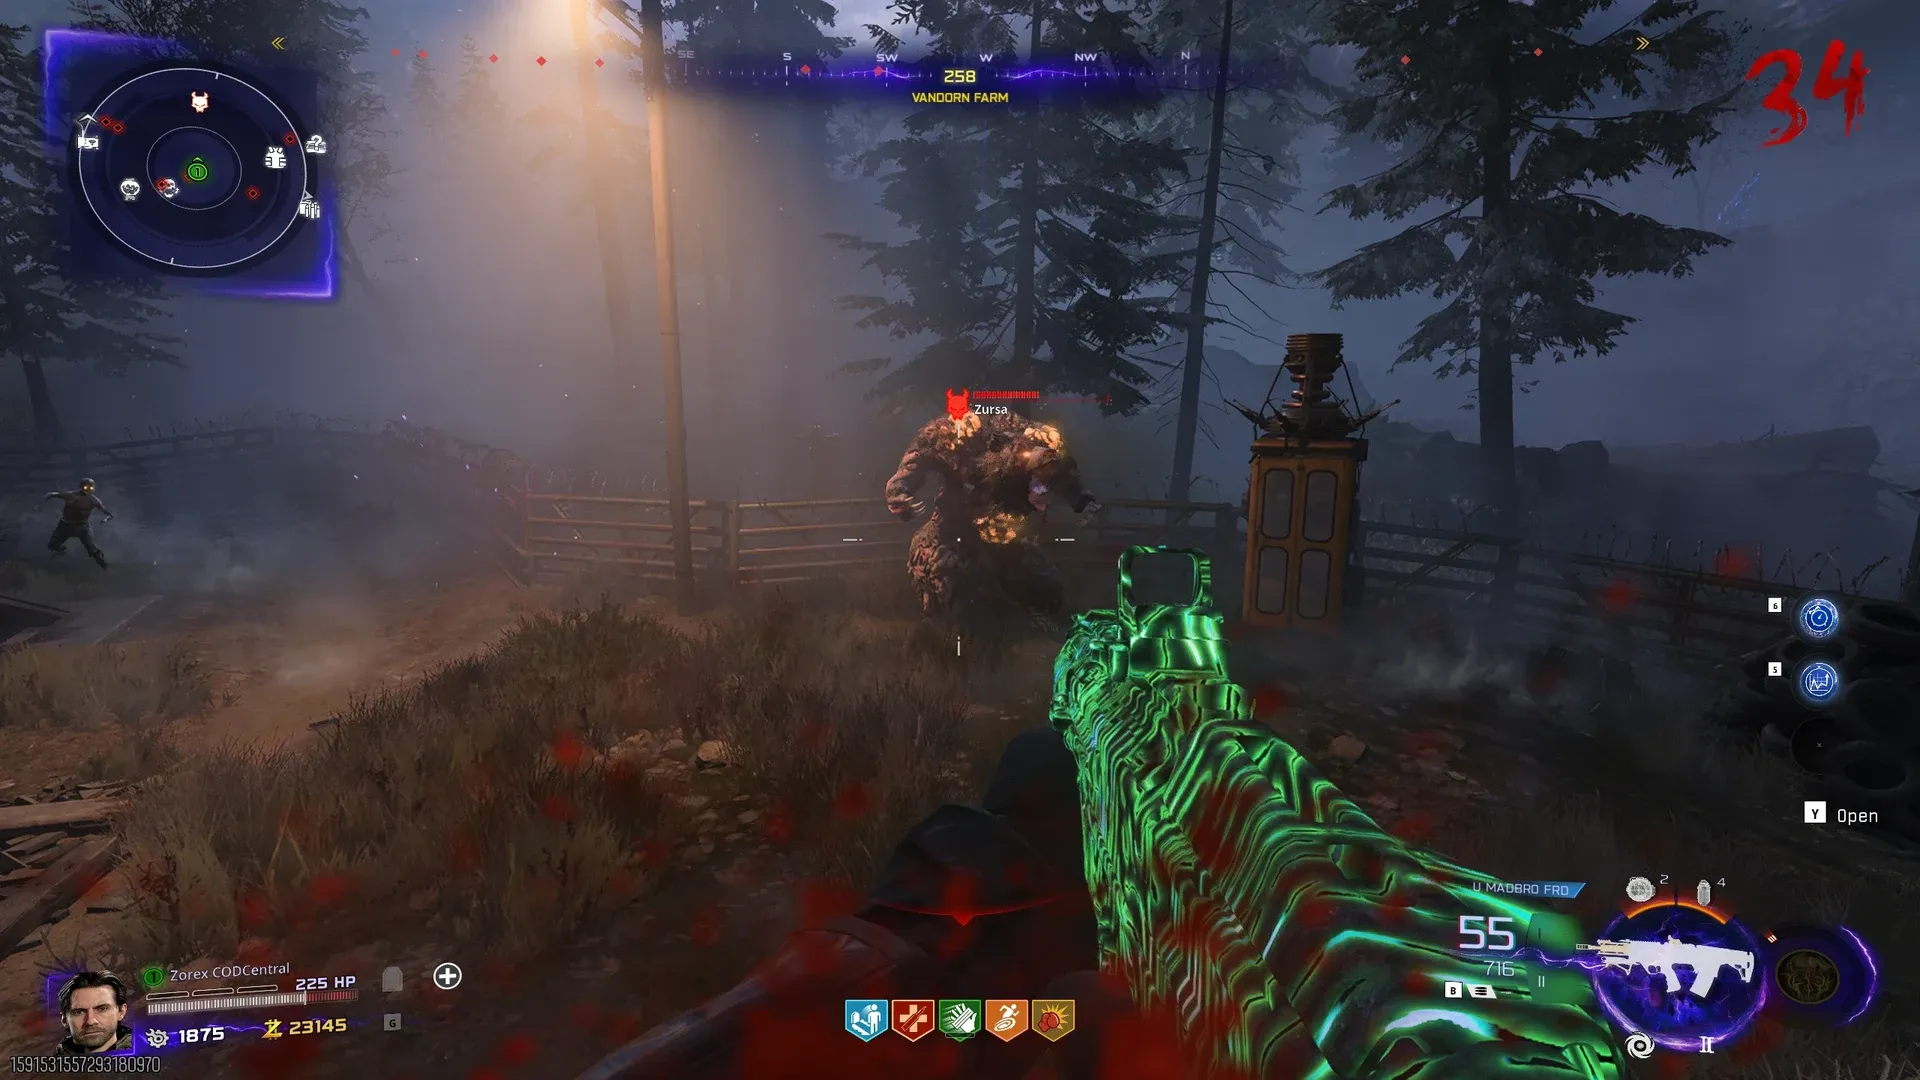
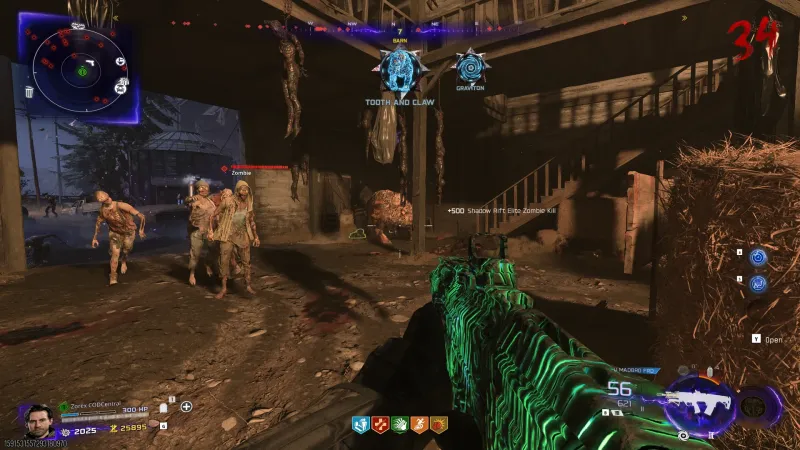 Click to enlarge Second activation finishes it.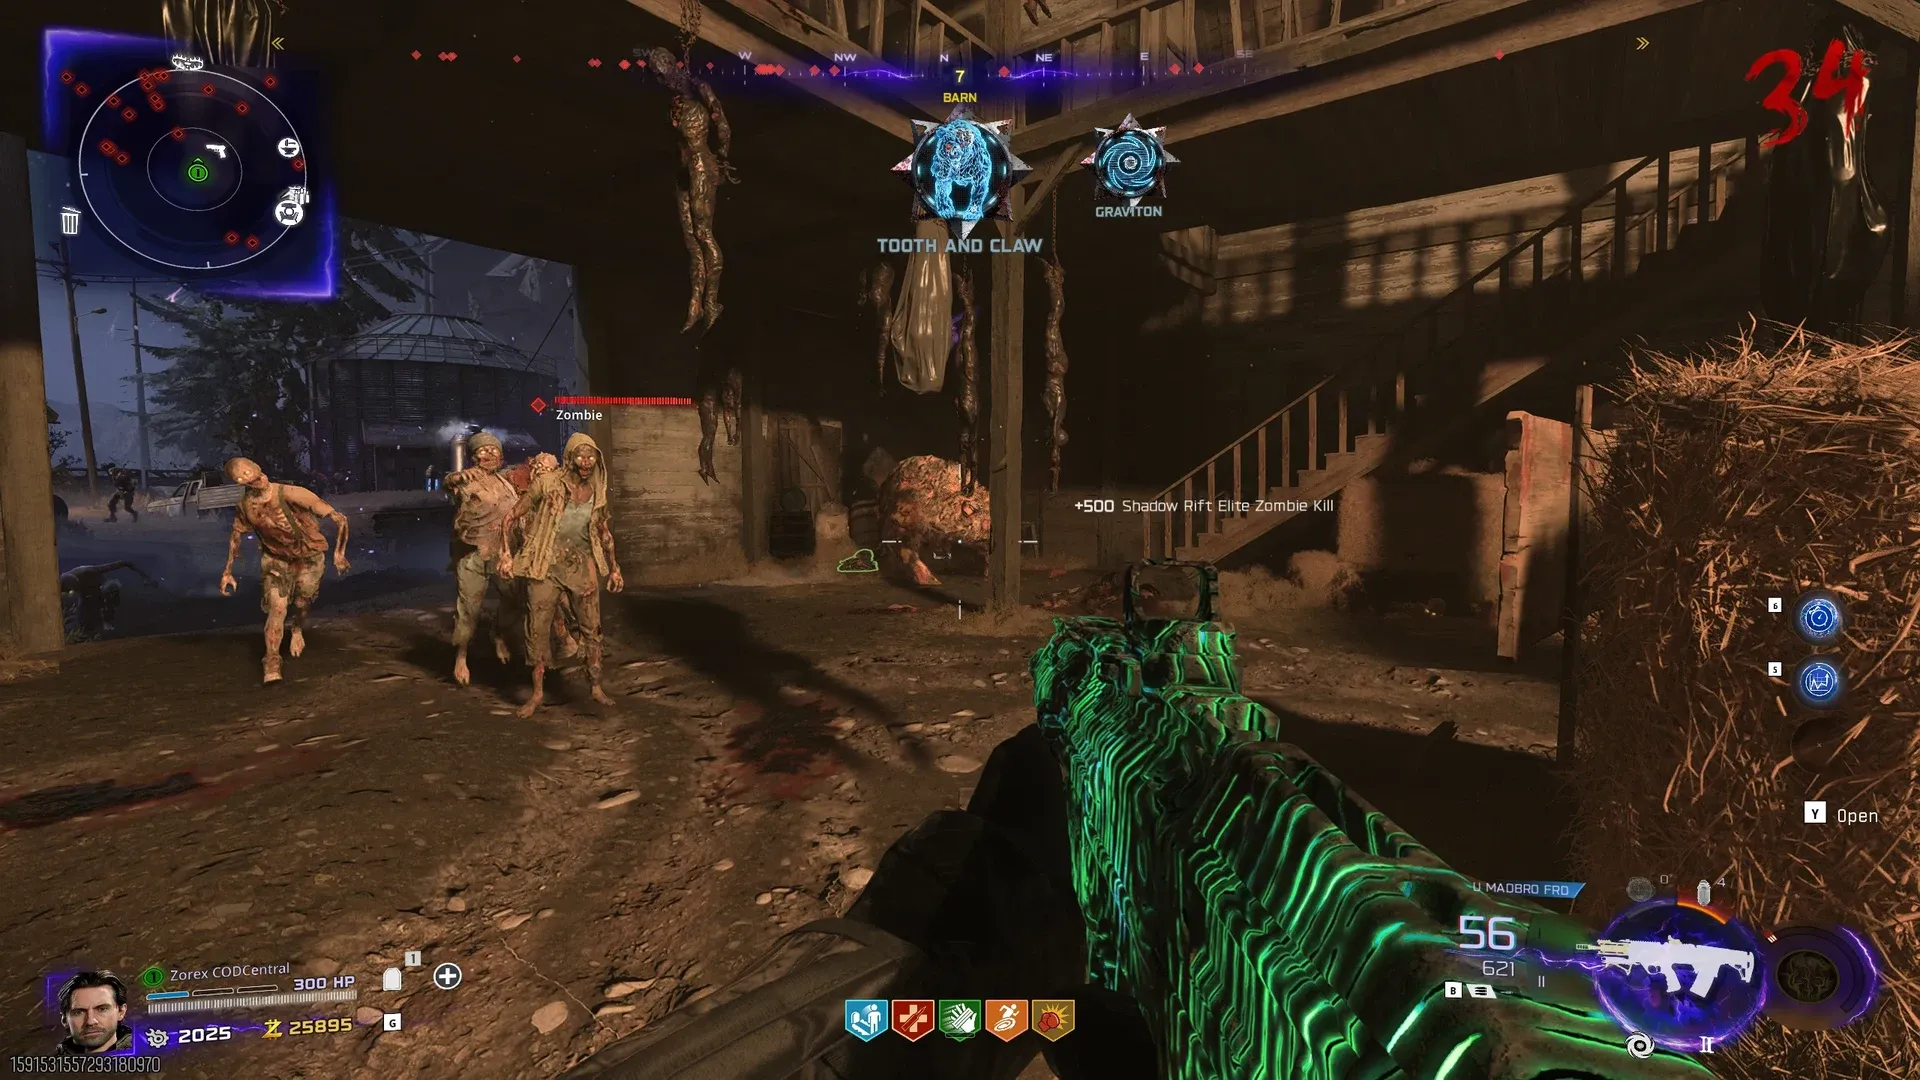
That is not a dominant elite-killing tool, but it is real, consistent damage. If an HVT is in your face and your primary weapon is not handling it fast enough, Big Game buys you two reliable procs. We put it at B tier because it is the only Major that genuinely changes what Shadow Rift can do, even if the mod overall is not a top pick.
Gravity Well
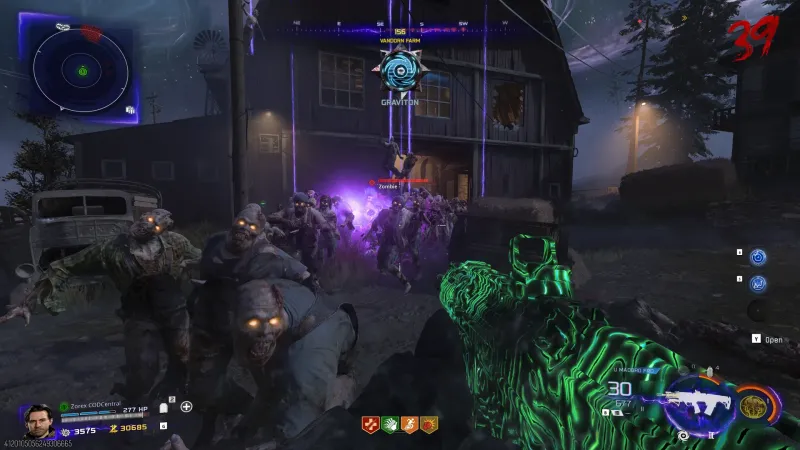
Gravity Well changes the activation from a warp to a pull-then-warp. Enemies get drawn toward the singularity before being teleported, which catches more zombies per proc than anything else in the Major slot. It looks like a miniature LT53 Kazimir, and that pull effect is the whole reason it ranks above the other two.
We ran all three Minor combinations on Gravity Well: Supermassive with Haste, Targeted with Haste, and Supermassive and Targeted together. Every one landed in the same place, around 7 kills on a dense horde, with a single best activation of 10. Stacking both spread Minors is worth calling out separately, because it is the pairing that gets recommended most often, and in our runs it did not beat the other two. Gravity Well is the best Major in the kit, and the kit is not strong. C tier is honest.
Topple Danger
Topple Danger stuns and knocks down enemies caught by Shadow Rift. Normal enemies drop, Specials are stunned. It does not kill them. In our testing a portion of the horde went down but came right back up, and the stun never translated into additional kills. There is no scenario we found where a temporary stun without kills justifies this over Gravity Well or Big Game.
Explosive Rain
Enemies dropped by Shadow Rift explode when they land. The idea is solid. The execution is not, because the dropped enemies land far enough from the original horde that the explosions hit nothing useful.
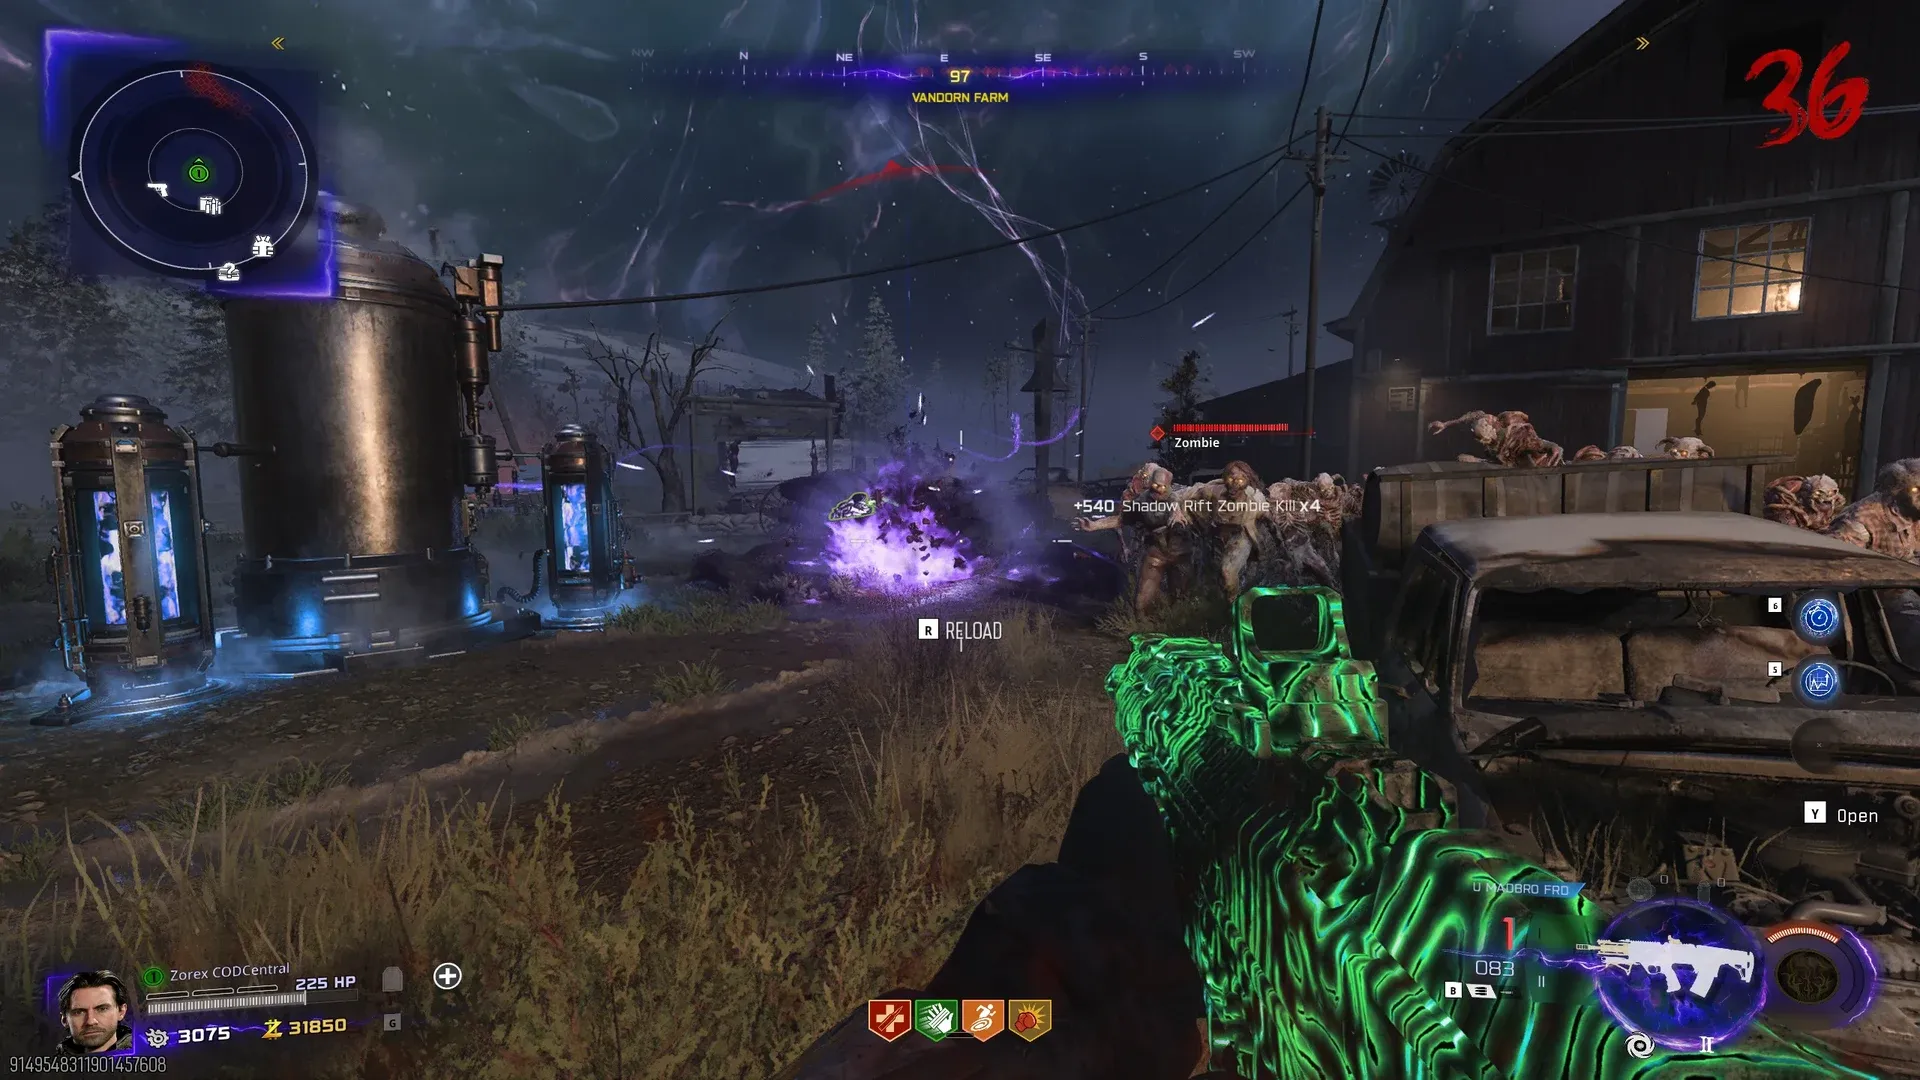
We tested it with Targeted, which is supposed to direct dropped enemies toward other zombies. Even with that Minor, the kill count maxed at 5. The combination does not solve the core issue. Skip it.
All Minor Augments for Shadow Rift Ranked
Haste Supermassive  Targeted
  Ammo Theorem
 Haste reduces the Shadow Rift cooldown, which means more activations per round. More activations means more chances to proc the pull, more opportunities to hit elites with Big Game, and more kills toward the camo grind. It is the most consistent Minor in the kit regardless of which Major you pair it with.
Supermassive extends the singularity radius. In testing it did not push the kill count past 7, but it visually broadens the pull radius and catches more zombies at the edge of a horde. Marginal improvement over nothing.
Targeted directs dropped enemies to fall toward other zombies. We ran it against Supermassive on Gravity Well, and then both of them together, and all three hit the same ceiling. Neither Minor has a clear edge over the other, and stacking them does not compound.
Ammo Theorem adds rounds to your magazine from stock whenever Shadow Rift teleports an enemy. The concept is unique. In practice, a reload accomplishes the same thing and you control when it happens. Not worth a Minor slot.
When to Run a Different Ammo Mod
Most of the time. Shadow Rift’s ceiling of roughly 7 kills with the best augments is well below what other mods produce. In our runs, Fire Works with Fire Wheel has reached 20 eliminations in a real horde. Cryo Freeze keeps hordes manageable at high rounds in a way Shadow Rift cannot replicate.
There are two situations where Shadow Rift makes sense. First, if you need a secondary tool against elites and do not have a Wonder Weapon, Big Game turns it into real HVT damage with no wasted Major slot. Second, if you are grinding the 75-kill camo challenge, you have to run it regardless. Use the Gravity Well setup and chain activations.
Outside those two scenarios, Fire Works or Cryo Freeze will serve you better on any round above 20.
Frequently Asked Questions
Is Shadow Rift worth using in BO7 Zombies?
It is situational at best. Against elite enemies, Big Game gives it a real use case: one activation stripped roughly half of a Zursa's health in our Season 6 testing, and a second finished it. For standard horde clearing, every other Ammo Mod we tested outperformed it. The ceiling with the best setup is around 7 kills per activation, with a best single activation of 10.
Does Shadow Rift work on Manglers and other Special enemies?
Yes, the base mod activates on Normal and Special enemies. It does not activate on Elite enemies by default. Big Game removes that restriction and lets it proc on Elites.
Is Shadow Rift good for the camo grind?
Only Shadow Rift mod kills count toward the 75-kill camo challenge, not weapon kills. Gravity Well is the Major to run for it, because it pulls enemies together before the warp. The Minors matter less than you would expect, since we measured the same ceiling with Supermassive, with Targeted, and with both at once. Pair Gravity Well with Haste so the cooldown comes back sooner, and expect a slow grind either way.
Do I need Extra Slot to run the recommended build?
Yes. Running both Haste and Supermassive requires Extra Slot, which is the final unlock on the Shadow Rift research grid. Until you have it, run Gravity Well with Haste alone.
What is Topple Danger actually good for?
Not much, in our testing. It stuns a portion of the horde but does not kill them. We never found a situation where a temporary stun without kills justified a Major slot over the other options.
