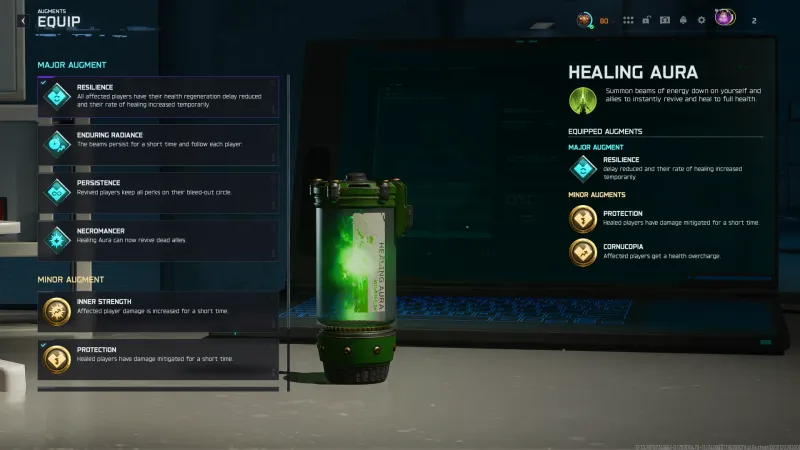
Resilience is the best Healing Aura Major in Black Ops 7 Zombies, with Cornucopia and Protection as the two Minors. We tested every augment in our own runs and the build comes down to one idea: Healing Aura already does the hard part, so the augments should make the aftermath better.
Here is the honest breakdown of every option, including the ones you should skip and why.
- Best Major: Resilience. It cuts the health regen delay in half and speeds up the rate of healing. Every player Healing Aura touches gets both effects, which is exactly what you want after a close call.
- Best Minors: Cornucopia and Protection. Cornucopia gives an overcharge above your normal health bar; Protection reduces incoming damage on top of that. Together they turn a revival into a genuine safety window. You need Extra Slot to run both.
- Skip: Persistence is the worst Major in this tree. If you activate Healing Aura quickly enough, teammates already keep their perks. Persistence only covers the bleedout circle, so it can actually save fewer perks than a Gobblegum would have.
- Note: Necromancer is a legitimate B-tier Major if you are playing with randoms who go fully dead. It has a real gotcha with Phoenix Up and Equivalent Exchange, so read the section before committing to it.
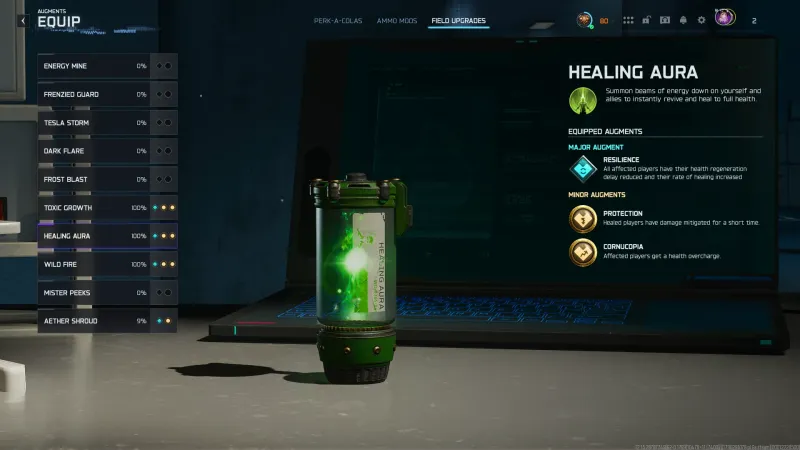
The Best Healing Aura Augment Build


All affected players have their health regeneration delay reduced and their rate of healing increased temporarily.

Affected players receive a health overcharge.
Healed players have damage mitigated for a short time.
You need Extra Slot to run both Minors. If you have not unlocked it yet, run Protection first. Swap Cornucopia for Stoic Presence if you want the enemy knockdown as a crowd-control safety net when you activate.
The build is built around survival margin. Resilience means the players you revive start healing faster and the window where they are vulnerable shrinks. Cornucopia gives them more health to work with once the regen kicks in. Protection reduces the damage coming in while all of that is happening. Three effects that all point at the same problem: staying alive right after a close call.
What Healing Aura Actually Does
Healing Aura does two things depending on your situation. If a teammate is downed, it revives them instantly, regardless of where they are on the map. If you and your teammates are all standing, it heals everyone to full health. The range is unlimited, which is what makes it different from every other support option in the game.
The field upgrade does not deal damage, does not affect enemies by default, and does not interact with Pack-a-Punch or weapons. It is entirely a support tool. Its value scales with how much your team is struggling, which is why you see it run almost exclusively in public lobbies rather than coordinated squads who rarely go down in the first place.
How to Unlock Every Healing Aura Augment
The Healing Aura research grid unlocks in order. Inner Strength is the first node you reach, so it will be what you have equipped early in your grind whether you want it or not. Resilience and Protection come in the middle of the tree. Cornucopia and Necromancer sit further along. Extra Slot, which lets you equip two Minors at once, is the final node and requires completing the full grid.
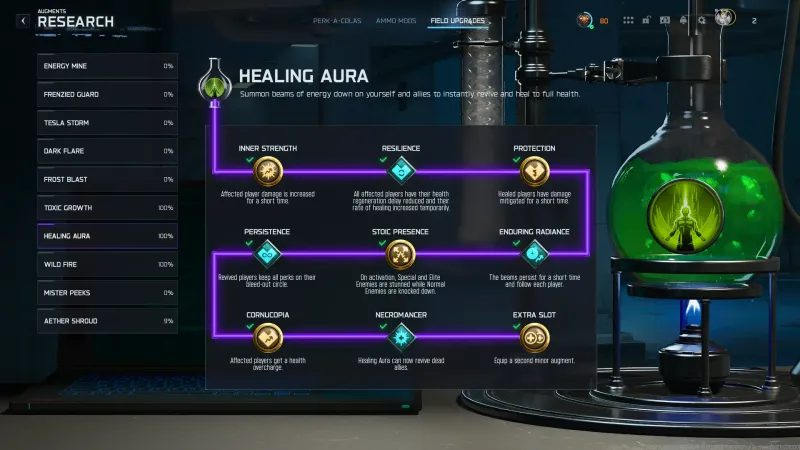
Is Healing Aura worth prioritising for research? Yes, if you play public lobbies regularly. Resilience is the node that changes the most about how the field upgrade feels, so push through to it before stopping the grind. Extra Slot is a long commitment but the Cornucopia and Protection combination is the payoff.
All Major Augments for Healing Aura Ranked
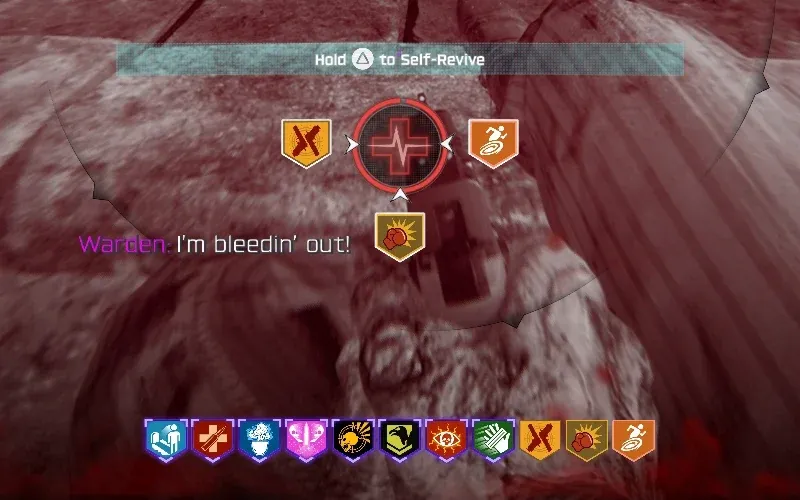
Resilience 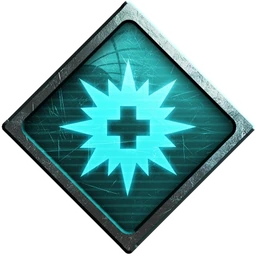 Necromancer
  Enduring Radiance
  Persistence
 Resilience gives all affected players reduced health regeneration delay and an increased rate of healing. In our testing it cut the time it takes to start regenerating roughly in half, and once regen begins it moves noticeably faster than normal. That is a direct improvement on what Healing Aura already does: the revive or heal happens, and then the recovery is substantially faster than it would be otherwise. Every use of the field upgrade benefits from this, which is not something you can say about any other Major in the tree.
Necromancer revives a fully dead teammate on activation, not just a downed one. They come back with their primary weapon and some of their perks, particularly permanent ones. That is a useful effect in a public lobby where someone goes fully dead before you can get to them. The catch is meaningful: if your teammate is running Phoenix Up or Equivalent Exchange, those Gobblegums protect more perks than the bleedout circle tracks. Reviving with Necromancer in that situation saves fewer perks than staying dead would have. It is B tier because the effect is real and powerful, but the situation where it backfires is common enough to keep it out of S.
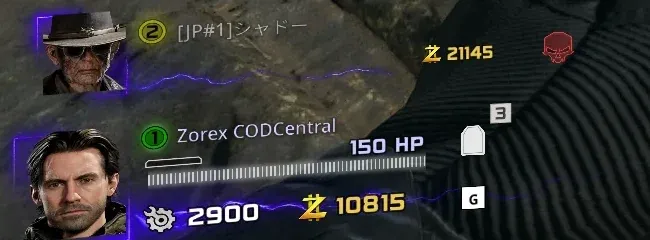
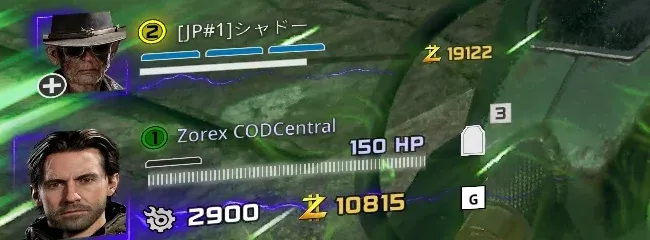
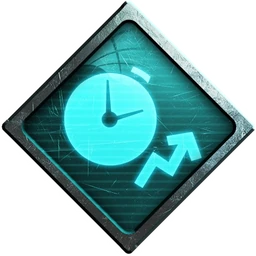
Enduring Radiance makes the healing beams persist for a short time and follow each player after activation. Instead of landing in one spot and staying there, they follow your movement for a few seconds. Honestly? Not worth it. You use Healing Aura in a moment of crisis, and in that moment the beams being stationary versus following you for a few seconds does not change the outcome. The revive already happened. You are not staying in the same spot when enemies are rushing you anyway. We do not run this one.
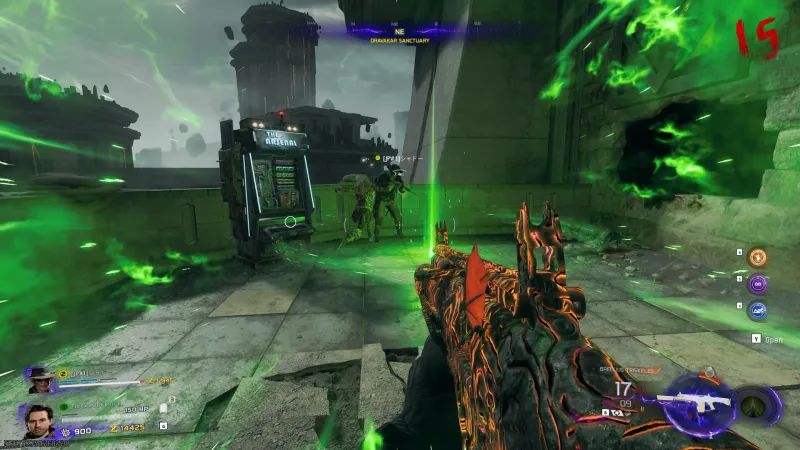
Persistence is the worst Major in this tree. The description says teammates keep all their perks on the bleedout circle. The problem is that if you use Healing Aura quickly, they already keep all their perks from the revive alone. Persistence only covers the bleedout circle, so it actually protects fewer perks than just not going down in the first place, and it conflicts directly with Gobblegums like Phoenix Up or Equivalent Exchange that protect perks outside the circle. You are spending your Major slot on something that makes a bad situation slightly less bad, in a narrower way than the Gobblegum already handles. Skip it.
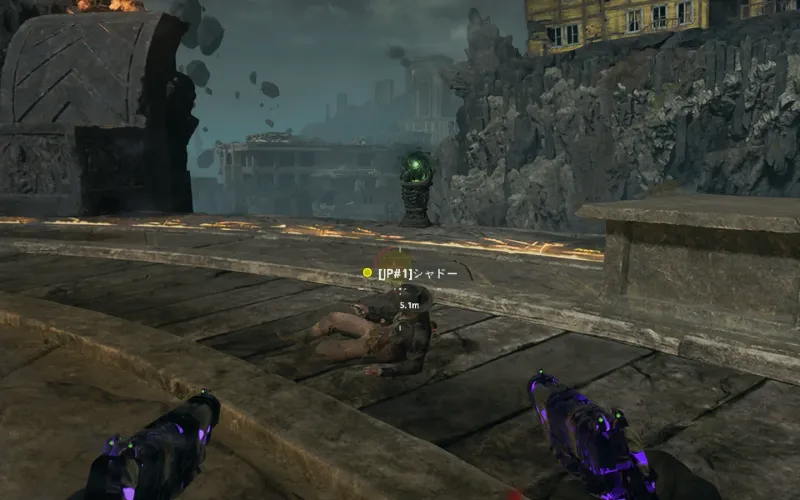
All Minor Augments for Healing Aura Ranked
Cornucopia Protection  Stoic Presence
  Inner Strength
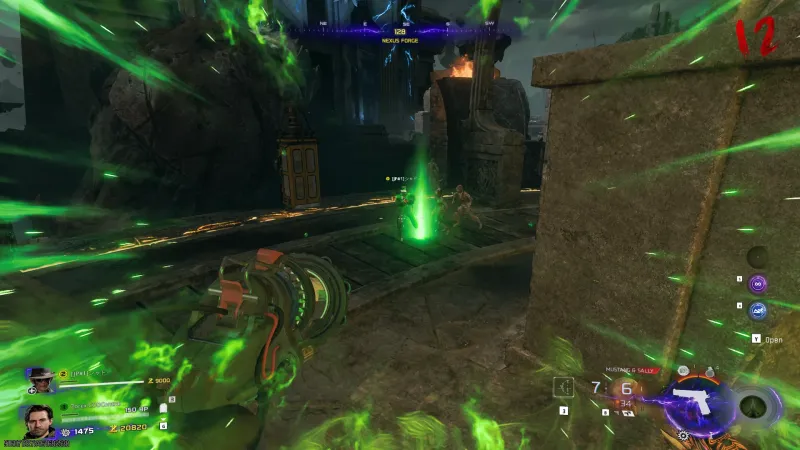
 Cornucopia gives every affected player a health overcharge above their normal maximum. You can see it in our screenshots: the health bar extends past the usual cap right after Healing Aura activates. The overcharge is visible and meaningful. Combine it with Protection and all of a sudden those players have more health to absorb damage and the damage coming in is reduced. That combination is strong. It is the reason Extra Slot is worth grinding for.


Protection reduces incoming damage for healed players for a short time after activation. If you are using Healing Aura because someone is in trouble, this is exactly what they need next: the revive happened, now give them a damage cushion to work with. It is the right Minor for the situation you are already in when you pop the field upgrade. Run this first if you have not unlocked Extra Slot yet, and keep it once you do.
Stoic Presence stuns special and elite enemies and knocks down regular enemies on activation. We tested it and the knockdown on regular enemies is real. Here is the honest take: it is a situational Minor, not a core one. If you use Healing Aura because someone is down in a crowd of enemies, the knockback buys the revived player a second to breathe. That is useful. But most of the time you are using Healing Aura because of a tough situation your positioning already created, and the knockdown does not fix the root problem. C tier because the effect is real but the window where it matters is specific.
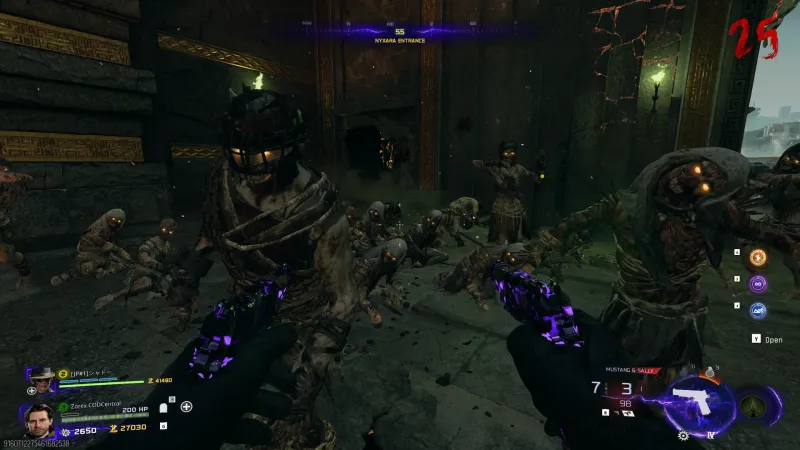
Inner Strength increases player damage for a short time after activation. It is the first augment you unlock, which means it will be your default Minor for part of the grind. Use it there and move on. The problem is that when you use Healing Aura, damage is not what you are short of. You popped it because someone was down or your health was critical, and what you need in that moment is survivability, not more damage output. Swap it out as soon as Protection is available.
When to Use Healing Aura in a Run
Buy Healing Aura after Jugger-Nog and Quick Revive. Those two come first because they affect every single round and every single down. Healing Aura is a field upgrade you pop on a cooldown, not a passive perk working every moment, so its value is conditional on the situation. Get your baseline survivability covered first.
When to actually activate it: use it when someone is down and you cannot physically reach them, or when your team is taking heavy damage and you need everyone topped up before the next wave hits. Do not save it too long waiting for the perfect moment. A field upgrade on cooldown is doing nothing. Use it early when the situation calls for it and let the cooldown run during quieter rounds.
Have questions? Join our COD Central Discord where 50,000+ members hang out.
Frequently Asked Questions
Does Healing Aura revive teammates anywhere on the map?
Yes, regardless of distance. Someone downed on the opposite side of the map gets revived the moment you activate it. That range is the whole reason to run Healing Aura in a public lobby over a field upgrade that only works near you.
Does Necromancer conflict with Phoenix Up or Equivalent Exchange?
It can, and that is the catch. Phoenix Up and Equivalent Exchange let a dead player keep more perks than the bleedout circle shows. If you revive them with Necromancer, they only keep what the circle tracked, which is fewer perks than those Gobblegums would have saved. If your team is running either of those, hold off on using Healing Aura until you know the situation.
Can I run both Cornucopia and Protection at the same time?
Yes, but you need Extra Slot first. It is the last node in the research tree, unlocked by completing the grid. Once you have it, you get two Minor slots and both augments stack: you take less damage and you have more health to absorb before that damage lands.
Does Resilience also affect you when you heal yourself?
Yes. Resilience applies to every affected player, including yourself. If you pop Healing Aura to top up your own health, you get the reduced regen delay and the faster healing rate as well, not just your teammates.
When should I buy Healing Aura in a run?
After Jugger-Nog and Quick Revive. Those two decide whether you survive long enough for Healing Aura to matter. Once your core survivability is covered, Healing Aura becomes your insurance policy for the rest of the team.
